Page 8 of 15
1 6 7 8 9 10 15
diy – Page 8 – Homesteader Depot

Tag: diy

  • How to Make Hard Candy (Video)

    How to Make Hard Candy (Video)

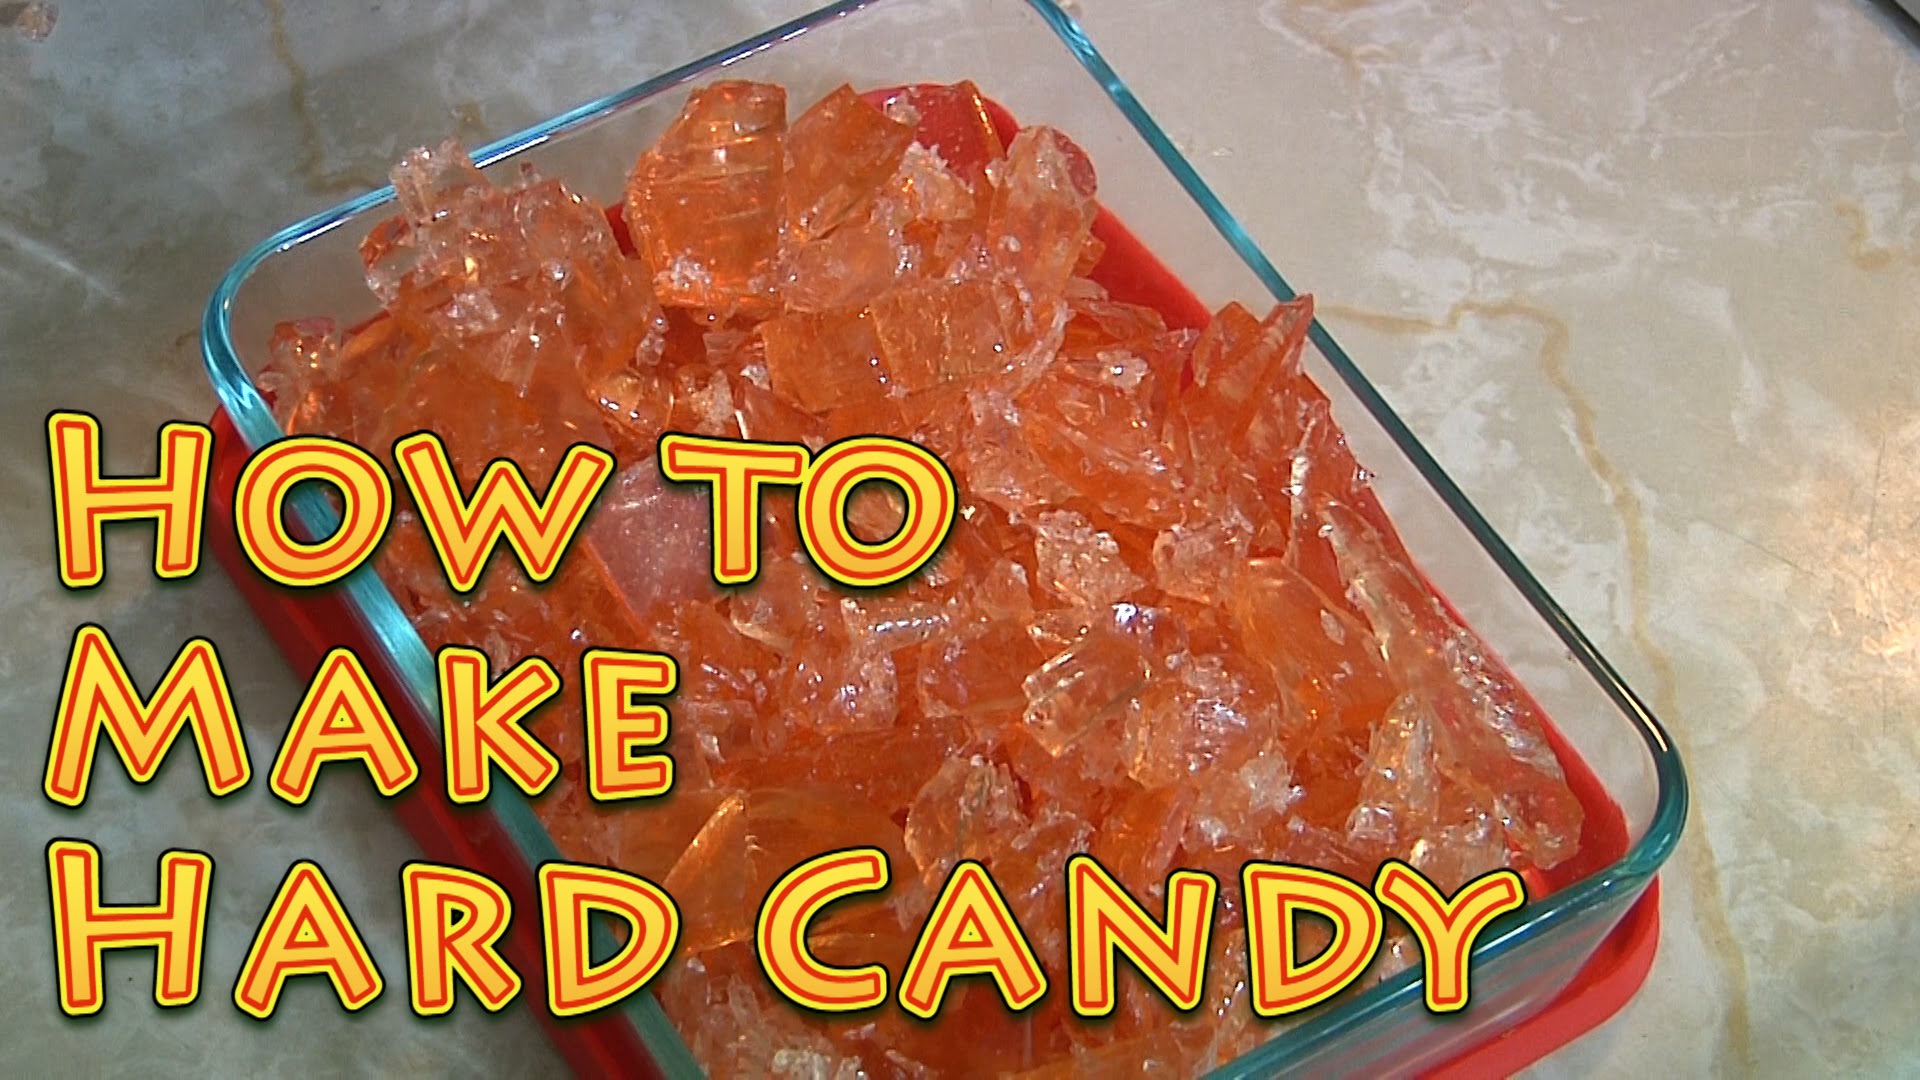
    This is a homemade recipe I’ve always wanted to try, and this fun and informative video on how to make your own hard candy at home is really great!

    Using simple tools and ingredients that you probably already have at home, (with the exception of a candy thermometer, not everyone might have that), they walk you through the simple process with clarity and humor.

    Candy making is simple, but it’s also a very precise chemical reaction that’s taking place, as you bring the ingredients to extremely high temperatures to achieve the desired consistency, so I think it’s really useful to be able to see the process yourself before trying it out. Or all recipes, hard candy is probably a great one to follow a video recipe for.

    And of course, above all else, making your own hard candy is a great way to avoid the nasty chemicals and dye that is found in commercial candy. If you have an insatiable sweet tooth or want to give a really great gift to a friend or family member who does, this is a great way to ensure your sweets are much healthier! Enjoy!

    If you enjoyed this, you might also like….

    Home Defense in the End Times…

    Natural Healing Secrets You Need to Know…

    Eat Like Your Ancestors…


  • DIY Tooth Whitening Recipe

    DIY Tooth Whitening Recipe

    We’ve shared a lot of DIY health and personal hygiene products on this blog, and for good reason. There are so many products out there that are full of chemicals and toxins, that can be easily made at home for a fraction of the cost. This whitening tooth powder is packed with beneficial ingredients you’ll want to try.


    Ingredients:

    • 4 tablespoons bentonite clay. This is a natural, mineral-rich powder that gently cleans your teeth. It also detoxifies your mouth to freshen breath and fight gum disease
    • 2 teaspoons baking soda. Baking soda is a very mild abrasive that polishes the teeth and removes stains.
    • 1½ teaspoons finely ground sea salt. This ingredient is loaded with trace minerals that help to strengthen and rebuild your teeth. Salt is also a natural antiseptic which keeps the bacteria in your mouth in check.
    • 1 ½ teaspoons unrefined stevia powder. For anyone nervous about ditching conventional toothpaste, or just picky children, stevia helps to sweeten the powder.
    • Up to 3 teaspoons flavoring of your choice. Ground cloves, cinnamon, or mint are excellent choices that also act as astringents for gum health.
    • 1 teaspoon activated charcoal. Ironically, this jet black special ingredient is what really does the work in whitening your teeth. Activated charcoal (carbon) particles bind to the tannins from coffee, tea, wine, and certain foods to lift stains away. Charcoal also helps to balance the mouth’s pH levels which aids in remineralization.


    Add all ingredients to a clean glass jar with a tight-fitting lid. Attach the lid and shake thoroughly to evenly mix.

    To use, simply wet your toothbrush, dip it in the powder, and brush and rinse as you would with toothpaste. 

    This recipe is incredibly easy to make and use in place of conventional toothpaste made with questionable chemicals. Whip up a batch today to complete your DIY health and wellness toolkit.

    If you liked this, you might also enjoy…

    What Are the Signs of the End Times?

    Learn Natural Healing Secrets From the Masters

    Preparing for the Bubble to Burst 

  • Mother of Four Builds House From YouTube Video Instructions

    Mother of Four Builds House From YouTube Video Instructions

    These days, we all rely on the internet for literally everything. I personally believe that YouTube instruction videos are one of the greatest inventions of all time (seriously!). It is such an incredible thing to be able to search for a video to help you out with a confusing or intimidating project, and homesteaders know this better than anyone! Whether you want to learn how to build cold frames, shear a sheep, or birth a baby cow, YouTube has videos for pretty much everything.

    Still, it might surprise you to learn what this incredibly ambitious mother of four did, using YouTube videos. A few years ago, single mother Cara Brookins was trying to rebuild her life for her and her four children after escaping an abusive marriage. She didn’t have enough money to buy them a house, but she could afford a small plot of land.

    Determined to provide her family with a home, she and her children got to work. Using YouTube videos as a reference, they mixed their own cement, lay the foundation, raised the walls, and built their own house, all by hand.

    Such an incredible story! Now Brookins and her four children have their own home, and are the picture of independence.

    Check it out!

    https://www.youtube.com/watch?v=CyP28vNviKk

    If you enjoyed this, you might also like….

    Can You Defend Your Family When SHTF?

    Natural Healing Secrets You Need to Know…

    Effective Primal Diet Hacks…

  • Ways to Recycle Sawdust

    Ways to Recycle Sawdust


    Woodworking projects and home repairs top the to-do lists of many homesteaders, but they generate a copious amount of a largely unwanted byproduct: sawdust. Before dumping your next shovelful of sawdust into the trash, take a look at this list of creative ways to make good use of it:

    • Use for traction when you’re stuck in the snow. Sawdust is traditionally used by logging truck drivers to prevent slipping and getting stuck in harsh winter road conditions. Keep a sealed bag or two of it in your trunk to spread around your tires for extra traction if you get stuck.
    • Keep on hand as a spill kit must-have. Sawdust is a very absorbent material and can quickly contain any spills such as oil or paint. Once the spill is soaked up, the sawdust sweeps up easily and with minimal dust.
    • Decorate with fake snow. Mix with white paint (acrylic or whatever is on hand) and glue to use for seasonal arts and crafts.
    • DIY firestarter bricks. Melt candle wax in a nonstick pot, add sawdust to achieve a thick consistency, pour into an ice cube tray or egg carton, and cool, and store with your camping gear or fireplace items. Use just like storebought firestarters.

      Power Efficiency Guide Will Change Our World Forever>>>

    • Keep weeds under control. Walnut sawdust has natural weed-killing properties. Sweep into the cracks of your driveway or walkway to prevent weed growth.
    • Use as a cement additive. Sawdust mixed into mortar aids in bonding building materials together. It also makes for a good recipe for casting moisture-loving planters.
    • Create a decorative garden path. Spread and tamp sawdust into a dirt walkway to curb erosion and create a soft, fragrant path through your garden or wooded lot.
    • Compost and fertilizer. Mix a little bit of sawdust with manure or a nitrogen source like blood meal. This both fertilizes plants and aids in water retention.
    • Mix with wood glue to fill cracks and holes. Mixed into a putty consistency with wood glue, very fine sawdust is often used by flooring professionals as a cheap, stainable wood filler.
    • Clean concrete floors. Lightly wet a small pile of sawdust with water and use a push broom to spread it around the concrete floor of any workspace. The wet sawdust will bind and absorb grime and hazardous fine dust.

        Check out THESE Effective Primal Diet Hacks…

  • DIY Udder Balm for Goats or Cows

    DIY Udder Balm for Goats or Cows

    When you have a milk-producing goat or cow, their udders might get a lot of work. They can get sore or irritated, so it’s handy to be able to have a balm to soothe them on hand in case this happens.

    However, unfortunately, most storebought balms are petroleum-based and expensive, and, if you live in the country, might be far away!

    Today, we’ve got a very simple DIY udder balm recipe that can be used making the same ingredients we recommend for a lot of our homemade remedies.

    What you need: 

    • 1/2 ounce beeswax
    • 1 ounce shea butter
    • 1 ounce coconut oil
    • 3 ounces calendula infused oil (optional, see directions below)
    • 2 drops lavender essential oil (optional)
    • 2 drops tea tree essential oil (optional)

    Calendula infused oil

    If you do not have any on hand or would like to make your own, this is a great item to have for any skin-soothing remedy, and can be used straight on sore muscles and general aches and pains.

    To make it, you will need dried calendula flowers. Fill a small jar with almond or olive oil, and leave in the sun for a week or so, shaking daily. Alternately, you can heat up in a very low oven (around 200 degrees) for about 20 minutes, in a glass, oven-proof bowl or jar.

    How to Make Udder Balm

    1. Combine your beeswax, shea butter, coconut oil, and calendula oil in a jar and place in a small saucepan filled with water.
    2. Place the pan on the stove over very low heat.
    3. As the water in the pan warms up, everything will melt and blend together.
    4. Once fully melted, remove from heat, stir with a popsicle stick, and allow to cool for a few minutes.
    5. Add your essential oils, if using, and cover the jar.
    6. Store inside (keeping outside will make it too cold to use)

    You can use this by taking with you when you go to milk your goat or cow, and applying after each milking as needed.

    If you enjoyed this, you might also like….

    Home Defense in the End Times…

    Natural Healing Secrets You Need to Know…

    Eat Like Your Ancestors…

  • Cheap Bio Ethanol Fuel at Home (Video)

    Cheap Bio Ethanol Fuel at Home (Video)

    This is something I’ve always heard about and wanted to try. It’s pretty amazing how cheap the ingredients are to do it, and any homesteader might find the idea appealing, if you’ve got equipment that could be modified to be fueled with bio-ethanol fuel.

    Check it out! I’m pretty impressed.

    If you liked this, you might also enjoy…

    What Are the Signs of the End Times?

    Learn Natural Healing Secrets From the Masters

    Preparing for the Bubble to Burst 

  • 22 Ways to Use Beeswax

    22 Ways to Use Beeswax

    Beeswax is amazing. It is the only naturally occurring wax, and is produced in special wax glands of female honeybees. It takes 8 pounds of honey to produce 1 pound of wax! Vegetable waxes are rendered from fruit or leaves, while soy and paraffin waxes are produced by a toxic chemical process. Only beeswax is wax in its natural form, and simply can’t be produced in a lab, even in this day and age. But if you keep bees, you can essentially grow it in your own backyard!

    It has been used for centuries in many different ways, and there’s still plenty we can use it for in our daily lives. While one pound of beeswax can be relatively expensive, it can last you for a long time and serve many different uses. Many projects you will use it for will only require a small amount of beeswax, making it quite cost-effective, especially compared to purchasing a pre-made product that contains beeswax.

    Here is a list of 22 things you can do with beeswax. Each of the items on this list is something that can be made using beeswax or something that beeswax can be used for in its raw state.

    • Fabric waterproofing
    • Lotions
    • Balms
    • Ointments
    • Deodorant
    • Lipstick
    • Lubricate screws
    • Candles (DIY Beeswax Candles – Video)
    • Condition tools
    • Condition wood
    • Hair pomade
    • Beard wax
    • In grafting trees
    • Firestarter
    • Solid fuel
    • Condition leather
    • Sealing wax
    • Crayons
    • Polish copper
    • Season cast iron
    • Cover cheese
    • Treat snow shovels

    This is certainly just a small taste of ways you can use beeswax! If you buy a pound or so for one or two of these projects, or keep bees yourself, you’re bound to come across other ways you can use it in your home. It’s a great item to have on hand, especially for homesteaders. It’s one of the greatest naturally occurring products available to us, and we should take advantage!


    If you liked this, you might also enjoy…

    What Are the Signs of the End Times?

    Learn Natural Healing Secrets From the Masters

    Preparing for the Bubble to Burst 

  • Super Simple DIY Body Wash

    Super Simple DIY Body Wash

    I thought I’d seen all the DIY replacements for ordinary personal hygiene items out there, but this one was new to me, and I knew I had to try it right away.

    Bodywash is kind of a modern, Western thing, for plenty of people a simple bar of soap is sufficient to get clean in the shower. But for whatever reason, some people greatly prefer body wash, especially if you like to use a washcloth or loofah.

    The thing about body wash, however, is that as effective and luxurious it is in the shower, it’s definitely not cheap. However, you can make it very cheaply, and it’s insanely easy and cheap. Dove brand body wash is very popular and highly moisturizing, so I’ve seen this recipe often made with dove. However, you can make it with whatever kind of bar soap you prefer. If you choose a bar soap that is very moisturizing, you’re more likely to get the desired effect. Choose something like a shea or cocoa butter soap for something really smooth and moisturizing.

    Typically, a 24-oz bottle of body wash can cost about $7, while you can usually buy a 6-pack of soap bars for about this much money. That means that you can replace your pricey body wash with a simple homemade version for a little more than $1 a bottle! I love savings like that, especially when the cheaper alternative is so simple.

    Check it out!

    Homemade Body Wash

    6 cups distilled water

    3 cups soap of choice, grated

    Essential oil of choice (optional, for scent, if you have chosen soap that already has scent in it you probably don’t need to add this)

    Dispenser of choice (something with a soap pump is ideal, or of course an old body wash bottle)

    1. Put the soap and the water into a medium saucepan over low heat
    2. Stir until combined
    3. Transfer to a glass bowl to cool. It will thicken as it cools
    4. Once fully cooled, pour into your bottle of choice.

    That’s it! I love frugal, DIY alternatives to expensive value-added products like body wash. Be sure to let us know if this worked for you!

    If you liked this, you might also enjoy…

    Holistic Medicine Basics

    Ever Considered Taking Yoga? Read this

    The Ultimate Woodworking Course..