Page 7 of 10
1 5 6 7 8 9 10
food – Page 7 – Homesteader Depot

Tag: food

  • How to Can Butter (Yes, Really!)

    How to Can Butter (Yes, Really!)

    Lately, butter has come raging back as nutritionists reveal it’s actually quite healthy for you. For a few decades, butter was demonized as too fattening and unhealthy, but as vegetable-oil based alternatives were introduced, we saw obesity rates skyrocket. Not sure why no one ever noticed the correlation, but it turns out that in fact, the saturated fats that come from butter are not only better for you, they can ultimately help lose weight when coupled with a balanced diet full of “good” fats, and free of processed foods and sugars.

    I personally love butter, and was really excited to discover that you could, in fact, can it. How cool is that? Not only do you get to enjoy all the deliciously fatty butter you want, (goodbye, margarine!) you can also preserve it at room temperature for your survival or homestead pantry! I’m sold.

    So, here’s how you do it.

    First, you will need: 

    • Butter (you will need roughly 3 jars for each lb of butter)
    • 8-oz canning jars
    • Lids
    • Water bath canning kit
    • Ladle 
    • Canning funnel 

    Directions: 

    1. First, heat your jars up in a 250 degree oven for 20 minutes.
    2. Next, melt your butter in a saucepan over low heat. If you’re using a lot of butter, you might want to do this in batches.
    3. Stir gently to prevent burning, and let the butter melt and simmer a bit until there is a white foam at the top.
    4. As you’re doing this, place your lids in another pot over the stove, cover with water, and bring to a boil. Turn the heat to low to keep them warm while you work.
    5. Once the butter is melted and has a foam lip, ladle it into your jars, using your canning funnel. Leave 3/4″ head space at the top.
    6. Once the butter is poured into the jars, prepared your water bath.
    7. Wipe the jars off with a clean, damp rag to remove any butter that may have spilled on them. They won’t seal if they’re greasy!
    8. Place the lids and rings on the jar, and tighten loosely.
    9. Once the water in your water bath is warm, put the jars in. They need to be in at least 1″ of water.
    10. Once the water boils, set a timer for 10 minutes. When 10 minutes is up, let cool for another 10 minutes.
    11. Now, remove from the bath and place on a towel to dry. As you clean up, try to remember to shake the jars every few minutes, so the butter will remain a uniform consistency.
    12. Once it is cool, it’s ready to store! Keep in a cool, dark place, and enjoy!

    If you enjoyed this, you might also like….
    Are We In The End Times?

    Complete Health Transformation Without Drugs or Surgery…

    Having Trouble Sticking With Paleo?

  • How to Make Healthy Gummy Candy

    How to Make Healthy Gummy Candy

    Gummy candy is a great treat, but unfortunately, it’s usually loaded with dyes, preservatives and chemicals.

    Like many junk foods, there are healthy versions you can make at home, but DIY gummy candy has a unique quality among healthy alternatives to candy: it’s actually really good for you. 

    The base of homemade gummy candy is gelatin, which is an excellent source of protein, minerals, and vitamins that help improve skin, hair, nail, dental, and bone heath, ease the symptoms of arthritis, relieve tendonitis and other muscle and joint-related health issues.

    It’s amazingly good for you, but make sure you buy gelatin from grass-fed cows. Gelatin from feedlot cows is not anywhere near as healthy, as those animals are often unhealthy themselves and pumped full of antibiotics and hormones.

    Also, make sure you buy a gelatin that says it will dissolve in hot water and clump in cold water. If it says it will dissolve in cold water, it won’t work for gummies. Gummies have gotten very popular, so these days, most brands will probably indicate what you can use the gelatin for on the container.

    There are many different options for flavoring gummy candy, the sky is pretty much the limit! Just do a quick search on Pinterest and you’re bound to be overwhelmed by all the creative combinations foodie bloggers come up with.

    Here’s a very basic recipe to get you started:

    Ingredients and tools:

    • 3/4 cup fruit juice
    • 3 tbs raw honey or maple syrup
    • 3 tbs grassfed gelatin powder
    • Small saucepan
    • Candy molds or shallow glass pan

    Directions: 

    1. Get all your ingredients and your candy molds or glass pan together. If you are using a glass pan, gently grease it. Make sure you have everything measured and ready to go before you get started, as some steps are time-sensitive.
    2. Next, make sure you have room in your refrigerator for the gummies to cool once they’re in the molds or the pan. They will need to sit flat on a surface. I usually line my candy molds up on a baking sheet and make space for them before getting started. If your fridge is too full, you can also use the freezer.
    3. Gently heat the juice over low heat in a small saucepan on the stove.
    4. Stir in the honey or syrup until fully dissolved.
    5. Sprinkle in the gelatin, whisking to combine as you go. Continue to whisk until completely dissolved. You might have a few clumps, try to nudge these or press with a fork until they are broken up and dissolved, as best you can (a few small lumps won’t ruin it, if the rest of the gelatin is fully dissolved.
    6. Once your gelatin is fully dissolved, remove the liquid from heat and pour right away into your candy molds or pan.
    7. Refrigerate for 1-2 hours, or freeze for 10-20 minutes. Once they’re fully solid, either pop out of the candy molds or cut up into squares.
    8. Store in an airtight container in the refrigerator, and enjoy!

    If you enjoyed this, you might also like….

    Can You Defend Your Family When SHTF?

    Natural Healing Secrets You Need to Know…

    Effective Primal Diet Hacks…

  • A Simple Guide to Starting a Beehive (Video)

    A Simple Guide to Starting a Beehive (Video)

    Last week, we shared the very cool idea to make a beehive using mason jars, so since it did not come with instructions as to how to actually start a hive, I thought I’d go ahead and follow up with that one.

    Bees are a wonderful thing to do on the homestead, or even in your backyard, if you’re able to. Raw honey is one of the most valuable and nutritious substances on the planet, so raising bees is a space and time efficient way to produce food on a small scale, and a wonderful addition to any homestead or self-sufficiency operation.

    It can a bit overwhelming getting started, though, from choosing your bees, setting up your hive, getting protective gear, etc. This video is a great introductory course for beekeeping, and will help demystify the process and get you well on your way to functional, thriving hive in no time.

    Be sure to let us know what else you’d like to learn about bees!

    If you enjoyed this, you might also like….
    Can You Defend Your Family When SHTF?

    Natural Healing Secrets You Need to Know…

    Effective Primal Diet Hacks…

  • Hunt for Your Meat

    Hunt for Your Meat

    If you are a homesteader, you have probably spent quite a bit of time trying to determine just how much food you can grow on your property. While growing your veggies and fruit, and canning them, is great, most people will also want to have meat on the table. You may have some livestock that you can use, such as chickens. However, the best way to get more meat is to start hunting.

    Take the time to see what animals are in your area and the times of the hunting seasons. Common animals to hunt include deer, boar, ducks, quail, squirrel and turkeys. Find out how many of each animal you can bag and then start learning how to hunt. Remember, just because you go hunting does not mean you are going to be successful. As with any activity in the outdoors, it requires a combination of skill and a little luck. Keep learning more about hunting, practice shooting, and you will get better at it.

    Of course, you need to know the rules and regulations for hunting in your area and even on your own land to make sure you do not do anything that would get you into trouble. Even on your own land, you need to obey the hunting laws. If you don’t, and if the authorities find out, you could face fines and time in jail. That’s the last thing you need. It is just easier to follow the laws.

    We know that hunting is not for everyone. Many people do not like to think about the act of killing their own food, but they should realize that the meat they buy in the grocery store used to be alive and well, too. Hunting, when done properly, is more humane and provides a quicker, less terrifying death for the animals. This is something to keep in mind if you are on the fence.


    If you enjoyed this, you might also like….

    Can You Defend Your Family When SHTF?

    Natural Healing Secrets You Need to Know…

    Effective Primal Diet Hacks…

  • How to Use Extra Whey

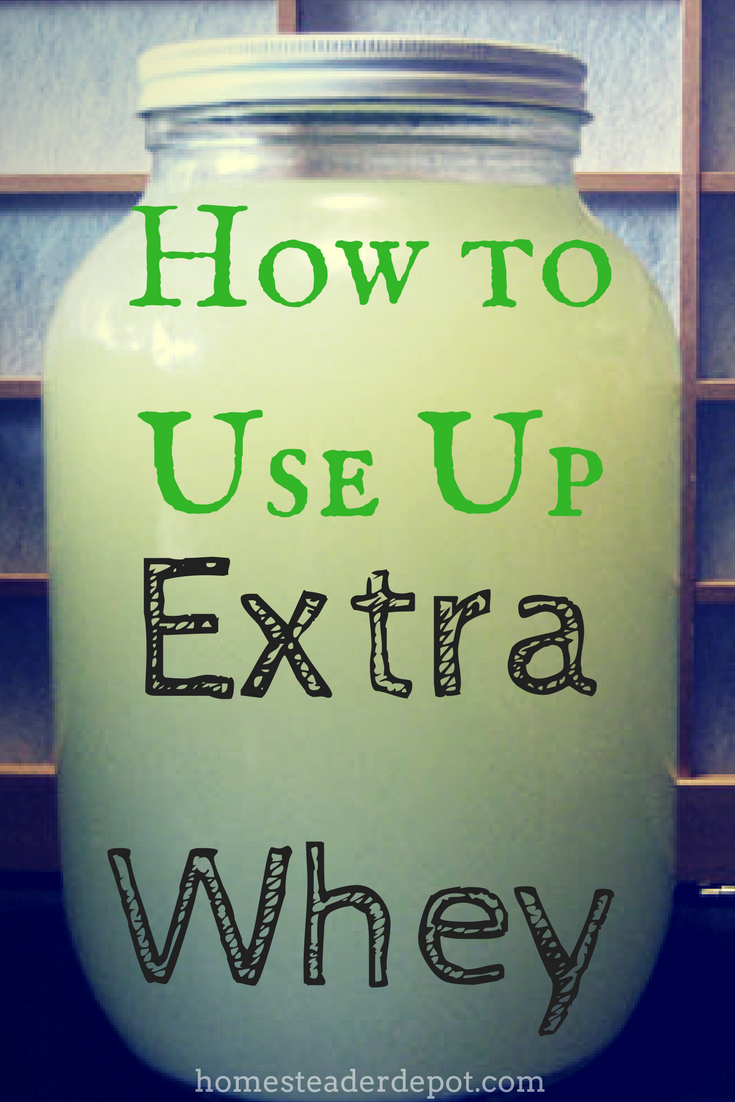
    How to Use Extra Whey

    Every aspiring or seasoned dairy farmer is familiar with whey, the byproduct of making yogurt, cheese, and other delicious dairy products. In the process of making many of these dairy products, the whey is often discarded, but it’s actually quite nutritious on its own, and can be reused in many different ways. 


    • Use in almost any recipe in place of water or even milk. Whey adds depth of flavor to bread, soups, sauces, marinades, and main dishes. If you are overrun with whey, you can even boil pasta or rice with it!
    • Soak grains and legumes The acid and cultures in whey won’t harm anything in this process, they’ll enhance phytic acid breakdown for easier nutrient absorption.

    • An acid rinse on your shampoo “skip days”. If you’re familiar with the ‘no-poo’ or ‘low-poo’ method of washing hair and its benefits, you’ll be glad to know that whey makes a great, affordable acid rinse hair cleanser.
    • Feed pets and livestock. Pour a little whey over dry pet food or animal feed for a delicious treat!
    • Lacto-ferment your own sauerkraut, veggies, and condiments Uncooked sweet whey is great for preserving probiotic-rich foods to add to your pantry or stockpile.
    • Make more cheese! Ricotta, to be specific, is made with acid whey. So, if you’re dissatisfied with how much whey you end up with after making cheese, simply use it to make more.
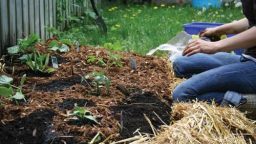
    • If all else fails, compost Raw whey is a live, active element that is super beneficial for a healthy compost pile. If you’d rather just toss your extra whey, this is the best option.


    Many of us have been surprised and even a little disappointed at how much whey results from the dairy-making process rather than the desired cheese or yogurt. With the right mindset, though, whey can be an added benefit rather than a waste product.

    If you enjoyed this, you might also like….
    Home Defense in the End Times…

    Natural Healing Secrets You Need to Know…

    Eat Like Your Ancestors…

  • The Easiest Gardening Method You’ll Ever Try

    The Easiest Gardening Method You’ll Ever Try

    A thriving garden is the beating heart of the homestead.  For many people, though, keeping a garden can be a challenge. Traditional methods require heavy machinery for soil preparation, questionable chemical fertilizers, all adding up to a prohibitive upfront cost. A great and easy method of gardening that has a very low financial demand is the “lasagna garden”.

    It was given that name because the method involves developing arable soil by composting an existing plot with layers of organic matter. You create the layers in the fall, to be ready for planting in the spring. Here’s a quick guide to get you started:

    • Select your plot: With this method, you don’t need to prepare the soil at all. That’s right, no double-digging, no weeding! Just pick an area where your garden will get the sunshine it needs that isn’t too far from your water source.
    • The first layer: The base layer of your garden will be a single layer of corrugated cardboard that smothers out even the toughest weeds. You can source this from almost anywhere, just be sure to remove packing tape if you’re recycling boxes. To prevent weeds from growing through, be sure to cover up any gaps in the cardboard with more cardboard. If your plot doesn’t have any persistent or tenacious weeds, a minimum of three layers of newspaper will work fine instead. Just before applying the next layer, thoroughly saturate your base layer with water.

      Effective Primal Diet Hacks…

    • The compost layer: This layer will be the powerhouse of your garden. Your garden is literally a compost sheet (rather than a pile or heap). Put anything in this layer you’d put in the compost, including “browns” like fall leaves, shredded paper, pine needles, and “greens” like veggie scraps, grass clippings, garden trimmings, etc. Once you’ve piled on the compostable matter, finish this layer off with three to four inches of finished compost or topsoil to be ready to plant. 
    • The mulch layer: Your lasagna garden will be topped off with the application of a couple of inches of mulch to retain the ideal moisture and temperature for your compost to break down. The best mulch materials are the ones you can source with minimal effort from neighbors, local businesses, or even your town’s Department of Works. Tried and true materials for this layer include wood chips (aged chips are best), straw, grass clippings, leaves, even tree bark! If it’s more convenient for you to purchase mulch, opt for undyed wood chips.

    Once you have your layers prepared, let them sit for a season. It’s common to start in the fall to be ready to plant in the spring, but you could do this in the spring for early fall planting, for example.

    To plant, brush back the mulch layer a bit and plot out the spots you’d like to plant your seeds. Cut holes in the cardboard for the roots to grow once the seeds begin to sprout, plant your seeds in the compost layer, and cover lightly with the mulch (as you would were you using potting soil).

    That’s it! The layers will retain moisture, so only water if the bottom layer is dry. Happy planting!

    Natural Healing Secrets You Need to Know…

  • Overnight Oats-5 Different Ways (Video)

    Overnight Oats-5 Different Ways (Video)

    I absolutely love overnight oats. They’re such a great, healthy way to have a quick, easy breakfast waiting for you in the morning.

    Overnight oats are a staple in Europe, they typically use muesli and let it sit in yogurt and/or milk overnight. Not only does the yogurt really draw out a delicious flavor in the oats, because it is acidic, it also breaks down the “antinutrients” in the grains, making them easier to digest.

    Grains are not inherently bad for you, they just typically need to have these antinutrients broken down using methods such as soaking, sprouting, or souring. Before modern industrial forms of harvesting and processing grains, one of these three steps was usually a normal part of the pre-industrial processing, so this might be one reason we have so much gluten intolerance and autoimmune disorders today! I personally find that I feel much healthier when I avoid grains for the most part, but since I am such a big fan of grains in general, I love to find healthier ways to eat them that make them easier to digest, like sourdough bread or, of course, overnight oats!

    Oats are already naturally gluten-free, but if you are gluten intolerant, make sure to choose a brand that is labeled gluten free. Oats are commonly processed on the same equipment as wheat so unless otherwise indicated, they can contain trace bits of gluten.

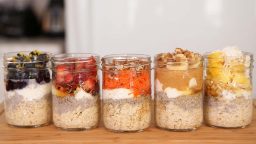
    This video features five delicious and creative ways to prepare overnight oats that seriously made me drool. But it’s also a great demonstration of just how creative you can get! You can use just plain oats and yogurt, or add in any number of the ingredients she recommends. Odds are you have some kind of dried or fresh fruit, nuts, etc. in your fridge or pantry that would be delicious in overnight oats. Enjoy!

    If you liked this, you might also enjoy…

    Holistic Medicine Basics

    Ever Considered Taking Yoga? Read this

    The Ultimate Woodworking Course..

  • Coconut Oil Candy Recipe

    Coconut Oil Candy Recipe

    In case you have been living under a rock, coconut oil has soared in popularity in recent years for being an insanely healthy superfood. Regular consumption of coconut oil will provide a multitude of benefits, including:

    • Reducing wrinkles and sagging skin
    • Fighting fungus and bacterial infections
    • Supporting the pancreas, liver and kidneys
    • Preventing Alzheimer’s
    • Easing digestion
    • Improving bone health
    • Maintains healthy blood sugar
    • Reduces cholesterol

    The problem is, most people won’t feel like swallowing a spoonful of coconut oil daily. It is, of course, easy to incorporate into your diet by cooking with it or putting in smoothies, but if you are someone with a regular sweet tooth trying to eat healthier, this delicious recipe is a godsend.

    If you love chocolate, want to eat more coconut oil, and love easy recipes, this is for you!

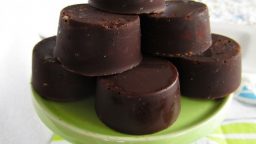
    These delicious coconut oil candies are insanely easy to make, and totally delicious. And the very best part? They’re totally healthy for you, and you have an excuse to eat them every day. Also, since the main ingredient is good-fat-rich coconut oil, they’re filling so while they’re sweet and delicious, they’re also quite filling and satisfying.

    Ingredients: 

    • 1 cup organic coconut oil
    • honey, maple syrup, agave or stevia (to taste)
    • 1/4 cup cocoa powder
    • Candy molds, ice cube trays, or a small baking pan
    • 1/2 tsp vanilla extract
    • Salt (optional)

    Directions: 

    1. First, get your candy molds, ice cube trays, or baking pan ready. You will be pouring the candy mixture into whatever container you are using and refrigerating, so make sure you’ve got space in the fridge for it. If you’re using candy molds, it can be helpful to lay them all out on a candy sheet and clear one shelf of the fridge, for example.
    2. Melt the coconut oil in a small saucepan over low heat (unless it is warm enough in your home that it’s already in a liquid state, in which case, procced to step 3)
    3. Once the coconut oil is fully liquid (don’t let it get too hot, just warm enough to be melted), stir in your sweetener, vanilla extract, the salt if you’re using it, and the cocoa powder. 2 tbs of maple syrup is what I usually use, so just taste it to see its sweet enough for you.
    4. Mix everything thoroughly, then pour into your candy molds, ice cube trays, or pan.
    5. Refrigerate for about an hour, until the candy is fully hardened. Then transfer to an airtight container and keep in the refrigerator.

    Hope you enjoy these delicious healthy treats as much as I do!

    Natural Healing Techniques Doctors Don’t Want You to Know…

    The Weight-Reducing Magic of Yoga…

    The Ultimate Woodworking Course..