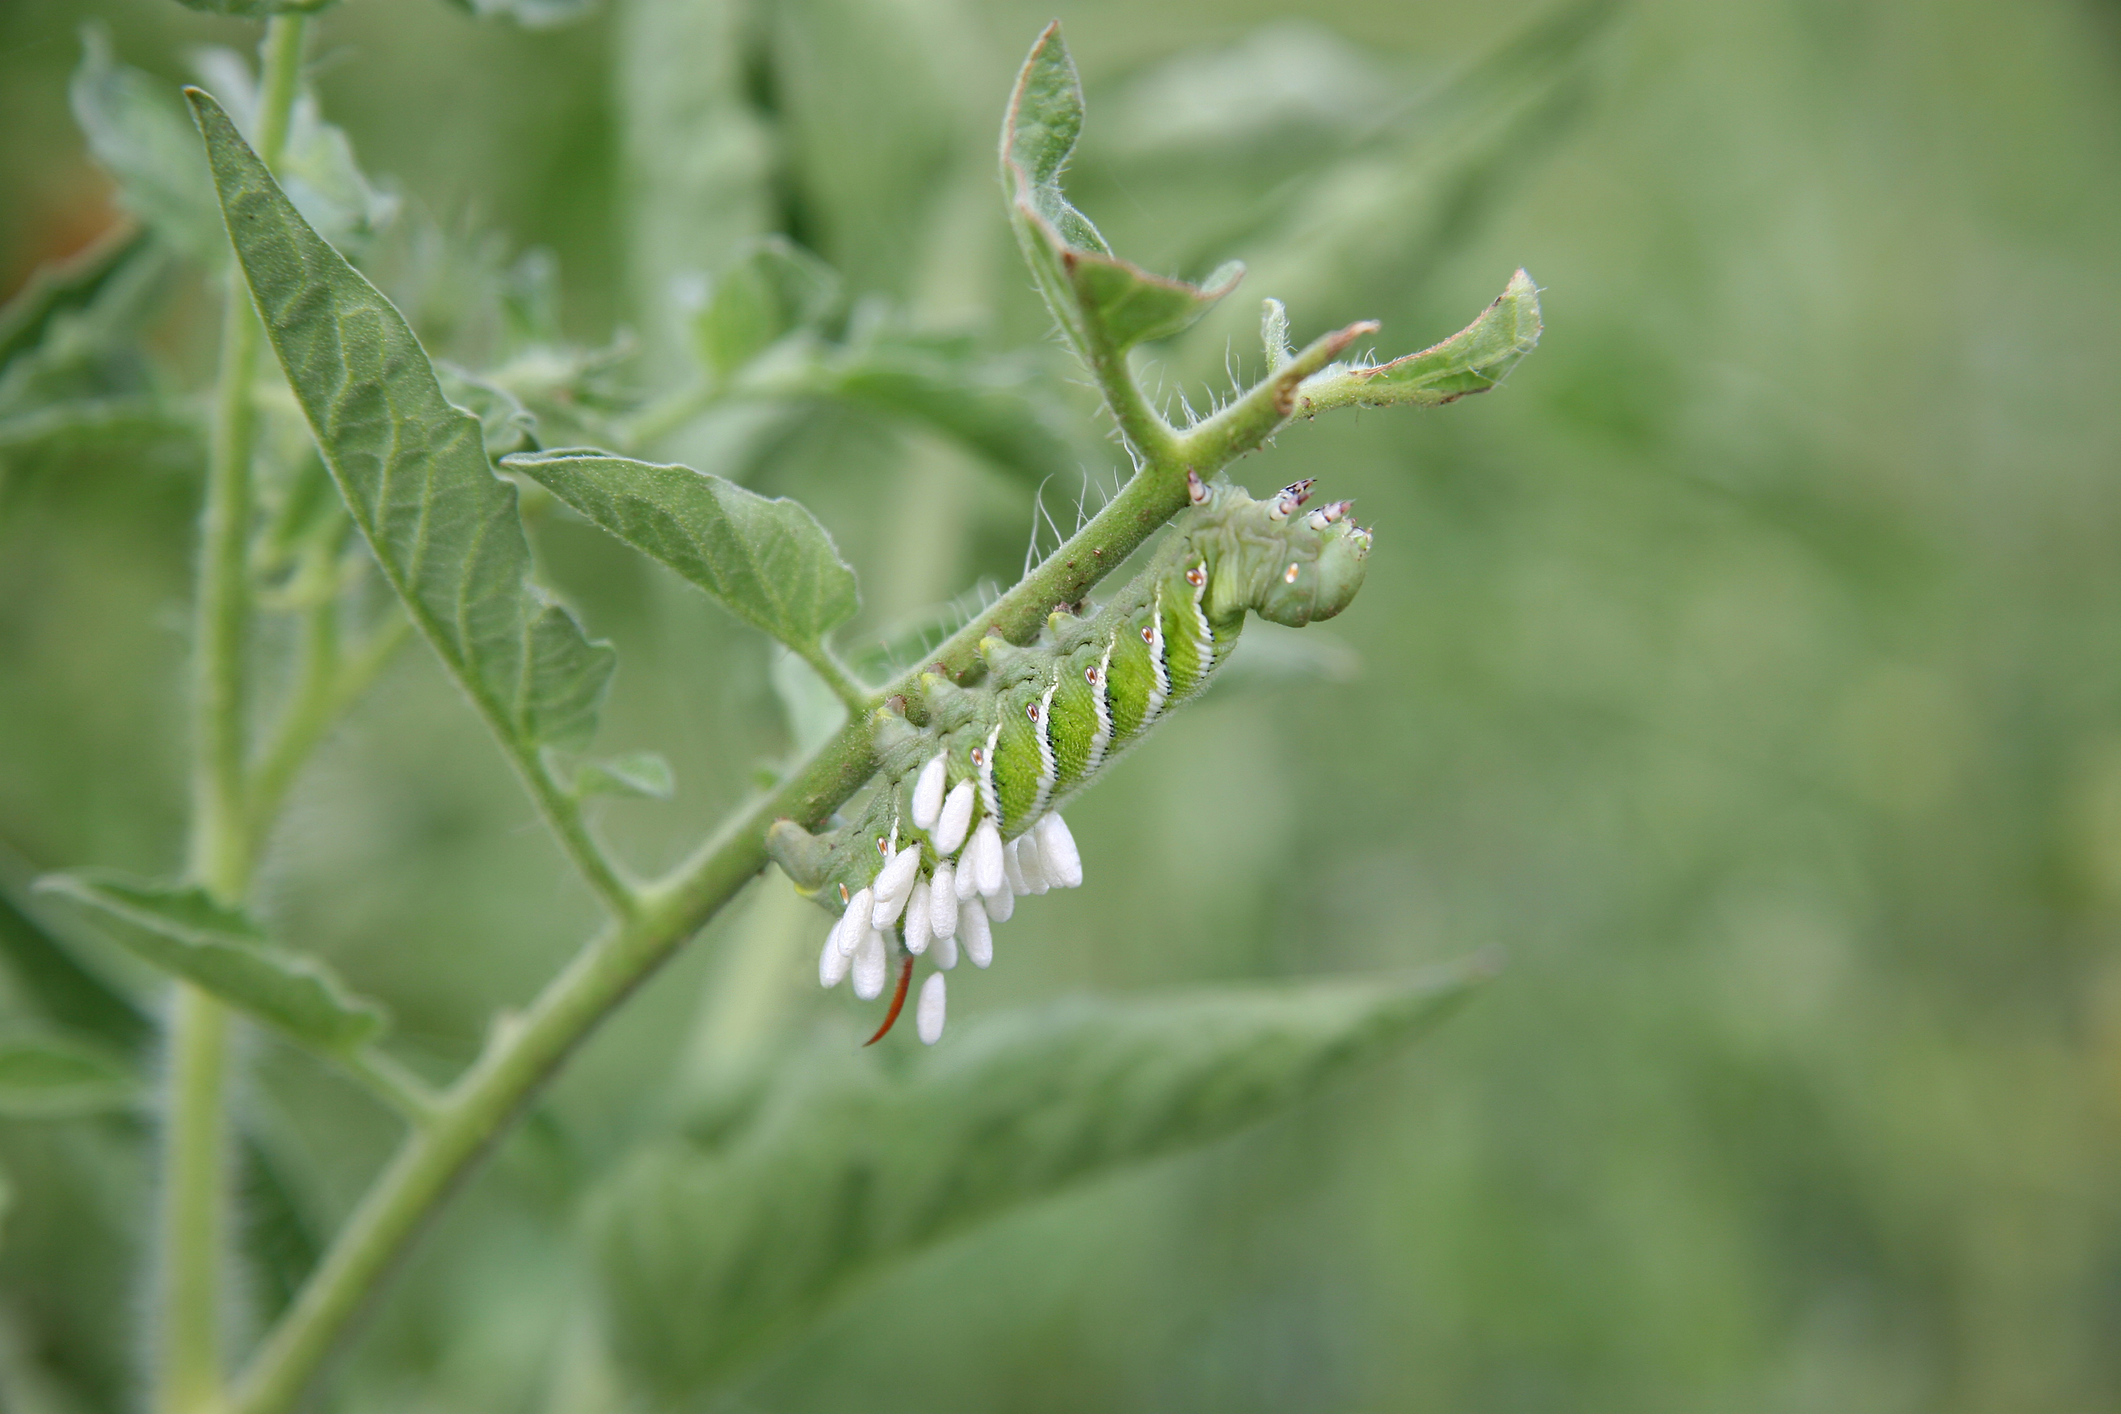
4 Ways to Solve Your Ant Problems

Ants are complicated. On the one hand, you want some of them in your garden, because they go after other insects. They protect their territory unless you’re an aphid. They’ll help aphids, which can be bad because those insects have the power to wipe out an entire garden. One of the other hand, you really … Read more