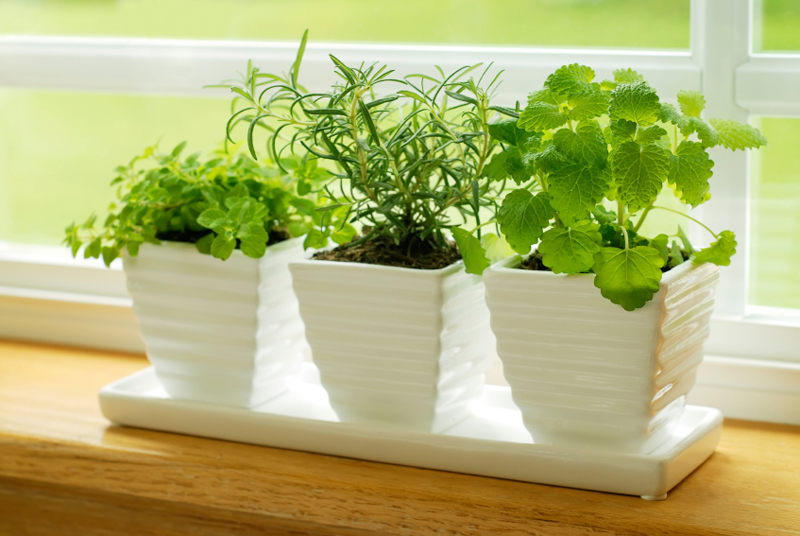
DIY Starter Containers

Whether or not you grow in containers, it’s nice to start some crops on tables, or even indoors. But for every plant that you end up transplanting into the ground, you could have started 10 or more that never made the cut. That means that if you are going to start crops in containers, you … Read more