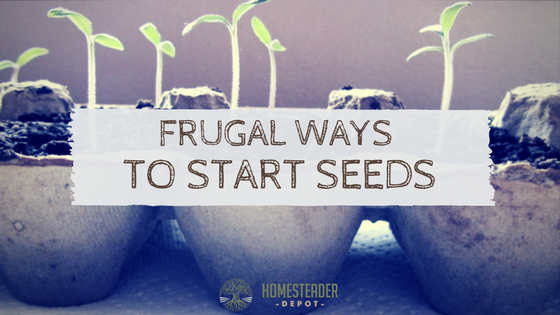
Tips and Tricks for Starting Seeds
Winter is on its last legs and it’s time to get ready for this year’s garden! If you’re in a zone with a shorter growing season or just want to stagger your crops for a richer harvest, check out these easy seed starting tricks. We already mentioned the first two in a post on frugal … Read more