Tag: landscaping

  • 7 Great Fence Alternatives for Your Yard

    7 Great Fence Alternatives for Your Yard

    Improved landscaping, privacy, and security are common reasons why people install fencing in their yards. You don’t have to necessarily use a traditional fence to produce the same effect with the many different alternatives out there. There are several that are environmentally friendly that also look beautiful. Check out seven different options that you have to choose from when it comes to creating a perimeter around your yard.

    1.    Brushwood

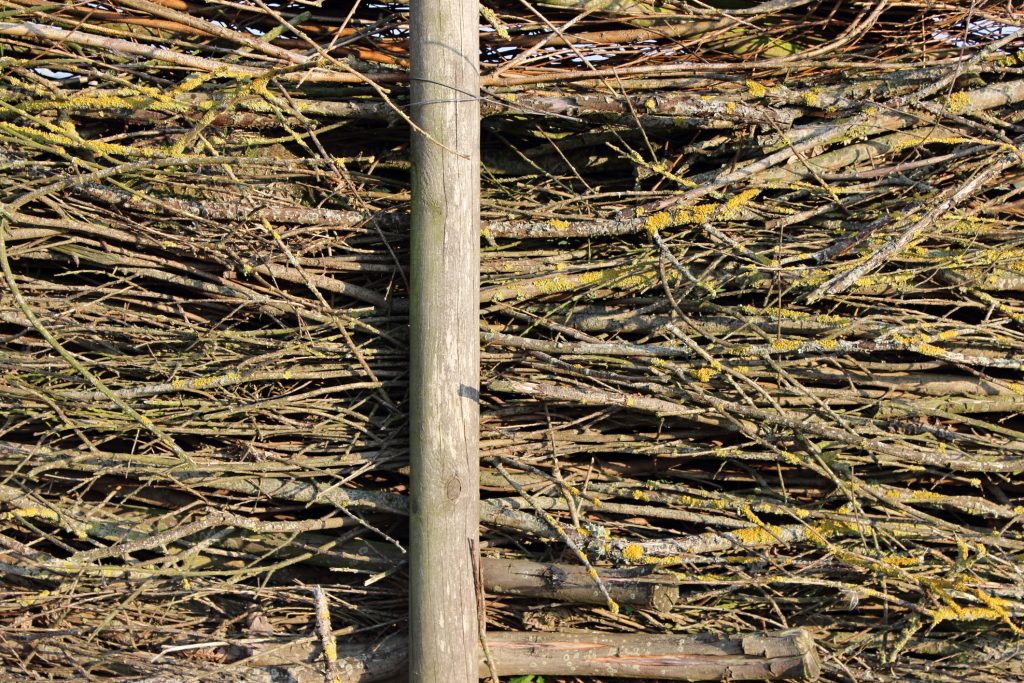
    Brushwood is a natural material that you can make yourself or buy from your local lumberyard. When you’re looking to make a barrier, but you want it to look natural, brushwood is a good option. Due to the texture and color, it blends in with the natural background. The problem with brushwood is that it isn’t water resistant and can quickly become damaged or rot.

    2.    Stone

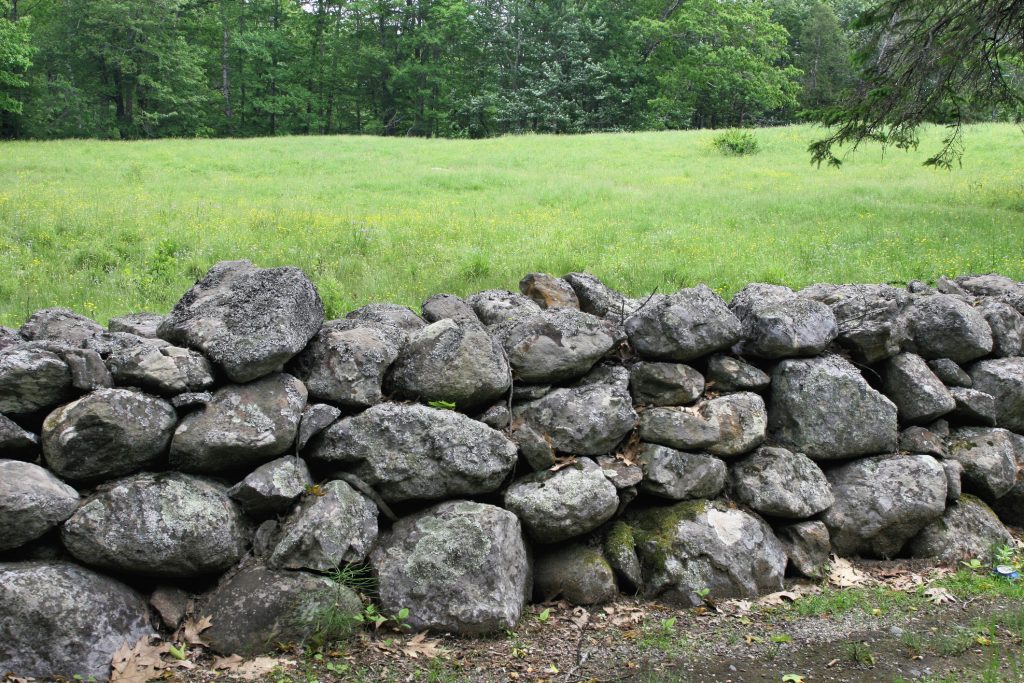
    Stone walls require no mortar so you can easily install it and change it depending on what you need. They look extremely attractive in most yards. Stone walls don’t keep wind or wild animals from doing what they do naturally. Pressure washing the stones is simple if you want to keep a clean look. You can also let the moss and plants grow for a more natural and stunning look. The rocks can be expensive to purchase and difficult to move around if they’re large is a downside to this option.

    3.    Bamboo

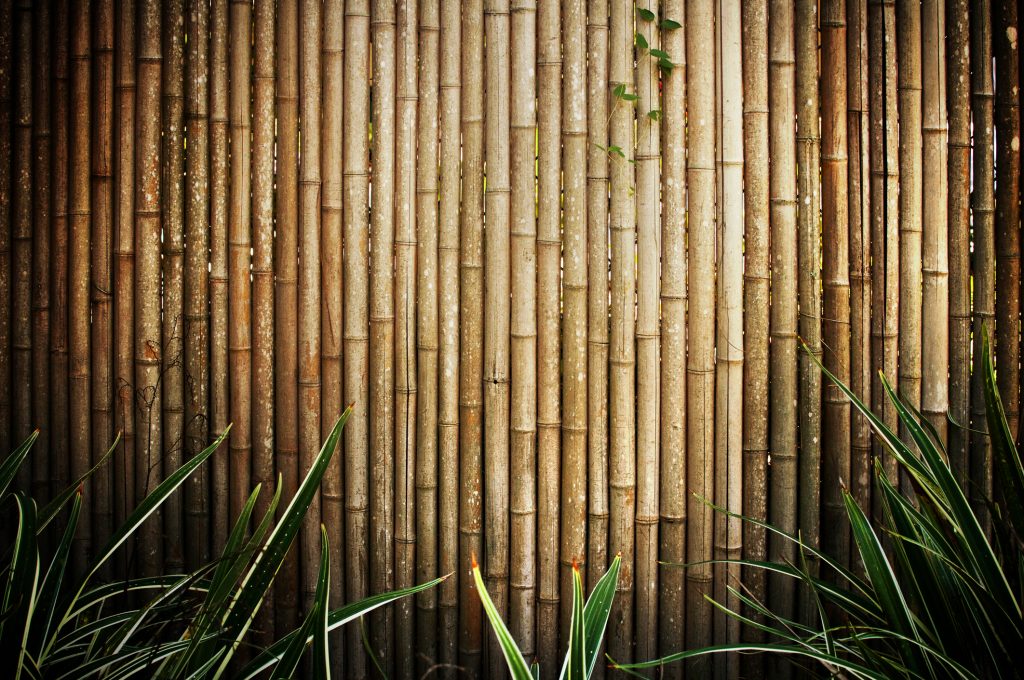
    Bamboo screens can be installed quickly, they are affordable, and they grow fast. They don’t have to be set up permanently in case you’re looking for a temporary fencing solution. There isn’t much maintenance required for bamboo. You can either cut it up and let it dry before installing or let it grow wild for a natural look. It will blend into the existing backdrop if other plants or trees surround your property. It’s recommended for small homes and cottages rather than older bigger homes where bamboo might look out of place.

    Bonus Material: Breakthrough in Electric Car Technology Powers An Entire Home>>>

    4.    Hedges

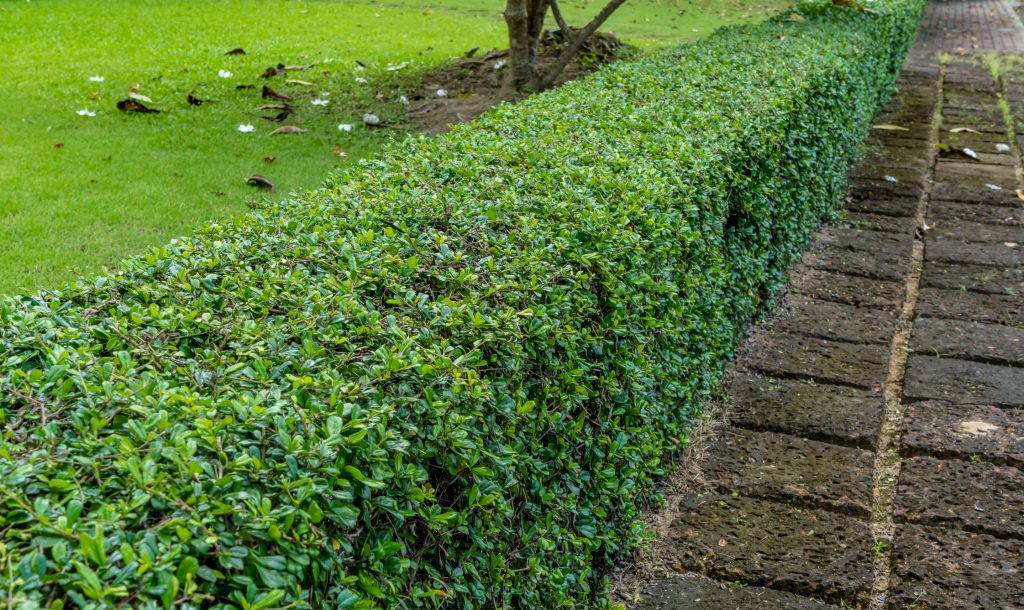
    Putting in hedging as a fence is probably the most versatile option. You get to decide what kind of plants to install so you can customize the look along with the size. If you want a tall fence, some hedges and trees can grow up to 20 or 30 feet over some time. When something shorter is desired, you can select one that doesn’t reach that height. The combinations of trees, shrubs, and flowers that can be planted to create an effective perimeter around your yard are endless.

    5.    Corrugated Metal Panels

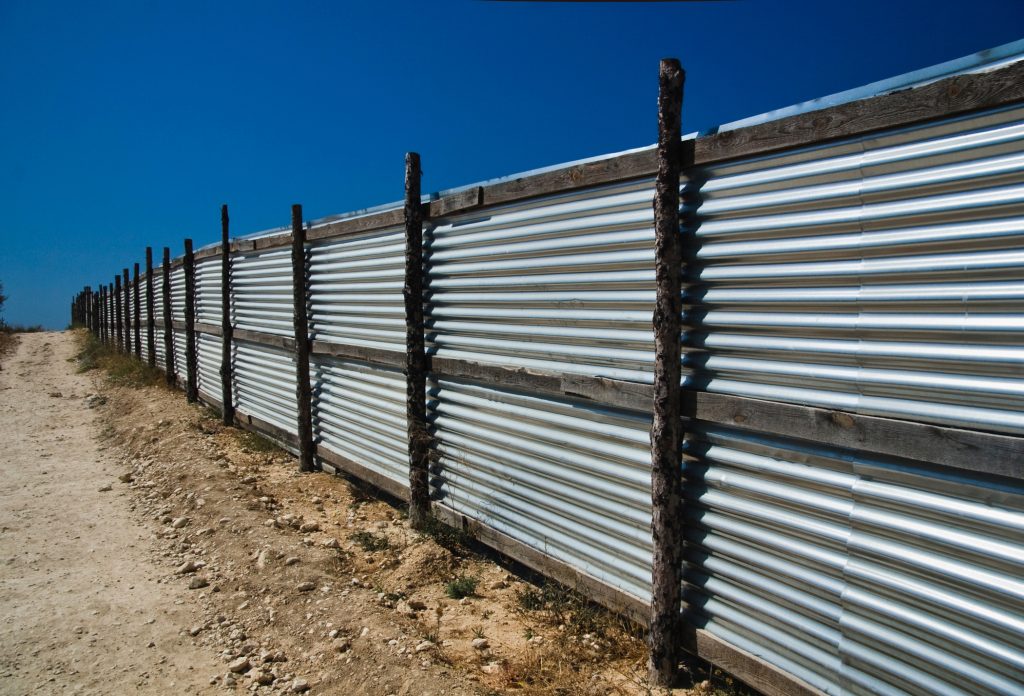
    Corrugated metal is durable and can be decorated with wood accents for a more attractive finish. It’s affordable and can be installed a lot more quickly than traditional fencing. You can give it a modern or vintage look, depending on the size, style, and design you finish it with. The metal can be expensive to purchase if you have a large area to cover. It’s not natural looking and will stick out against the rest of the property making it clear you have put up a barrier.
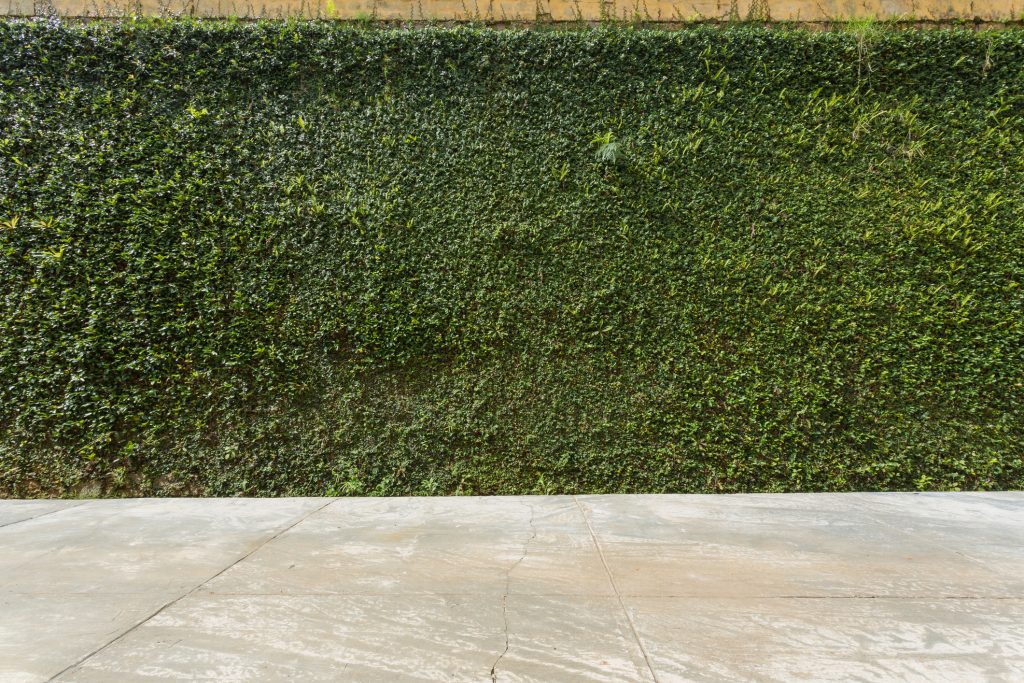
    6.    Vertical Gardens

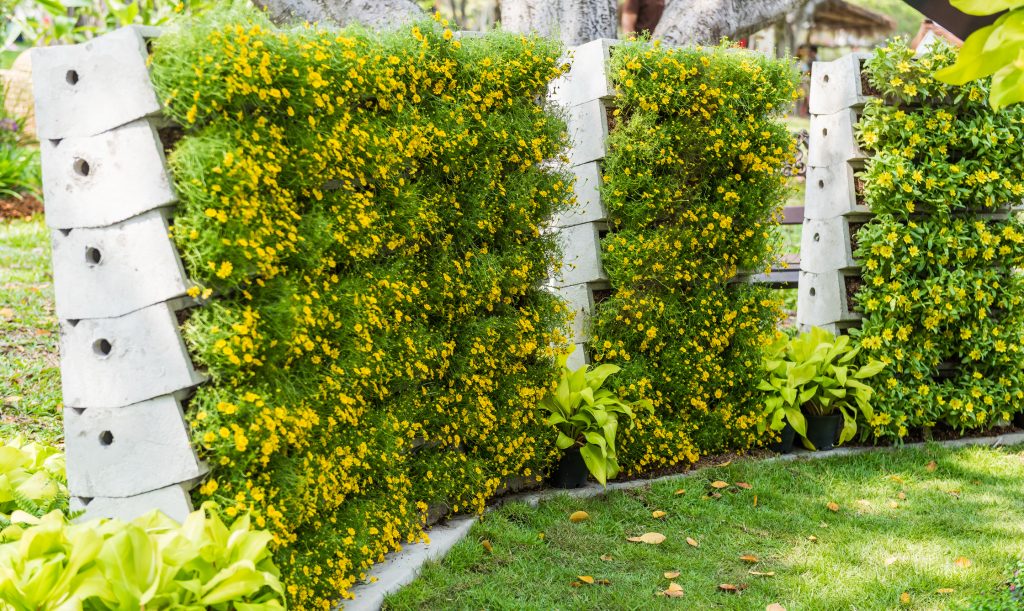
    You can construct several different vertical gardens on various platforms and set them next to one another to create a fence. The amount of coverage you’re going to get is going to depend on how dense your gardens are.

    7.    Ivy on Rope

    Running rope around the border where you want to install fencing gives you a good foundation for growing ivy. The plant will grow quickly, and you can train it to wind around your rope and then it will hang off of it creating a radiant barrier. You can also add in different kinds of flowers and plants to create a completely different look.

    As you can see, there are plenty of alternative options when deciding the type of material to use for your fence.  Some of these may not be practical for your purpose, but you should be able to use at least one or two depending on the purpose of your application.

  • DIY Recycled Planters

    DIY Recycled Planters


    When you are getting ready to start seeds for spring planting, you may find yourself with more seeds than starter containers.

    Instead of running right out and buying some at your local garden center, try digging through your plastic recycling bin instead.  Empty plastic soda and water bottles are durable enough to handle taking on plants but easy to cut down, trim and otherwise alter to create a handy little planter to suit your needs. Here are two options to create plastic planters.


    Standard Planter

    Cut or punch drain holes around the bottom of the bottle. Any easy way to accomplish this is to turn the bottle upside down and use an awl, drill or screw and screwdriver to punch through the plastic.

    Most bottles have a built-in pattern you can follow.  Just place a hole in the center of each raised area of the bottom, so when its flipped back over, the holes will be evenly spaced at the very bottom of the bottle.

    If you need to make the initial holes wider, a large screw will force the holes open more.

    Remove the top of the bottle. In case you were wondering why we didn’t do this first, leaving the top on makes the bottle more stable and easier to work with when punching the holes in the bottom.

    A good guide to measure how far down to cut is to remove the part above the top of the label on the bottle.  If that has worn off or been removed already, your best guess will be fine.

    A sharp pair of utility scissors, or a utility knife or box cutter are good options to make a clean cut all the way around the bottle.

    And, there you have it, a basic round planter that will provide good drainage for your fledgling plants.

    Self-Watering Seed Starters

    This method not only lets you keep the moisture level of your soil easier to control, but it also uses the entire bottle, even the cap, so there is no waste material going back into the recycling bin.

    1. Cut your plastic bottle in half, separating the top from the bottom.
    2. Punch a hole into the middle of the bottle cap.
    3. Take 12-18 inches of yarn or string, fold it in half and tie a loop at the end of the folded side.
    4. Thread the loop through the hole in the cap so that the knotted loop will be located on the inside of the bottle cap with the two ends hanging out the other side.
    5. Screw the cap back onto the top of the bottle, making sure the loop sits loosely inside the top of the bottle.
    6. Fill the bottom part of the bottle with a few inches of water and the place the top upside down in the bottom so that the two ends hang from the cap and get submerged in the water.

    Once everything is in place, the string/yarn will draw water up into the soil that surrounds the loop in the top.  To add water, you’ll only need to lift the top part out, fill the bottom area and replace the top.

    You’ll be able to see exactly how much water is there and know precisely when its time to top it off.

    Suggested Article: DIY Plant Propagating

    Now You Can Get Planting

    Once completed, you can use these upcycled planters like you would any other to get your seeds started.  Place them all together on a shelf in your kitchen or back porch for a delightful display that is also practical and useful.


    Take a look at this “Medicine Chest” — how to deal with a disaster using alternative medicine.  Check it out here>>>


  • 13 Drought Tolerant Plants for Low Maintenance Landscapes

    13 Drought Tolerant Plants for Low Maintenance Landscapes

    Whether you live in a desert climate, or just don’t want to use a lot of water to have a beautiful landscape, drought tolerant plants are a great option.  There are a large variety of species available to choose from, from succulents to blooming plants.  To help you narrow down your options, here is a list for you to consider.

    Cactus

    Not just for the desert, cactus plants are an obvious choice for a drought tolerant garden. They can also serve a very practical purpose.  Plant the lower lying varieties under exterior windows, and you automatically have an extra layer of protection against unwanted peeping toms and potential burglars.

    Succulents

    These adorable decorative plants have definitely stepped into the limelight lately.  Their array of interesting colors and shape make them fun to just look at.

    Popular in indoor “meditation” gardens, they are also great to use outdoors as a low maintenance addition.

    Crown of Thorns

    While the thorns may be a little scary at first, the flowers will definitely give you a change of heart.  Crown of Thorns comes in a vast array of colors, forms, and sizes.  And, like a cactus, they can also be used as a deterrent to would-be robbers that like to test the locks on windows.

    Daylily

    Considered by many to be the perfect perennial. The stunning blooms and amazing colors Daylilies offer both drought and frost tolerant additions to your landscape.

    Lavender

    Lavender is an extraordinary plant that is popular for more than its good looks.  Not only is it a beautiful flower, but its also used as an essential herb.  And, while it may have a delicate look about it, it can handle dry spells and frost equally.

    Purslane

    While some varieties of this plant are considered weeds you will work hard to annihilate; they are, in fact, a very tolerant and easy to maintain plant.  The blooms are beautiful, but that’s not all.  Purslane is also extremely high in vitamins and OMEGA 3’s!

    Yes, you read that right.  It’s practically a superfood, and most of the time it ends up in a scrap heap when it should be in your salad. You can eat the leaves raw or cook them as a side veggie. It’s even said that Mahatma Gandhi considered them one of his favorite foods.

    Blazing Stars

    These are a great all-weather option.  They can handle just about everything from dry spells to the worst of winter and bounce back.

    Bougainvillea

    Rarely will you see any garden in the Mediterranean that doesn’t include these fabulous flowers.  The stunning colors will as a big pop of color to any landscape.

    Bugleweed

    If you are working in an especially dry region, Bugleweed may be an option to fulfill all your needs.  It has a habit of being invasive, but in a container or extremely arid region, you will probably be able to keep it under control.

    Suggested Article: DIY Plant Propagating 

    Coneflowers

    A member of the daisy family, Coneflowers aren’t just attractive but are dependable in poorer soil.

    Penstemon

    Don’t let the delicate look of their blooms make you discount Penstemon.  This plant thrives on neglect.

    Scarlet Sage and Wild Sage

    This option, especially if joined up with its drought-resistant partner purple wild sage, it living proof you can have an explosion of color even in the sandiest, driest landscape.

    Butterfly Weed

    If the Monarch is your favorite butterfly, this is the plant you should choose first.  Butterflies and hummingbirds are extremely attracted to this dainty plant.  So, you’re your garden into a Butterfly Garden to bring even more interest.

  • Most Decorative Edibles for Your Yard

    Most Decorative Edibles for Your Yard

    Maybe you’ve only got a small yard or a patio, and would like to combine your vegetable garden with your landscaping. Or perhaps you can’t have a garden where you live and you’d like to grow some veggies under the guise of decorative plants. Perhaps you’re just the visual, artistic type and would like to produce food and have a stunning, attractive, decorative garden.

    Either way, there are lots of beautiful options for you to grow vegetables that are both decorative and edible! Here are some of the best:

    Basil

    Basil is a cinch to grow and just so happens to be very pretty to look at and will blend in nicely with most decorative foliage. Not to mention, it’s naturally bug repellent and smells wonderfully as well!

    Eggplant

    There’s actually eggplant you can grow that is purely decorative, but the edible kinds of eggplant are gorgeous too! There are lots of varieties available that have different colors of fruit, but they all have very stunning foliage and fruit.

    Mint

    Mint is a great ground cover crop, one that you can tuck away in virtually any corner of any garden, or grow in a pot for some very easy, pretty patio decoration. It also has many medicinal benefits and culinary uses, making it a wonderful all-purpose plant to grow.

    Swiss or Rainbow Chard 

    Both Swiss and rainbow chard have very beautiful, visually-striking stalks and gorgeous green leaves that look like deliberately planted decorative foliage. A great advantage to chard as well, is that you can pick leaves off of it regularly and it will just keep growing, so it’s a perfect plant to grow for a regular supply of nutritious, delicious, and attractive leaves.

    Beets

    Beets have very lovely little green and red leaves that are great to grow between decorative plants. You can eat the leaves themselves or wait for the root to come to fruition, either way, it’s a very pretty plant that is perfect for any decorative garden.

    If you enjoyed this, you might also like….

    Do You Have What You Need to Hold Down the Fort?

    Natural Healing Secrets You Need to Know…

    Effective Primal Diet Hacks…


  • How to Make Moss Grafitti

    How to Make Moss Grafitti

    Moss Grafitti is a really cool new trend which involves growing moss in certain formations to create words or images. It’s the height of urban-dwelling earth-loving hipster culture, but you can easily do it on your homestead to add some beauty and creativity.

    Maybe you’re looking to give your barn a bit of visual appeal, mark your property line on some trees, or just have fun with a new artistic medium. Painting with moss is a unique and ecologically-sound way to release your inner artist around the homestead.

    Here’s how:

    Choose your spot

    First, choose the appropriate place to grow your grafitti moss. Avoid walls and fences that get more than six hours of direct sun each day. Too much unfiltered sunlight does not make a good environment for moisture-loving moss. Try to choose a spot near a water source. The shallow root system of moss will thrive on almost any surface, but it needs to be porous. Glass, polished stone, and similar surfaces will not work. The best time to create your moss artwork is in the spring or fall.

    Plan and sketch

    Next, use a temporary marker or chalk to sketch your design on your chosen surface. For more intricate designs, plot a guiding grid first.

    Gather your materials

    Next, get together what you need to complete the project:

    • Two handful-size bunches of moss
    • Two cups of buttermilk or yogurt
    • 1/2 teaspoon of sugar
    • 2 cups of water
    • Blender
    • Paintbrush
    • Container for the finished product
    • Corn syrup for thickening the consistency, if needed

    Make Your Paint:

    1. Rinse and remove as much soil from the roots of your moss as possible.
    2. Break it apart into small pieces and add it to the blender.
    3. Add the buttermilk, water, and sugar.
    4. Blend until completely smooth.
    5. Test the consistency with your paintbrush.
    6. If it drips like thin paint, add enough corn syrup to achieve a thicker, viscous consistency.
    7. You want it thin enough to paint with but thick enough not to drip.
    8. Transfer to your container and refrigerate until ready to use.

    Paint! 

    When you are ready to paint your chosen surface, simply paint as you would on a canvas! Use a variety of brushes for broad strokes or fine details. Stencils also work very well. After your “moss-terpiece” takes root and begins to grow, you can trim or remove areas with a knife to shade or lighten the image. You can also spray the moss with lime juice which acts as a natural “Round-Up” on moss.


    Maintain Your Moss

    Remember, your moss medium is a living organism. You want to care for it the way you would a member of your garden. Use a spray bottle to thoroughly mist the moss every other day. In springtime and fall, the moisture in the air should be sufficient and you should only need to mist it once per week.


    Enjoy your new living artwork!

    If you enjoyed this, you might also like….

    Do You Have What You Need to Hold Down the Fort?

    Natural Healing Secrets You Need to Know…

    Effective Primal Diet Hacks…