Page 76 of 81
1 74 75 76 77 78 81
Ethan Archer – Page 76 – Homesteader Depot

Author: Ethan Archer

  • Mistakes to Avoid When Starting a Garden

    Mistakes to Avoid When Starting a Garden

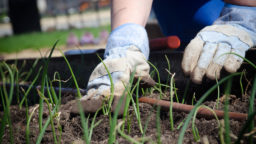
    Most gardeners don’t live in the tropics or have acres of land to spare, so choosing the right crops and materials to start a garden with is something you aren’t going to want to take lightly.  It could be a third of the way through your growing season before you realize that you wasted all of that time, energy, money, and space in your garden just to grow crops that you aren’t going to benefit from.

    Over-enthusiastic seed purchases

    One thing to avoid is getting your ideas of what crops you are going to grow from a seed catalog.  Seed sellers don’t make most of their money off serious gardeners that have mature gardens already in place. Gardeners with a garden that is several years, or even decades old, are going to be able to get the bulk of their seeds for the following year from the crops they are already growing.  Beginner gardeners who don’t have a seed stock of their own and in many cases don’t know what crops to grow are most likely seed catalog’s biggest customers.

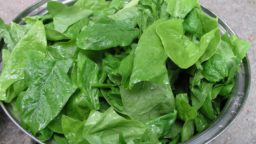
    If you are, as most beginning gardeners are, working with limited space and resources, then you don’t need to grow 15 different types of basil and kohlrabi (which you probably didn’t know existed anyway until you saw it in the seed catalog).  Try to grow crops that represent the nutrients you need and are already eating.

    Extravagant soil 

    Another thing to avoid is buying good soil to start your garden and then buying an expensive rotating compost bin as well.  If you are starting out in poor soil and adding amendments like potting soil or bagged compost to your existing ground, then you are probably going to need to add more long before you are going to be able to harvest any from your rotating compost bin and your money would be better spent little by little on bags of compost.  If you are buying soil to start raised beds, then you are going to have enough nutrients in the soil already and be spending plenty of money to start out with.

    Your money will go further if you simply buy compost to start your garden and at the same time make a compost bin out of chicken wire and two stakes which will cost you less than $15 compared to over $100 for a rotating bin with much less capacity.

    Gardens should be, among other things, a means to save money, not an added expense.  And there is no reason for them to be.

    If you like this, you might also like:

    Advanced Gardening Course To Accelerate Your Food Production…

    Survival Medicine & Wilderness Survival…

    Survival Techniques From Long Ago, Re-purposed For The Modern Era…

  • 2 Ways to Preserve Spinach

    2 Ways to Preserve Spinach

    Spinach is a very easy vegetable to grow, and it offers a ton of nutrients. Plus, it’s tasty, and you can use it for numerous recipes. Of course, if you want to use your spinach after the growing season is done, you’re going to have to know how to properly preserve it. Here are a couple of simple preservation techniques that will keep your family eating spinach all year long.

    Dehydrated Spinach

    Rinse your spinach, remove any brown or unappetizing spots, and cut off or tear out thick stems. Once your leaves are prepared, lay them out evenly on a tray and place them in your dehydrator (or oven) and dehydrate your leaves for between three and four hours at 125 degrees. Basically, you want them to crumble when you touch them but not to be burnt.

    Now you can use your dried leaves to make a powder for sauces and smoothies, or you can crush them and add them to other dishes, as well.

    Homemade Frozen Spinach

    Do the same prep you’d do for dehydrated spinach, but you don’t have to worry about removing large stems. Once you’re done with this, chop your spinach leaves and stems up, and then put them in a pot of boiling water for 60 seconds. Take them off the heat, strain them, and immediately throw them in a bowl of ice-cold water.

    Once they’re chilled, spread your leaves and stems on a towel and let them dry. Once dry, pack them into freezer-proof bags and throw them in the freezer. Now your family will have ready-to-cook frozen spinach from your garden all year long.

    What do you think? Would you use either or both of these methods to preserve your spinach and enjoy its delicious nutrients for the rest of the year?

    Sources:
    http://montanahomesteader.com/preserving-spinach/
    http://dorisandjillycook.com/2010/06/11/three-ways-to-preserve-greens/
    http://www.thekitchn.com/we-tried-3-ways-to-store-salad-greens-and-heres-our-winner-tips-from-the-kitchn-211770

    If you like this, you might also like:

    Advanced Gardening Course To Accelerate Your Food Production…

    Survival Medicine & Wilderness Survival…

    Survival Techniques From Long Ago, Re-purposed For The Modern Era…

  • How to Make Yogurt

    How to Make Yogurt

    Yogurt has increased in popularity in recent years, and for good reason. It’s a wonderful source of healthy fat and protein as well as millions of beneficial probiotic bacteria. It’s also delicious!

    Did you know you can make your own easily at home? Yogurt is nothing more than cultured milk, and, like sourdough, all you need is a starter to get going-which is actually just about 1/4 of a cup of yogurt!

    There are many different methods for making yogurt, and this is simply one of them. You can make it in a specially-designed yogurt maker, in a crock pot, even in an oven or a crock. You’ll have to figure out what works best for you, but this will give you a good idea of the process and what you might need to start your own yogurt making process!

    (Note: this recipe is for regular pasteurized milk, not raw. We’ll have to do a recipe on raw milk yogurt in the future)

    What you need: 

    To make yogurt, you only need a few things:

    • Quart mason jar
    • Candy thermometer
    • Sauce pan
    • A quart of organic milk (not ultra-pasteurized)
    • 1/4 cup yogurt starter (yogurt with “live active cultures” on the package, only use plain with no added ingredients)

    Instructions: 

    1. Bring 6 cups of milk to 160-175 degrees F on the stove. Watch closely-it gets hot very quickly.
    2. Allow the milk to cool to 110 degrees. Check frequently-you don’t want it to get too cold, it has to be right at 110.
    3. Skim off any layer that has formed once the milk is cooled to 110, and pour into the mason jar. Add your starter and mix thoroughly.
    4. Put a lid on the jar and keep at this temperature. This is the trial-and-error part, and you’ll have to figure out the best way to do this for you. You can wrap the jar in towels and put in an insulated grocery bag or cooler, or even the oven (turned off) with the light on. You can also just place the jar in a crock pot filled with an inch or so of water if you can set the temperature to 110.
    5. Check it 12 hours later to see if it has turned into yogurt. Check carefully to retain the heat if you need to let it sit for another 12 hours.
    6. To get a thicker yogurt, you might want to strain it through cheesecloth in a bowl in the fridge overnight. Either way, store in the refrigerator and use within 2-3 weeks. Enjoy!

    If you like this, you might also like:

    Advanced Gardening Course To Accelerate Your Food Production…

    Survival Medicine & Wilderness Survival…

    Survival Techniques From Long Ago, Re-purposed For The Modern Era…

  • Tips for Keeping Chickens Warm This Winter

    Tips for Keeping Chickens Warm This Winter

    We recently covered how to care for chickens in hot weather, but as fall seems to be whizzing around the corner, we thought it would be a good idea to cover how to care for them in cold weather, because it’s important to plan ahead. It’s simpler than you think really-chickens can, with the right conditions, keep themselves warm surprisingly well.

    1. Let them breathe

    It seems like you’d want to make their coop completely insulated and airtight to protect them from harsh winter weather right? Wrong. While insulation is very important, and you should start fixing leaks in the roof and putting up fiberglass or foam insulation where you can, it’s also important to ensure proper ventilation in your coop. Chickens produce a lot of moisture that needs to be able to escape, and as they also produce a pretty decent amount of heat on their own, this will breed harmful mold that is more likely to kill them than the cold, so make sure there’s still some airflow through the coop.

    2. Keep them hydrated

    It’s very important that chickens have regular access to clean, fresh water throughout the winter months. Make sure to check it and refill it every day, especially as it might be in danger of freezing! This will help them keep themselves warm and keep their poop clean (eh, cleaner).

    3. Try the deep litter method

    A similar method is done for cows in winter barns with hay, this super cool natural way of trapping in heat harnesses the nitrogen in the chicken’s droppings and helps keep them warm. Line the coop with a thick layer, about six inches, of litter and/or hay, straw, wood chips, leaves, etc., then turn once or twice a week, removing wet portions, paying special attention to areas under roosts, and replenishing if necessary. (Hint: this will make some awesome compost in the spring!) You can even toss in some feed to encourage them to scratch it up and turn it too!

    4. Allow for ample roost space

    Chickens need proper roosts to be able to keep warm. If they sleep on the ground, they will loose too much heat. They need ample room to perch, and for their claws to wrap all around the roost to be able to keep them protected from frost bite. If you see your chickens sleeping on the ground or in nesting boxes, they need more roosting space.

    5. Give them room

    In the coop, if you have a larger space, you might want to section off a smaller space by hanging plastic sheeting to give them an area where they can roost and share body heat, because a smaller space will be easier to heat up. Wherever they are, make sure they also have room to scratch-because that’s almost all chickens do all day, you don’t want the poor things to get bored! If you do section off part of the coop for roosting, consider leaving another part for scratching, or make them a covered run for the daytime.

    Sources: 
    http://premeditatedleftovers.com/gardening/how-to-care-for-chickens-in-the-winter/
    http://www.backyardchickenproject.com/keeping-chickens-warm/

    If you like this, you might also like:

    Advanced Gardening Course To Accelerate Your Food Production…

    Survival Medicine & Wilderness Survival…

    Survival Techniques From Long Ago, Re-purposed For The Modern Era…

  • A Simple Guide to Alternative Flours

    A Simple Guide to Alternative Flours

    There are many reasons people are flocking to alternative flours today. Gluten intolerance is becoming very common, but there are also many diets that eliminate wheat or grains, such as the whole 30, primal or paleo diets. There are a few reasons gluten-free and grain-free diets can be beneficial for your health, but that’s another post for another today. Today we’d just like to discuss a few of the basic non-wheat flours. This is useful to know for homesteaders, in case you’re interested in growing and milling some of your own flours.

    A note: all grain-free flours are also gluten-free, but the distinction here is that the “gluten-free” flours are not grain-free. 

    Grain-Free Flours 

    Coconut flour: coconut flour is one of the more popular alternative flours on the market right now, and is highly nutritious (as is almost every coconut product). It is rich in fibers and vitamins. It’s texture is gritty and because it is grain-free, is most commonly used in grain-free diets. It can be rather expensive, but most recipes that call for it don’t require very much.

    Almond flour: definitely the simplest of these flours to make at home, you can just soak, grind up, dehydrate and re-grind almonds. Like coconut flour, this is expensive at the store, but you also won’t use very much per recipe. With a lovely flavor, this has all the nutrients of almonds: iron, protein and omega fatty-acids.

    Arrowroot powder: A very light flour, it has a consistency like corn starch and can be used in just the same way. Like coconut and almond flour, this is another grain-free option for paleo recipes, and when combined with egg and milk, imitates gluten very well.

    Tapioca flour: Very similar in consistency and usage to arrowroot powder, the two are virtually interchangeable. Another grain-free flour, this is a great item to have on hand for grain-free baking.

    Garbanzo flour: Almost always found in any pre-mixed all-purpose gluten-free flour, it is very effective in gluten-free recipes as far as imitating the binding effect of wheat. The one set-back is the distinct taste, so it’s best used in savory recipes.

    Gluten-Free Flours

    Corn flour: Distinct from corn starch and corn meal, all three have different textures from each other but are all great options for gluten-free baking. Corn flour is the most similar in texture to wheat flour and is typically used in dishes like masa harina or tamales.

    Rice flour: Known for its gritty flavor, rice flour definitely needs to be used with other flours, but will add a wonderful nutritious value and flavor to whatever it is used in.

    Sorghum: Sorghum imitates the consistency of wheat flour very nicely, so it is a great addition to any gluten-free flour blend. It has a lovely texture and flavor.

    Other flours worth mentioning: quinoa, fava bean, potato starch and potato flour, amaranth (grain-free), teff, millet, buckwheat, oat, millet (gluten-free)

    If you like this, you might also like:

    Survival Techniques From Long Ago, Re-purposed For The Modern Era…

    Advanced Gardening Course To Accelerate Your Food Production…

    Survival Medicine & Wilderness Survival…

  • How (and Why) to Render Tallow

    How (and Why) to Render Tallow

    Tallow used to be commonplace a few hundred years ago, before it was replaced with mass-produced cooking oils like canola, corn and soy. What it is is rendered animal fat, (it’s normally called tallow for beef fat and lard for pig fat, but the same principles apply for each) and it can be used in many ways.

    Why Render Tallow

    The reason this is ideal for a homesteader is it’s always ideal to use every part of a butchered animal, and tallow gives you a great way to use up all the fat. But it’s not just useful-its super healthy and nutritious. Tallow is rich in Vitamin K, which is essential for bone health, cognitive function and heart health, Conjugated linoelic acid which regulates the immune system and maintains a healthy heart, and has also been suggested to contribute to weight loss, and omega-3 fatty acids, which can help with heart health, eye health, a healthy pregnancy, cognitive function, balancing mood and lowering cholesterol, to name just a few.

    How to Use

    Tallow can be used for frying and cooking, in place of butter or cooking oil, as an ingredient in lotion or cosmetics, and even to condition leather or as a lubricant for certain farm equipment. Probably one of the most efficient uses for tallow is for making pemmican, an incredible, super-nutritious survival food that can last for years.

    How to make: 

    To make tallow, you will probably want to start by looking up a recipe specifically for the animal who’s fat you are rendering, just to get an idea of specifics about that fat in particular, but for the most part the process is going to be the same.

    • First, you will want to start with frozen or refrigerated fat. This is how it should be stored before you render it. When you’re ready to make it, cut it up into small pieces or pulse in a food processor until it is broken up.
    • Then, you’ll want to put on very low heat over a stove. The key is not to burn it. A stove thermometer is handy here, keep it between 200-250 degrees. Stir pretty much constantly to prevent burning.
    • Once it is all melted, you need to strain it out. A metal mesh strainer will probably work well, or a colander lined with cheesecloth or a coffee filter. The liquid will be very hot, so as you strain it, make sure it is into something like an old coffee cup or sturdy heat-proof jar.
    • Once it is cool, it will be ready to store. It can keep at room temperature for up to a month, or in the refrigerator for a few months. It will keep in the freezer for up to a year. And that’s it! Enjoy your fresh, healthy, useful tallow.

    Have you ever rendered tallow? 

    If you like this, you might also like:

    Survival Techniques From Long Ago, Re-purposed For The Modern Era…

    Advanced Gardening Course To Accelerate Your Food Production…

    Survival Medicine & Wilderness Survival…

  • Dairy Cow Basics

    Dairy Cow Basics

    Dairy cows are a wonderful addition to any homestead. The nourishment their fresh milk provides is liquid gold-raw milk is highly nutritious and can produce delicious, top-notch butter, cream, buttermilk, cheese and yogurt. I think when anyone thinks of farming or homesteading, they think of owning a dairy cow.

    If you’re interested in getting a dairy cow, here are a few basic considerations:

    Your Homestead’s Capacity

    What breed of cow, how many to get, how often to breed and what to feed the cow(s) will depend on your homestead, what facilities you have, how much acreage you have, how much milk you want and how often you can milk them.  For example, inn many parts of the country, cows will require a winter barn, where they can keep warm and will need to be fed, watered and have their pens cleaned out regularly. Or, how much hay you will need to feed them depends on how much grazing they can do. What breed you should buy will vary based on some of these considerations, as some breeds are small and produce a lot of milk, others produce a lot of milk with lower fat content, etc. First assess the capacity your farm or homestead has before researching what type of breed will best suit that.

    Find a Mentor

    If you know someone who already owns or has owned cows, they will be an invaluable resource for you (and possibly even be able to provide you with a cow!), especially if they live in your area and can talk you through the specifics of owning cows in your climate. If you don’t know anyone, there are plenty of books available on the topic and probably even dairy cow owners associations or 4H resources at your disposal.

    Find an Experienced Cow

    A very good place to start with dairy cows is to get a cow who is experienced herself with being milked! As you learn to milk, it will be very helpful to have a heifer who is comfortable with the whole thing. Cows get used to being milked and even come to enjoy it, so it will make the whole experience much smoother if one of you knows what you’re doing at first.

    Get Prepared

    Not just for all of the above-but anything that could potentially go wrong with the cow or require medical attention. dairy-cows
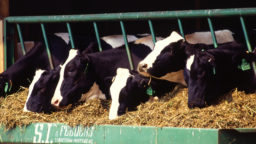
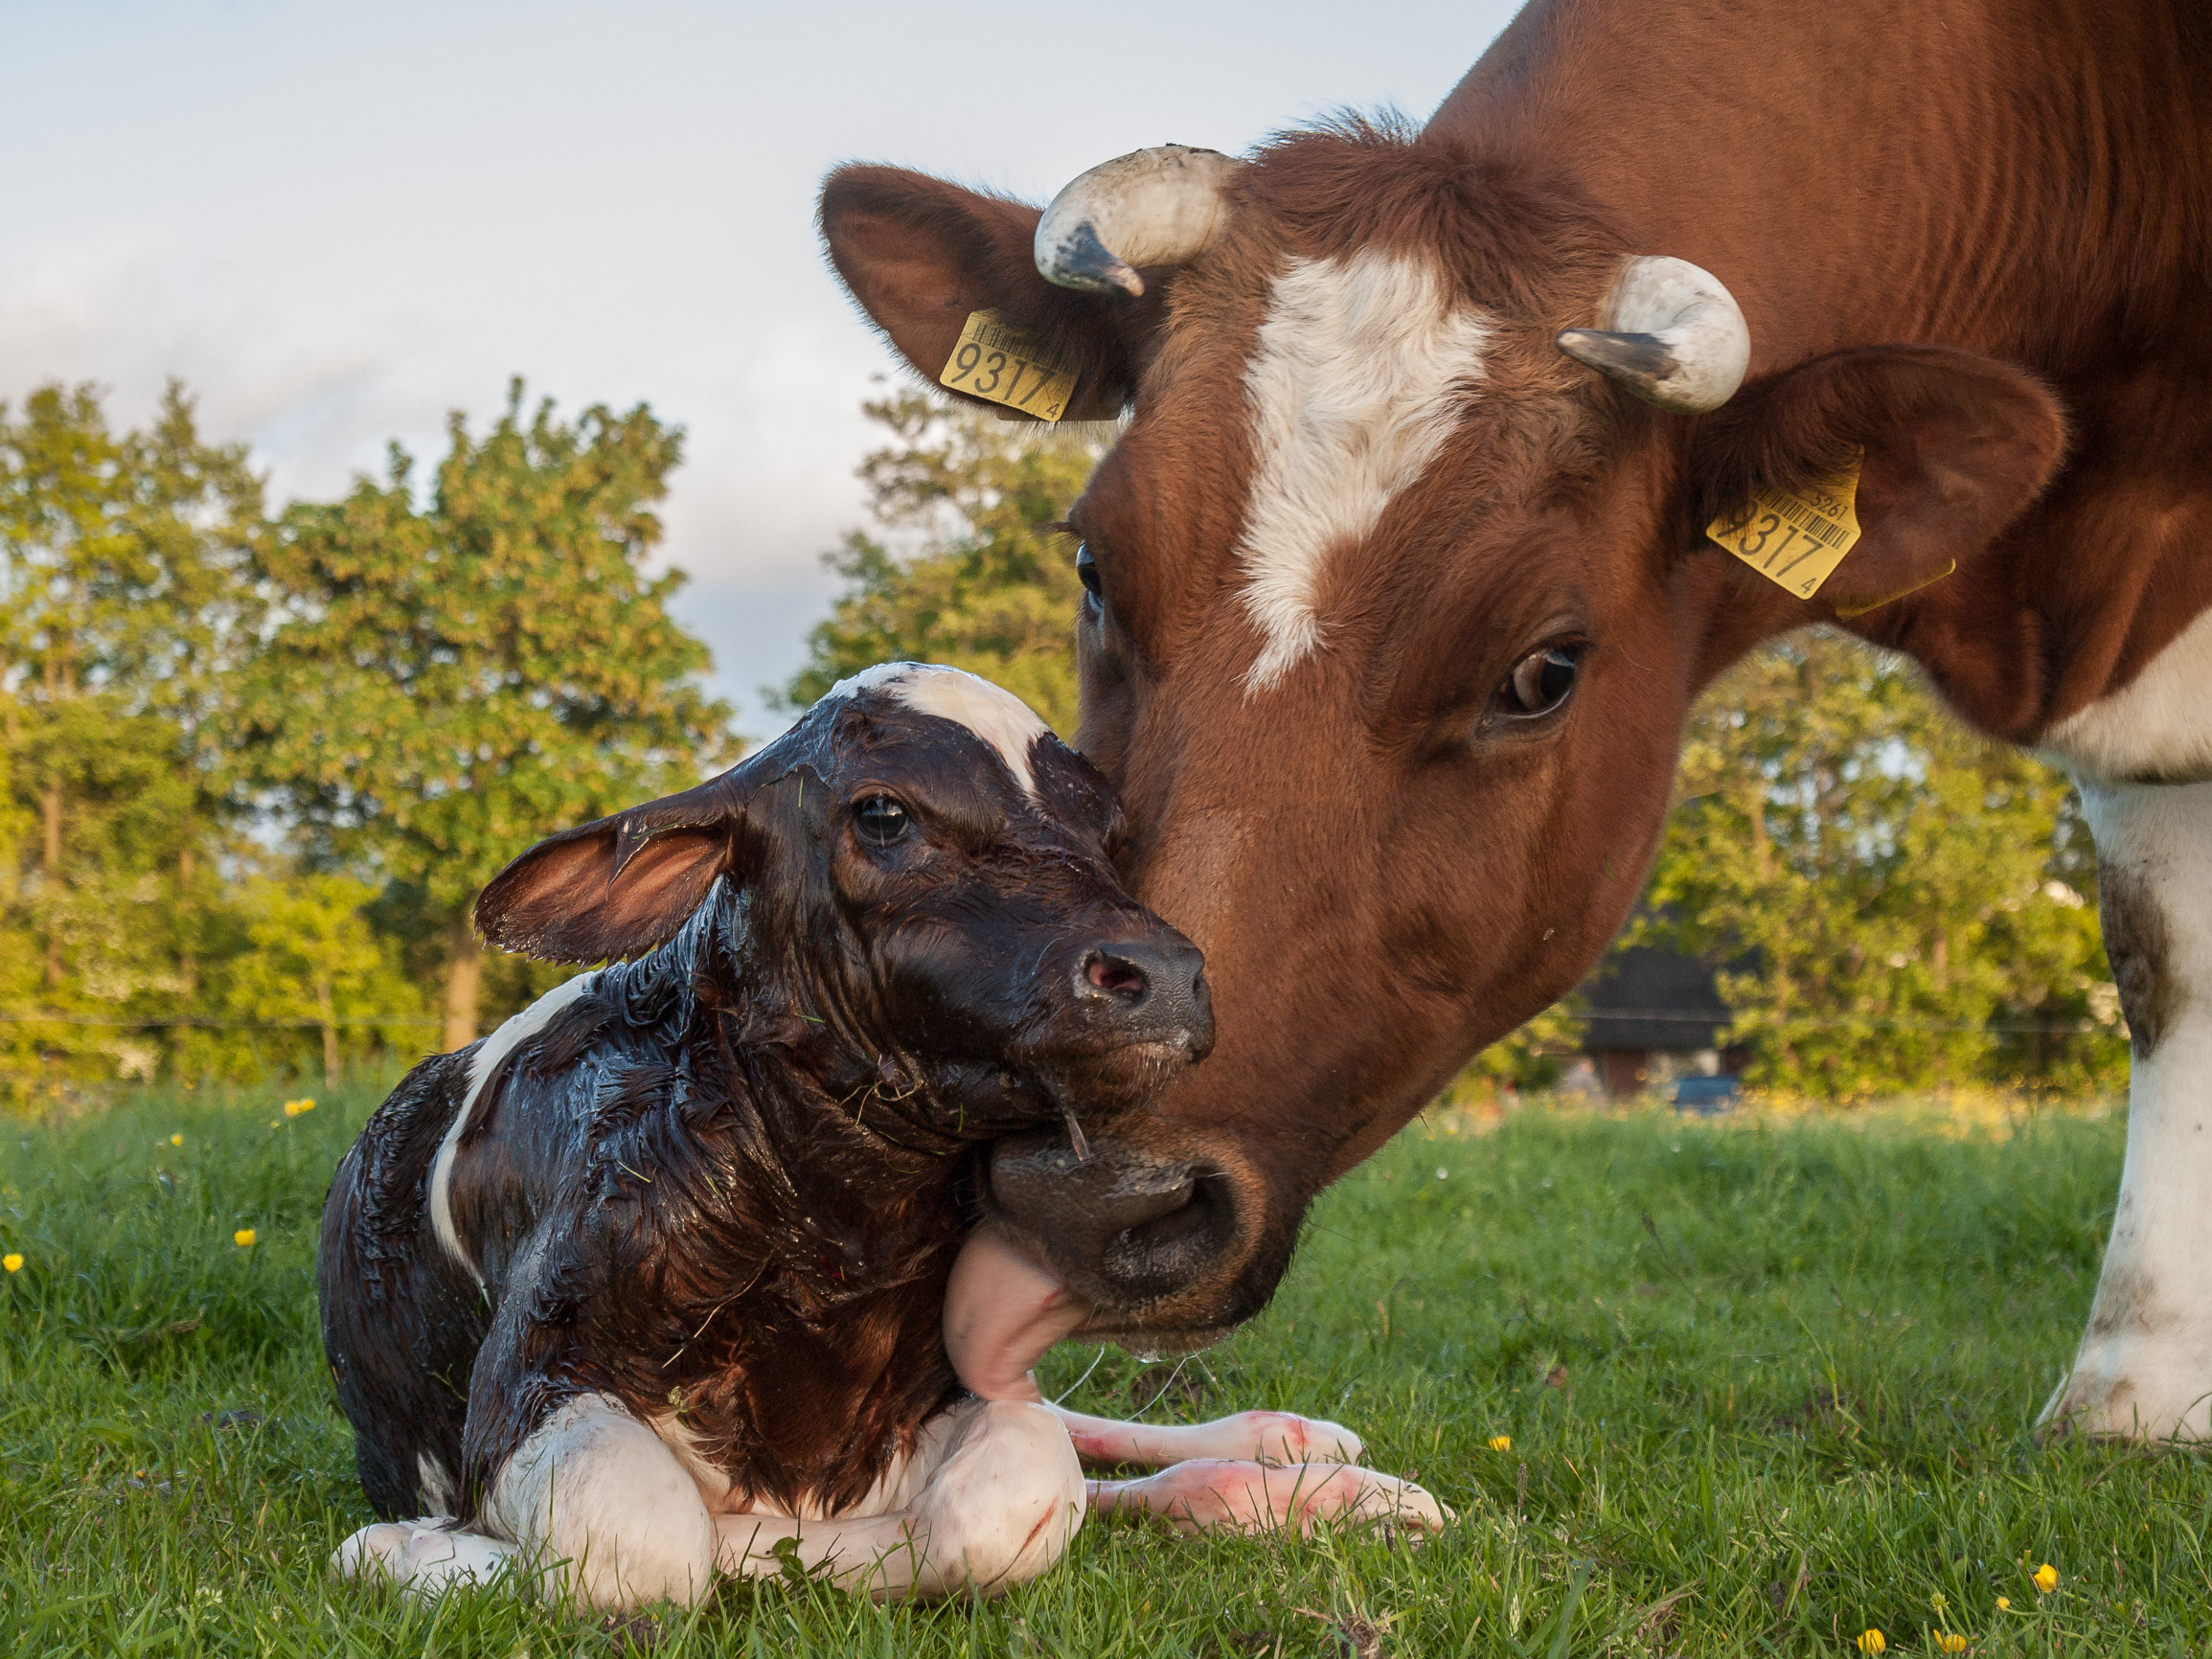
Research all the common maladies that can happen to cows-mastitis and milk fever are at the top of the list-and get yourself set up to treat them properly. Most people will want to breed their cows once a year to keep a fresh supply of milk (if you continue to milk a cow after her calf is weaned she can lactate for several years, but it is best to breed her once a year to replenish her milk production), so learn everything you can about calving. Find a good big animal vet in your area.


    Dairy cows pour all their heart and soul into their milk production, so its important they get the best care they can. Before you consider getting one, make sure you have the resources and time needed to care for them properly. They will certainly make it worth your while!

    If you like this, you might also like:

    Advanced Gardening Course To Accelerate Your Food Production…

    Survival Medicine & Wilderness Survival…

    Survival Techniques From Long Ago, Re-purposed For The Modern Era…

  • 4 Crafty Ways to Reuse Mason Jars

    4 Crafty Ways to Reuse Mason Jars

    Mason jars. Are they not one of the best inventions of all time? Originally designed for canning, mason jars (or Bell, or Kerr, or other canning jars…wide-mouth canning jars are just all-around awesome) have so many uses. They’re sturdy, difficult to break, have a big capacity-well, a quart!

    Lately, the annals of Pinterest have shown us that there are dozens of ways to use mason jars, so we picked a few particularly clever uses.

    Mason Jar Herb Garden

    Probably the most homestead-applicable, a simple mason jar herb garden is pretty much exactly what it sounds like! In lieu of drainage, you simply place rocks or marbles at the bottom of the jar, then fill with potting soil, and finally your direct-sow seeds or plant your herb starts. This would make a great project for early fall, so you can enjoy fresh herbs inside throughout the winter.

    Suggested Article:  Five Ways to Preserve Herbs

    Fragrant Mason Jar Oil Lamps

    This requires a bit of craftiness, but it would make an awesome holiday gift and is also so pretty and rustic looking it’d be a great addition to any homestead decor. There are a couple of different methods – here’s one that’s perfect for the holidays. The cool thing about this one is you can add herbs, fragrant leaves, cinnamon sticks, or citrus peels that make a wonderful smell with the lamp is burned, and also make for a beautiful display.

    Weather-proof Matchbox

    A very un-glamorous but fantastic way to use a mason jar. A great option for a bug-out bag or camping. You simply fill the mason jar with matches, then cut the strike-anywhere surface off the box and affix to the lid of the mason jar. You have your matches protected from moisture and can strike them right on the lid of the jar. Perfect!

    Solar Lights 

    Ever try out those cheap solar lights to illuminate your paths only to find they get knocked over and broken in a stiff breeze? Well, you can simply remove the tops of these and place in-you guessed it-mason jars! You’ll have to pick some that fit a mason jar, of course, but these will illuminate the solar light beautifully and look way more stylish and rustic than those cheap plastic lamps. The glass will, of course, be breakable too, but being sturdier and heavier than the plastic lamps simply speared in the ground, they’re likely to hold up better. You can even bury them in the ground a few inches to ensure they don’t get knocked over easily.

    Related Article:  Solar Energy Options for Homesteaders

    These are just a few ideas for ever-versatile mason jars-I’m sure if you think outside the box you can think of cool ways to use them too! Ever tried a mason jar DIY craft?


    [Bonus] Never Buy New Batteries Again – Try this trick to recondition and reuse old batteries>>>