When planning a survival garden, it’s tempting to just start with a list of vegetables that you like to eat, or the ones that will offer the most nutrients and highest yields in the least amount of space. But it’s probably best to begin by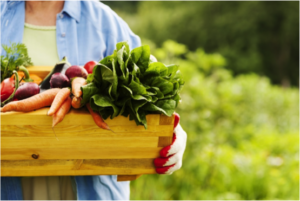 learning about your gardening zone, so that you don’t waste your time with plants that aren’t a good fit for your area.
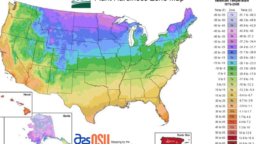
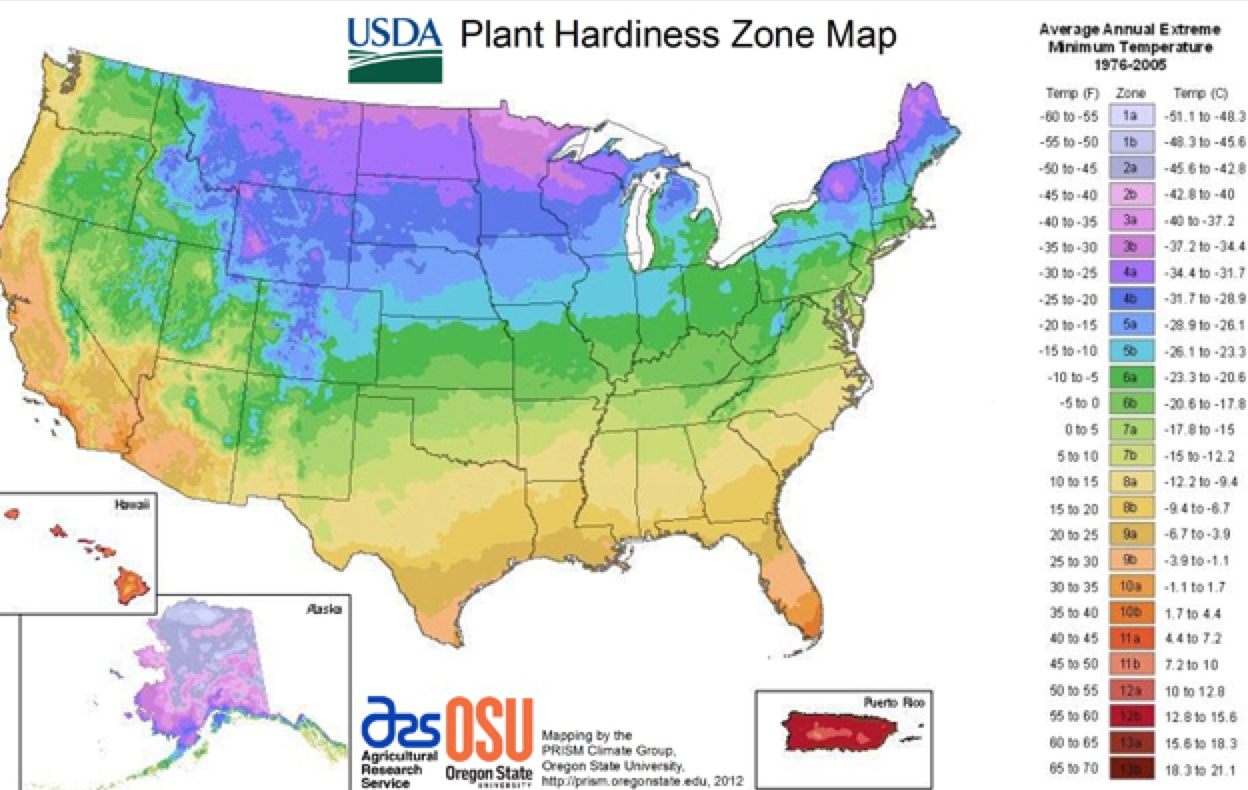
Garden zones, also called hardiness zones, are the areas that have been defined by the USDA, that show which plants grow best in which areas. These zones are defined by the temperate range of the area, and can be very helpful when getting started.
The zones are divided in 13 areas, from zero to 12, and move from the northern part of the country down to the southern part. Each of those zones are divided into “a” and “b”, so that there are 26 zones in all. At the northernmost parts of the country, in northern Minnesota, North Dakota, and Montana, you’ll find zones 2b through 3b. Moving down into the Midwest, you’ll find zones five, six, and seven. California and the Pacific Northwest is mostly made up of zone eight, which is also found in the southeastern states. New England follows the same pattern as the flyover states, starting with about three and moving down to about six or seven.
On the backs of seed packets, and on the information included with plants, you’ll find a recommended zone for the best growth possible. It’s important to note that garden zones are not the absolute authority on what will or won’t grow in your area. They don’t take into account soil moisture, humidity, or the frequency of cold snaps, for example. But they will give you a great place to start as you plan your garden.
Find your plant hardiness zone here.
If you liked that, you might also like:

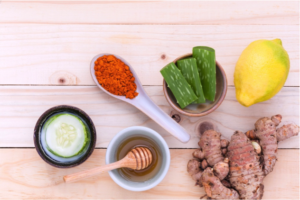 own DIY spa day.


 some other ways you can use up those surplus cucumbers.
![[Video] Avoid these 10 veggie garden pitfalls…](https://homesteaderdepot.com/wp-content/uploads/2016/07/Screen-Shot-2016-07-22-at-6.18.49-PM-256x144.png)
 eco-friendlier to reduce your carbon footprint and the chemical leftovers that are created while you get your clothes clean.
 self-sustaining.