The Right Way to Water Your Plants
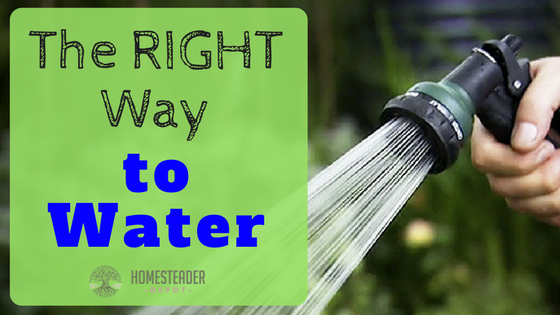
You may not have realized it before, but there are proven best practices for watering your plants and garden. Determining just when and how to water for the healthiest, most productive crops is all about paying attention to a few key factors. It might seem a little silly; is there really a wrong way to … Read more