9 Practical Emergency Foods And How to Store Them
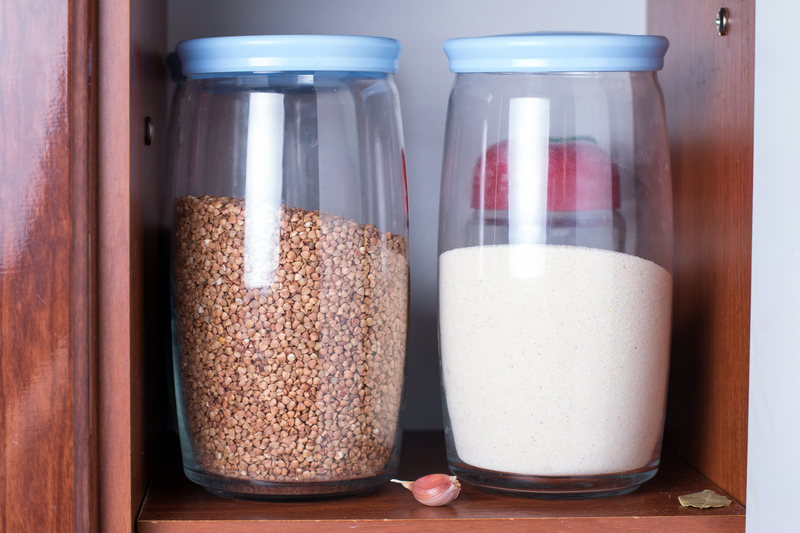
Long term food storage is a good idea in many, many circumstances. There are several basic food types that you should consider stocking up on that will last for years if needed. Beans Dried beans of every variety are super cheap and even easier to store. Store them in a dark, dry and … Read more