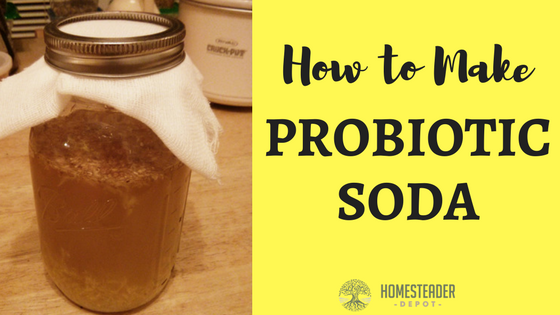
How to Make Probiotic Cream Soda
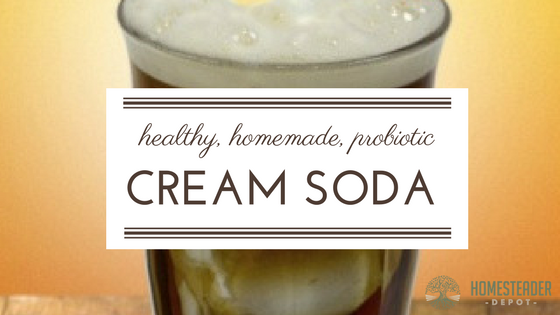
I don’t know about you, but I absolutely love a good, old-fashioned cream soda. It’s such a great treat, and hard to find a really well-brewed one these days. Earlier this week we wrote about a ginger bug which is the base for many kinds of probiotic sodas, and cream soda is one of the delicious, … Read more