Why Are My Plants Turning Yellow?
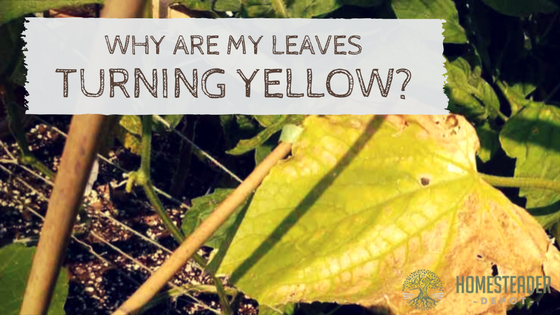
Yellow leaves are never a happy sight to see on plants you’ve been caring for and watch grow. And they’re not a good sign. Yellow leaves on plants or entirely yellow plants can be indicative of a number of different issues. Here are some of them: Pests One possible cause of yellow leaves is pests … Read more