Page 58 of 89
1 56 57 58 59 60 89
Homesteading – Page 58 – Homesteader Depot

Category: Homesteading

  • Creative Ways to Freeze Eggs

    Creative Ways to Freeze Eggs

    If you are ever faced with an abundance of eggs and not enough time to make something with all of them, it can be overwhelming! Eggs, especially of the farm-fresh variety, are such awesome, healthy, cheap (or free, if you have your own chickens!), and versatile sources of nutrients that it is imperative to use them efficiently.

    One really great option for preserving eggs with any of the following freezer methods is not only having eggs through the winter as production slows, but also to make them quick, easy, and relatively mess-free to use!

    Baking in Muffin Tins

    A really simple way to preserve eggs is to bake them individually in muffin tins and then freeze. They can be reheated quickly and easily for egg muffin sandwiches in the morning! Way cheaper and healthier than the fast food alternative.

    What you do is lightly coat muffin tins with cooking spray or butter and crack an egg in each round. Bake at 350 degrees for about 30 minutes, then let cool, stick in Ziplock bags, and simply pop in the freezer! These will last up to a year frozen.

    Freezing Raw 

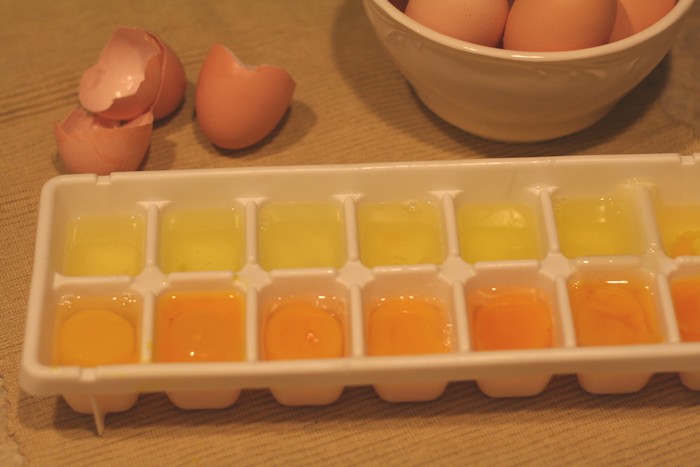
    This works surprisingly well for scrambled eggs or being added to any kind of batter.

    What you do is beat together the raw eggs and pour into ice cube trays. 2 cubes is about 1 egg. Once frozen, you can pop them out of the tray and put them in a Ziplock bag. Just thaw in the refrigerator overnight to use the next morning. These will keep up to 6 months.

    Related Article:  Why Are My Chickens Not Laying Eggs?

    Freeze Scrambled

    This is a very easy way to freeze and reuse, for things like breakfast burritos or easy morning scrambles. It’s about as simple as it sounds: scramble up the eggs you want to preserve, let cool to room temperature, wrap up in freezer parchment paper and stick in a zip-lock bag. They will last up to a year. Simply thaw in the fridge overnight; you can also store these in the fridge and they will last up to a month!

    If you enjoyed this, you might also like….

    Easy to Build Root Cellar in Your Own Back Yard

    Eat Like Your Ancestors…

  • Protecting the Garden From Animals

    Protecting the Garden From Animals

    After you have invested time, physical effort and money into creating a garden from which you plan to enjoy a variety of fresh vegetables, the last thing you want to see is an invasion of wildlife. In a single evening, devastation can occur as a result of unwanted four-legged visitors. A slower method of destruction can occur from casual nibblers and from critters who destroy your plants from underground.

    Individual species of animals attack your garden in different ways. Animals such as rabbits and deer simply move along throughout your garden nibbling on or possibly entirely consuming some plants. Other animals such as mice and woodchucks attract your plants from underground. Your garden can also be damaged, although typically not totally destroyed by dogs and cats trampling the plants or digging up some of the plants. The area you live in often determines the type of animals you are most likely to be in competition with when it comes to enjoying garden vegetables, fruits and even flowers.

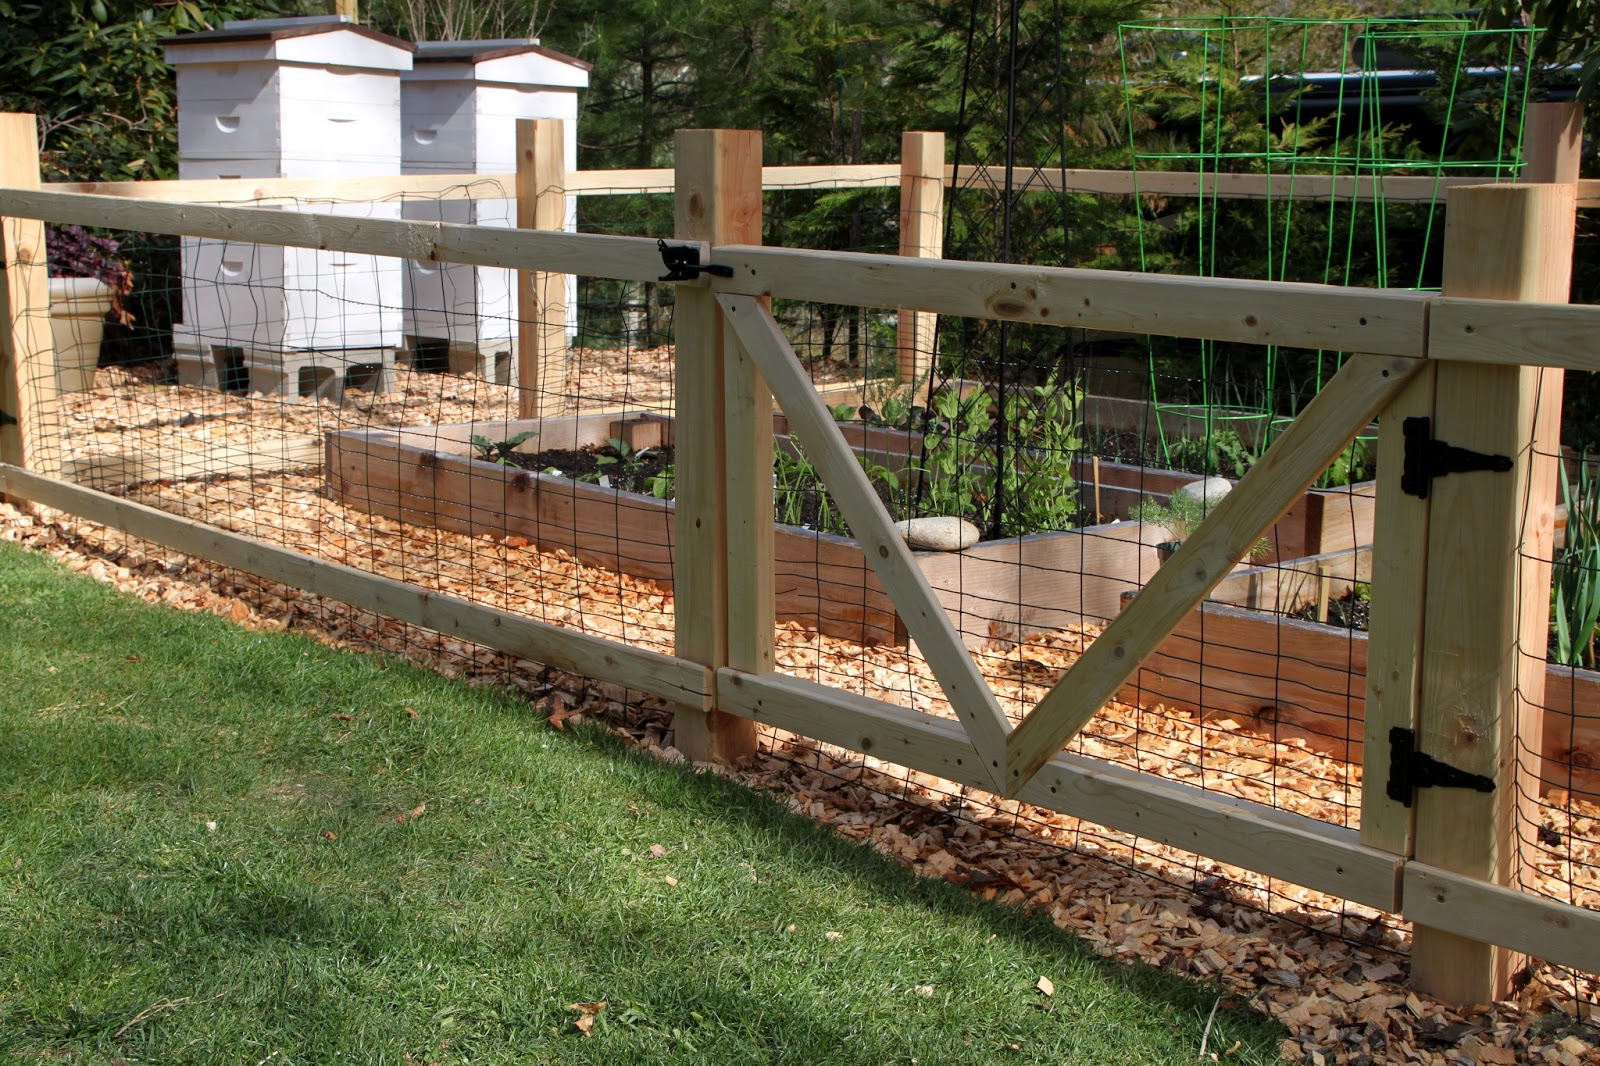
    Fencing is the most assuredly effective way to protect your garden. Various factors enter into the type of fencing you use. An electric fence is considered to be the ultimate protective fencing. However, if you have young children, this may not be the best option for you. There are a variety of safer options available as an alternative to electric fencing.

    You can purchase a product that is marketed as deer fencing. Poly fencing does not hamper your view of your garden. This is a good option for a garden that is located in a neighborhood or in an area where it is a visible part of the landscape. Deer fencing made of wire is one of your strongest defenses against deer and other furry invaders. Taking time to observe the unwanted visitors to your garden will help you determine the type of barrier you need to install.

    When appearance is a priority, decorative fencing may be your preferred choice of protective fencing. Reed fencing is a way to increase privacy and protect your garden. If you enclose your garden with wood fencing, you’ll need to add poultry netting to the base to keep out small intruders.

    Moles, voles and chipmunks attract your garden from underground. To prevent your garden from an underground attract, you will need to dig a trench 6″ to 8″ below the ground and begin your fencing there.

    Perimeter fencing has been shown to be the most effective way to protect a garden from the numerous animals waiting to enjoy the fruits of your labor. However, if a permanent fence or temporary fencing is not a possible option for you, there are alternatives. You can interplant animal-deterrent plants such as catmint, sage, zinnia, marigolds, garlic and onion within your garden or use these plants as a living border for your garden to deter unwanted visitors. Some gardeners have found that planting a dense hedge or thorny rose bushes around the garden will deter rabbits and dogs from entering the garden.

    If you liked this, you might also enjoy…

    Become a Master Healer at Home

    Anaerobic Weight Loss Fitness…

    The Ultimate Woodworking Course..

  • 4 Reasons Your Seeds Aren’t Starting

    4 Reasons Your Seeds Aren’t Starting

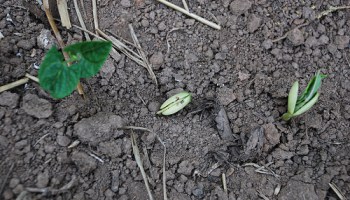
    Have you spent good money on seeds, soil, and containers for starting, taken time to plant them and water them, only to have nothing to show for it?  It can be a real let down to wait for seeds to sprout that never do.  To take the mystery out of it and help you take proper steps to prevent it from happening again, let’s look at a few reason why it might have happened in the first place.


    Old Seeds

    Let’s assume that you did everything right, and you still didn’t get any seeds to sprout, then it’s probably because your seeds were too old and went bad.  To prevent this from happening again, store your seeds in the dark, in a cool location, and sealed in bags.

    Improper Temperature

    If you have had less than optimal results starting your seeds in the early spring, this could be because your seeds need more heat.  You may want to move them to a sunnier location, put the starter lamp closer to the soil, or simply wait for weather to improve.

    Improper Watering

    A plant will never be more vulnerable than when it is just starting out.  For your seeds to have the best chances the soil needs to remain moist at all times, if it dries out even for a short period the seeds could die.  Likewise if the soil is too wet the seeds could rot before they germinate.  Watering with too much pressure can disturb the soil and damage fragile sprouts.  Placing seeds in starter containers with wicking soil in a tray with water, or using a fine mist are your best options.

    Too deep

    A good rule of thumb to determine the depth a seed should be planted at is the size of the seed.  Most seeds do not want to be planted deeper than they are tall.  Seeds that are extremely fine can just have a fine layer of soil sprinkled on top of them before being watered in carefully with a fine mist.


    If you keep these tips in mind your success rate will increase, and so will your harvests.


    If you liked this, you might also enjoy…

    Holistic Medicine Basics

    Ever Considered Taking Yoga? Read this

    The Ultimate Woodworking Course..

  • Woodstove Accessories

    Woodstove Accessories

    Having a wood stove is great, not only for heating your house but also for an alternative cooking method when utilities are down.  Woodstoves can save a lot of money on heating bills, even compared to fireplaces.  But having a woodstove alone won’t offer you the same benefits that you could have if you also have the right accessories to go along with your woodstove.  Here are a few examples that could really help you out.


    1. Flu Damper

    Having a flu damper will allow you to control the flow of the heated gasses coming out of your woodstove.  This will give you much more control of the temperature and burn rate.

    1. Stove Top Thermometer

    A stove top thermometer will let you know if you are burning too cold, too hot, or just right.  This is not only important for efficiency, but also for safety.  Burning too cold will increase creosote build up, burning too hot will increase the risk of chimney fire and will deteriorate your stove much faster.

    1. Thermal Activated Fan

    This accessory isn’t cheap, they run about $100.  But with a thermal activated fan on your stove top, you can have a whole house of hot air without adding to your electric bill or creating a draft.  They require no power other than the heat from your stove, and they will spread the hot air around your home.

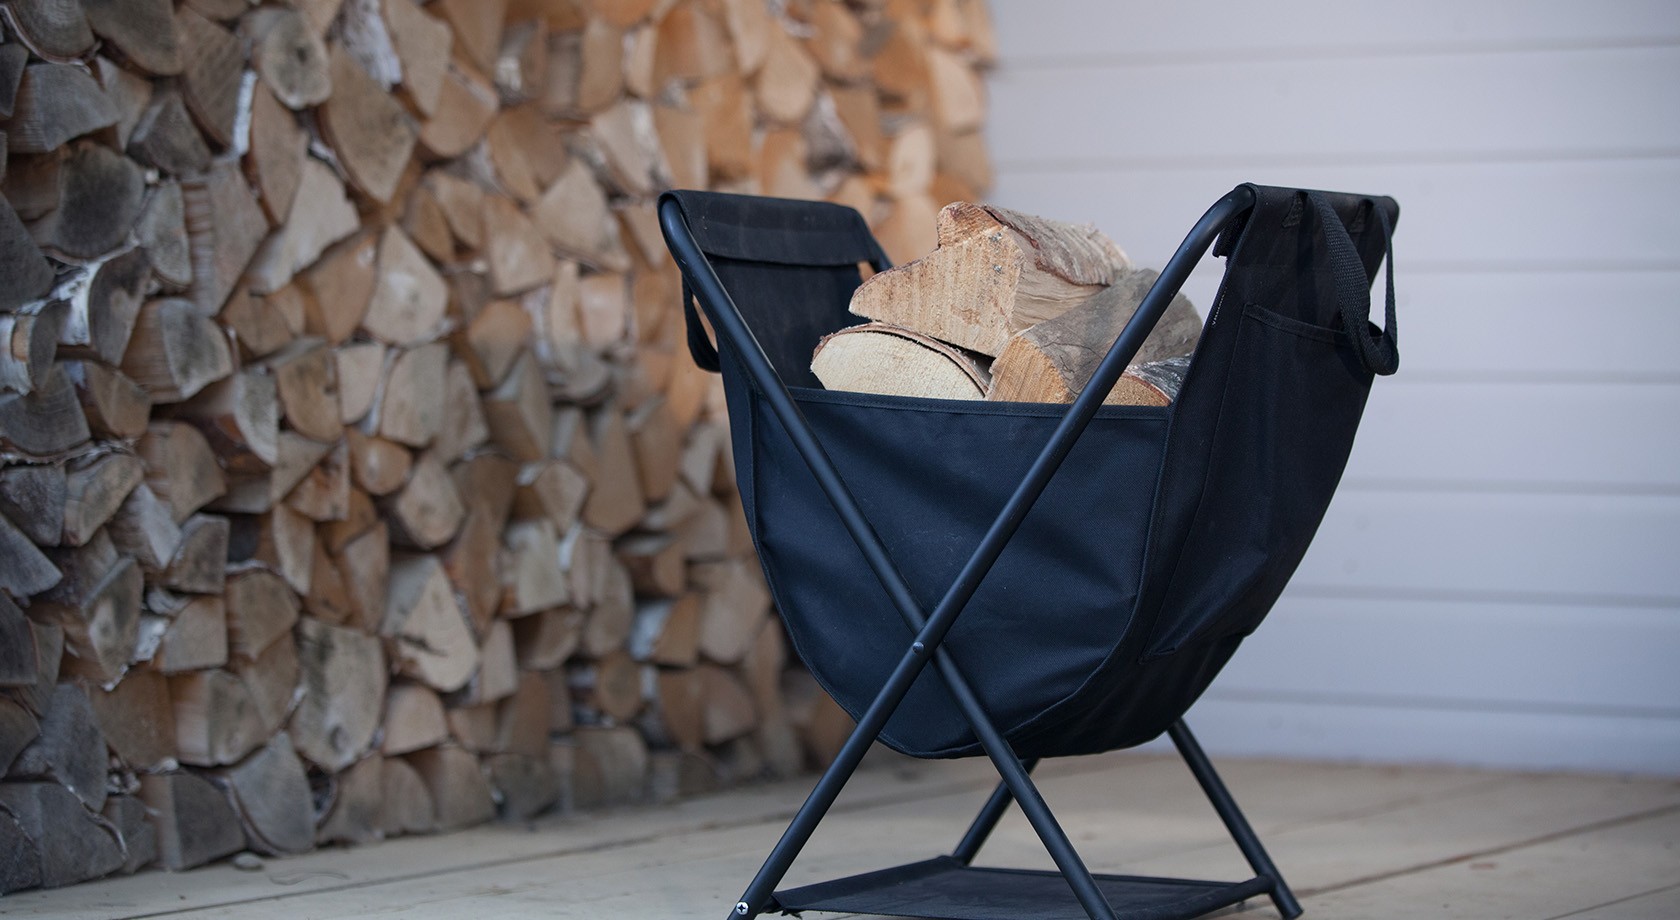
    1. Indoor Wood Storage

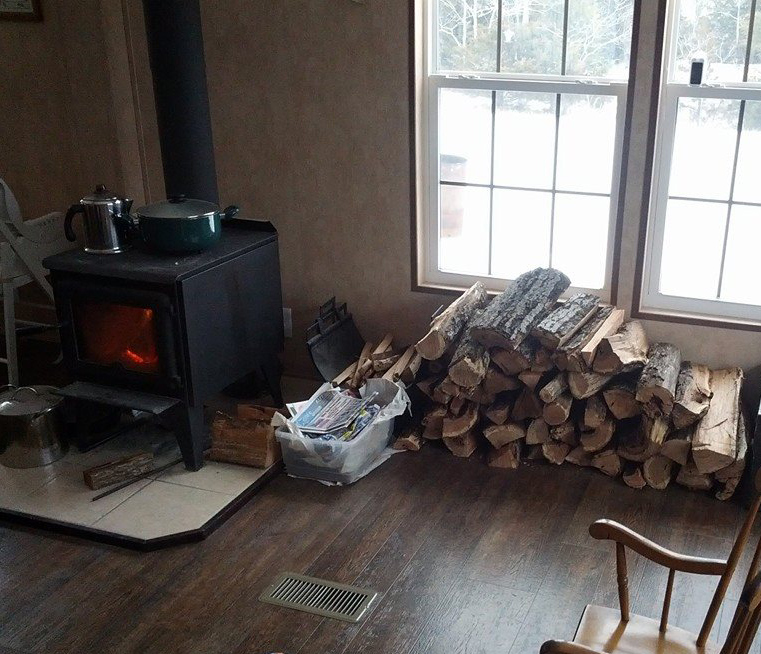
    Whether you have a purely utilitarian version, or something more decorative, you are going to want to be able to store at least enough kindling and wood for one fire indoors.  If all your wood is outside it can get damp in bad weather and you will need to go out in the cold to get it when you need it most.


    If you have a woodstove without any of these accessories you are missing out on the full benefits to be had from this great device.

    If you liked this, you might also enjoy…

    Become a Master Healer at Home

    Anaerobic Weight Loss Fitness…

    The Ultimate Woodworking Course..


  • Tapping a Maple Tree

    Tapping a Maple Tree

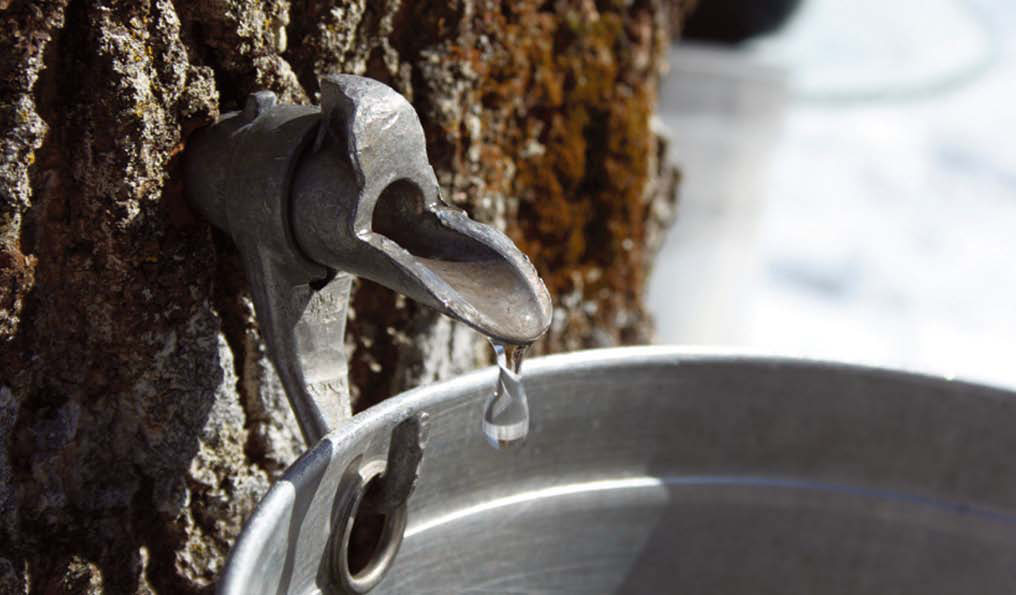
    Maple Syrup is a classic staple of the American breakfast menu. But, like so many food items, I just love seeing how it’s sourced. This video shows a Yukon man tapping a maple tree for sap, and it looks pretty simple and rewarding. If you’ve got maple trees on your property or nearby you, why not give it a try this summer?

    There’s a separate process for boiling the sap to make the syrup, so I’ll have to find a video on that later this month perhaps. In the meantime, enjoy! Alaskans are some of the most hard-core homesteaders there are, seriously.


    If you liked this, you might also enjoy…

    Holistic Medicine Basics

    Ever Considered Taking Yoga? Read this

    The Ultimate Woodworking Course..

  • Simple Steps to Getting Your Homestead Off-Grid

    Simple Steps to Getting Your Homestead Off-Grid

    Living on an off-grid homestead is no small matter. It might take years of planning, research and hard work. Hopefully if you do own property you’ve already considered how possible it might be to live off-grid, or if you are shopping around, this is what you’re thinking about long term.

    “Off-grid” is a catch-all term that largely refers to being off the municipal and/or county energy grids. Having water on your property, either from catchment, a well, or purchased and transported to your property from another private citizen, generating your own electricity, and relying on energy sources such as gas or propane that you provide yourself.

    Most likely you won’t be able to break off grid entirely right away, so here are some simple steps to planning out what you’ll want to do to get off-grid.

    1. Know your local laws

    Every state and county has different laws governing what land-owners are able to do on their property as far as generating energy, drilling for or collecting water, etc. You are still subject to zoning laws and building codes as well, so do your research so you will be fully informed on what will be legal to do on your land. The last thing you want is to put a bunch of time and energy into something that you’ll get fined for, so make sure you’re in full compliance with the government to keep them out of your hair.

    2. Prioritize

    Figure out what would be simplest and most practical to tackle first for your off-grid aspirations. You might find that setting up a basic catchment system would be cheap and easy for your area, and suit your needs the best, or you might pay a great price for local water and would prefer to set up a simple solar power system. Only you know your specific needs on the homestead so think about the energy source that would be the easiest to sacrifice for a time to set up a new system, because that’s a possibility as well. Some people find they can live without electricity just fine but couldn’t survive without running, pressurized water, others don’t mind scooping and dumping the water for their daily tasks but can’t stand the thought of not being able to switch a light on.

    3. Tackle low-tech changes first

    If there’s anything you can do to reduce your reliance on “the grid” that involves simple, low-tech alternatives, go for that first. For example, a simple wood stove could replace a lot of your need for natural gas, or collecting rainwater if you live in a very wet area might reduce your need for local water if you can water your garden and animals with it. You also might be able to greatly reduce your need for electricity by making sacrifices; use lanterns instead of lights, read instead of watch TV, heat things up on the stove instead of a microwave, use a dutch oven instead of a crock pot, etc, and this might move you into the position of being able to use a simple generator or solar power system.


    You might have to change your lifestyle to get off-grid, but after all, that’s what getting off the grid is all about. Sacrificing modern luxury for energy independince might be one of the best choices you’ve ever made!

    If you liked this, you might also enjoy…

    Learn to Heal and Treat Illnesses Naturally…

    An Ancient Secret to Slimmer Waists…

    Learn to be a Master Carpenter at Home...

  • Homesteading on a Budget

    Homesteading on a Budget

    Everyone who wants to homestead wants to do so on a budget. In fact, the entire idea of homesteading is about reducing the money you are wasting and reducing your reliance on the modern material world. It doesn’t mean that you are going to live entirely for free and off the grid – although that might be possible for some. It does mean that you can do some things to get started in homesteading without breaking the bank. Here are some tips for you to get started.

    Sustainability is the key to working with a budget. You want to learn how to recycle more of your goods and how to use them in different areas of your homesteading life. You also want to stop throwing things away so quickly. If you have some rips in your clothing, learn to sew and mend them. If a machine breaks down, learn how to repair it rather than buying a new one.

    Something else you should do is learn to barter with others. Don’t limit yourself to bartering with just homesteaders though. Quite a few people are willing to barter if they want what you are offering. For example, maybe you make some great goat cheese and one of your neighbors is a beekeeper that produces honey. Trade some of that cheese for honey! There are countless examples of how you could barter so think outside the box.

    Create a budget and then learn how to live on that budget. This will cause you to change your lifestyle, and it’s like jumping into the deep end of the pool, but it’s worth it. You will quickly see how much money you are wasting eating out and buying things you don’t need when you start to live the homesteader’s life. When you realize you don’t need those things, it becomes much easier to live well on less.

    If you liked this, you might also enjoy…

    A Simple System for Natural Health…

    Is Yoga for Everyone?

    Carpentry Skills for the Average Person..


  • 3 Amazing Benefits to Growing Fruit Trees in Containers

    3 Amazing Benefits to Growing Fruit Trees in Containers


    I’m normally not a fan of growing food in containers, other than wooden raised beds which I guess are a form of containers.  But fruit trees are an exception and one that most people don’t ever consider, probably because they don’t think it’s possible.  But it is possible; lemons, oranges, and avocados are three examples of commonly purchased fruit that you can grow at home, and in containers.  Here are a few reasons why you might want to consider containers a strategy for growing fruit.

    Space

    Space is a factor for a lot of gardeners.  And trees are not light on the space they require.  Their roots need room, and the taller they get the more shade they will cast on the ground that you would otherwise like to be used to grow food.  But growing fruit trees that are specially-suited for live in containers (though these varieties can be put in the ground) will give you the ability to grow fruit trees in areas not available otherwise, areas like steps and patios.


    Mobility

    Keeping a tree in a pot, even a large pot means that it is mobile.  You might have to use a handcart, but you will be able to move it where you want it.  This means that you can move it from your front yard to backyard as seasons and light change, you can relocate it if it starts to shade other crops, and if you move you don’t have to say goodbye to something you have worked hard for.

    Poor Soil

    If your soil quality is not good enough to produce fruit in, you don’t have to wait while you build that quality up.  You can start your trees in containers with rich compost and later transplant them into the ground once you have improved the soil if you can.  If not, you can leave the trees in containers and not have to worry about the ground.

    So if you have poor soil, are considering moving, and don’t have enough space, you still don’t have any reason why not to be growing fruit trees.

    If you liked this, you might also enjoy…

    Natural Healing Techniques Doctors Don’t Want You to Know…

    The Weight-Reducing Magic of Yoga…

    The Ultimate Woodworking Course..