11 Little-Known Green Alternatives to Concrete
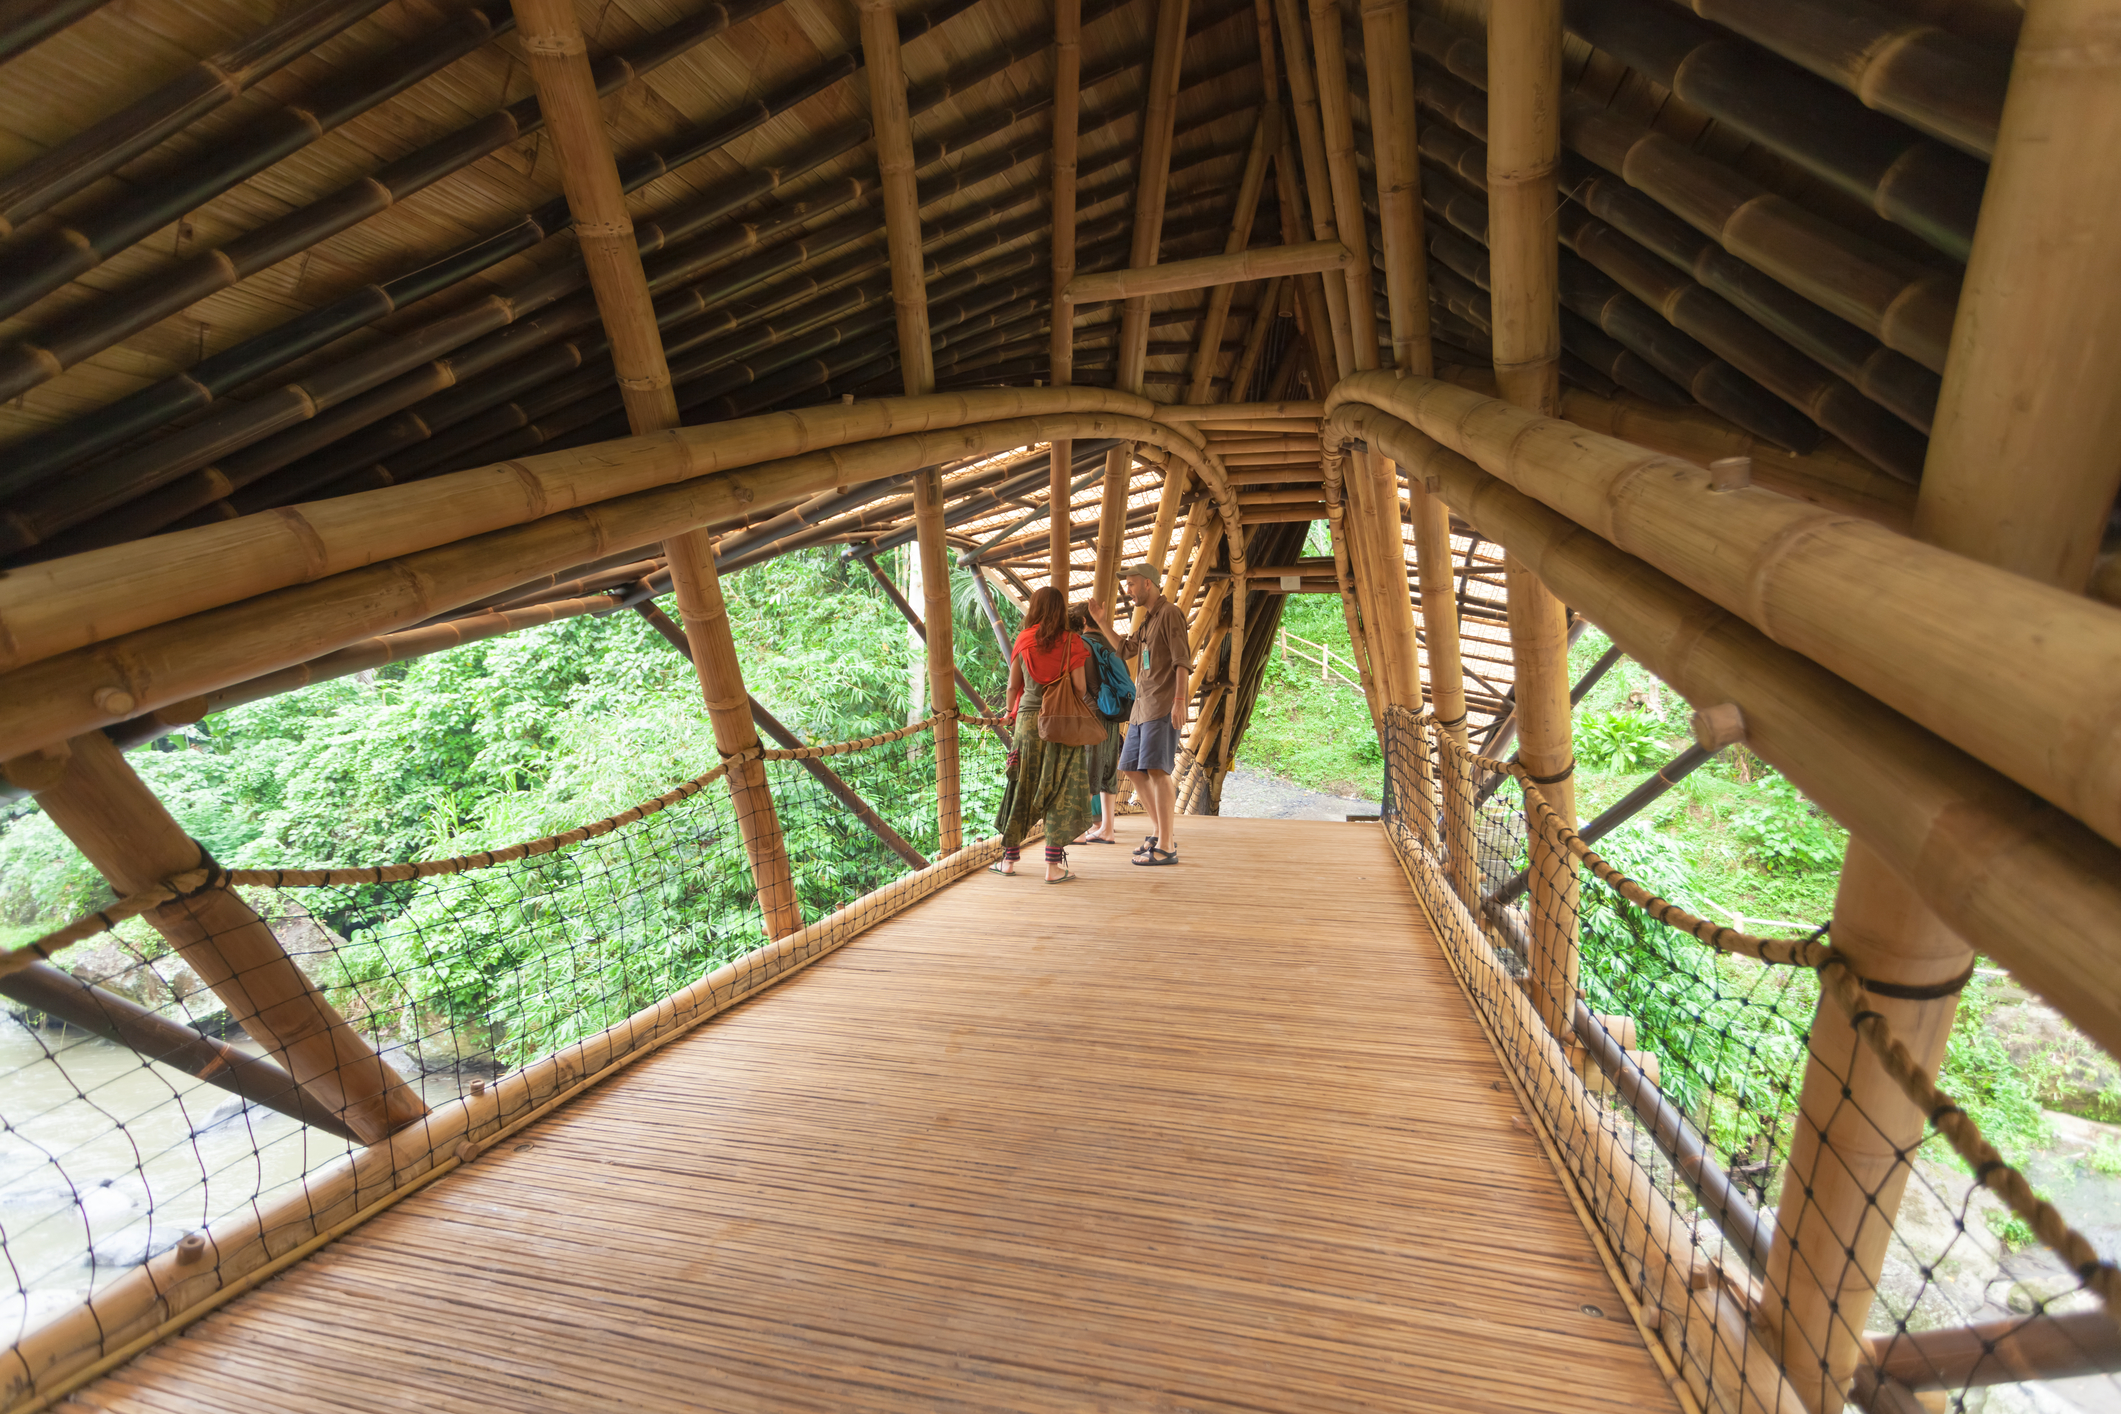
What have you found out there for a building material that is more solid and long-lasting than concrete? It’s what holds together and constructs pretty much everything around you. Sidewalks, apartment buildings, bridges, roads, viaducts, and all other modern urban life necessities are built with the man-made compound. The problem is, there are vast amounts … Read more