Growing An Edible Garden Landscape
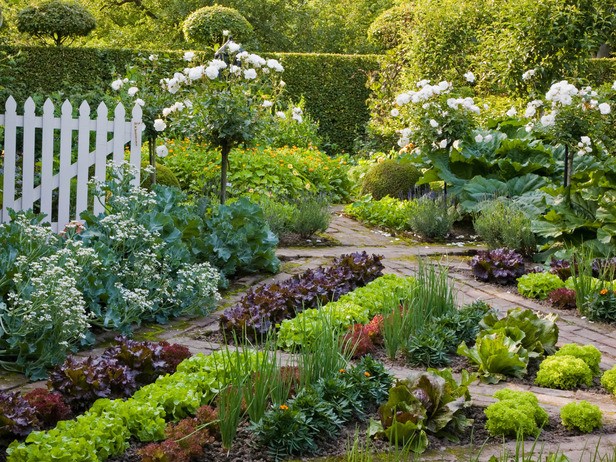
Gardening is a hobby that can be enjoyed by everyone. With the numerous types of accessible gardening methods available, physical limitations or mobility concerns should not prohibit you from growing a garden. An online search of photos of accessible gardens that creative individuals have designed will give you some ideas as to how you might … Read more