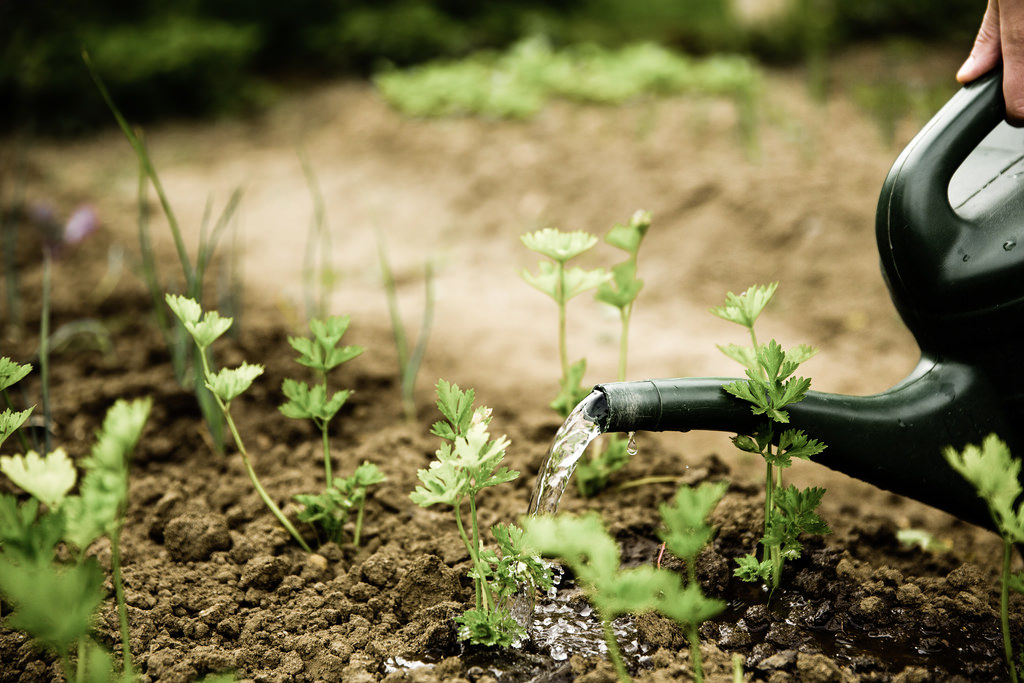
2 Common Water Sources for Homesteads
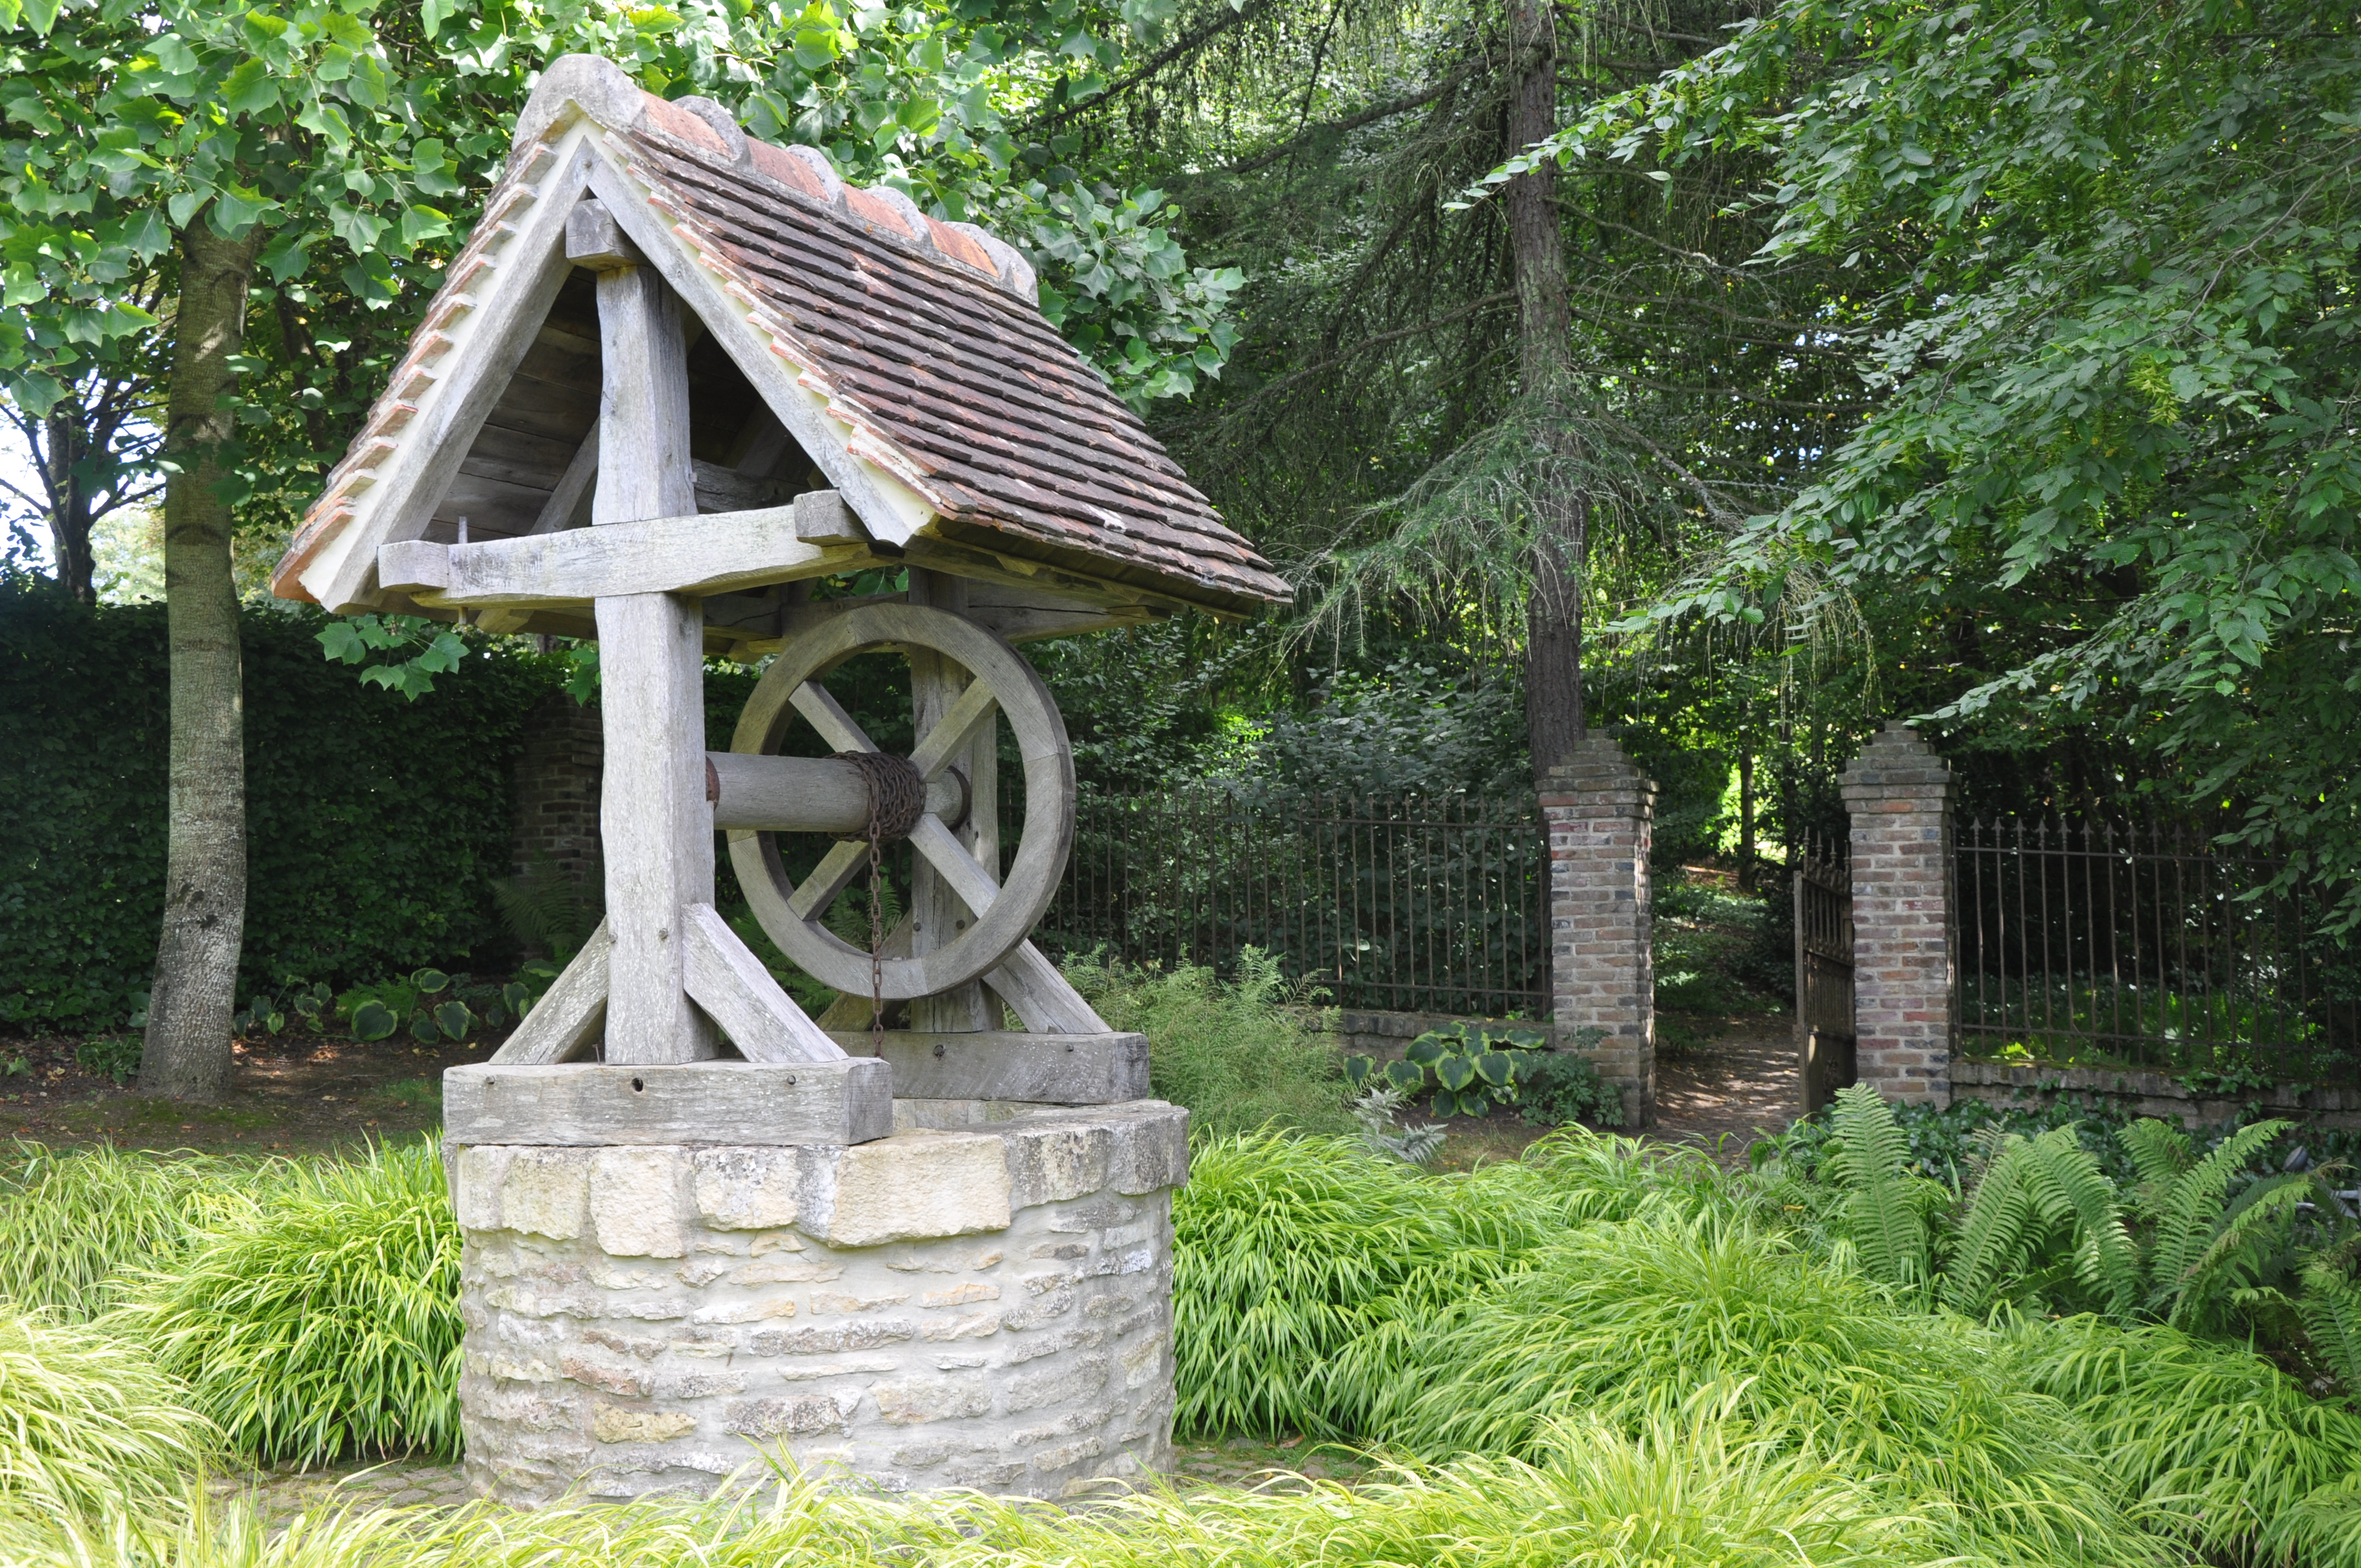
You simply cannot survive without water. And while you might very well be able to purchase land for a homestead that has county or agricultural water, you might also want to consider self-reliant options for water. You also might not be able to buy land that is already irrigated and on the water grid, and either way, … Read more