Page 6 of 16
1 4 5 6 7 8 16
Outdoors – Page 6 – Homesteader Depot

Category: Outdoors

  • 5 Great Benefits of Having Succulents in Your Home

    5 Great Benefits of Having Succulents in Your Home

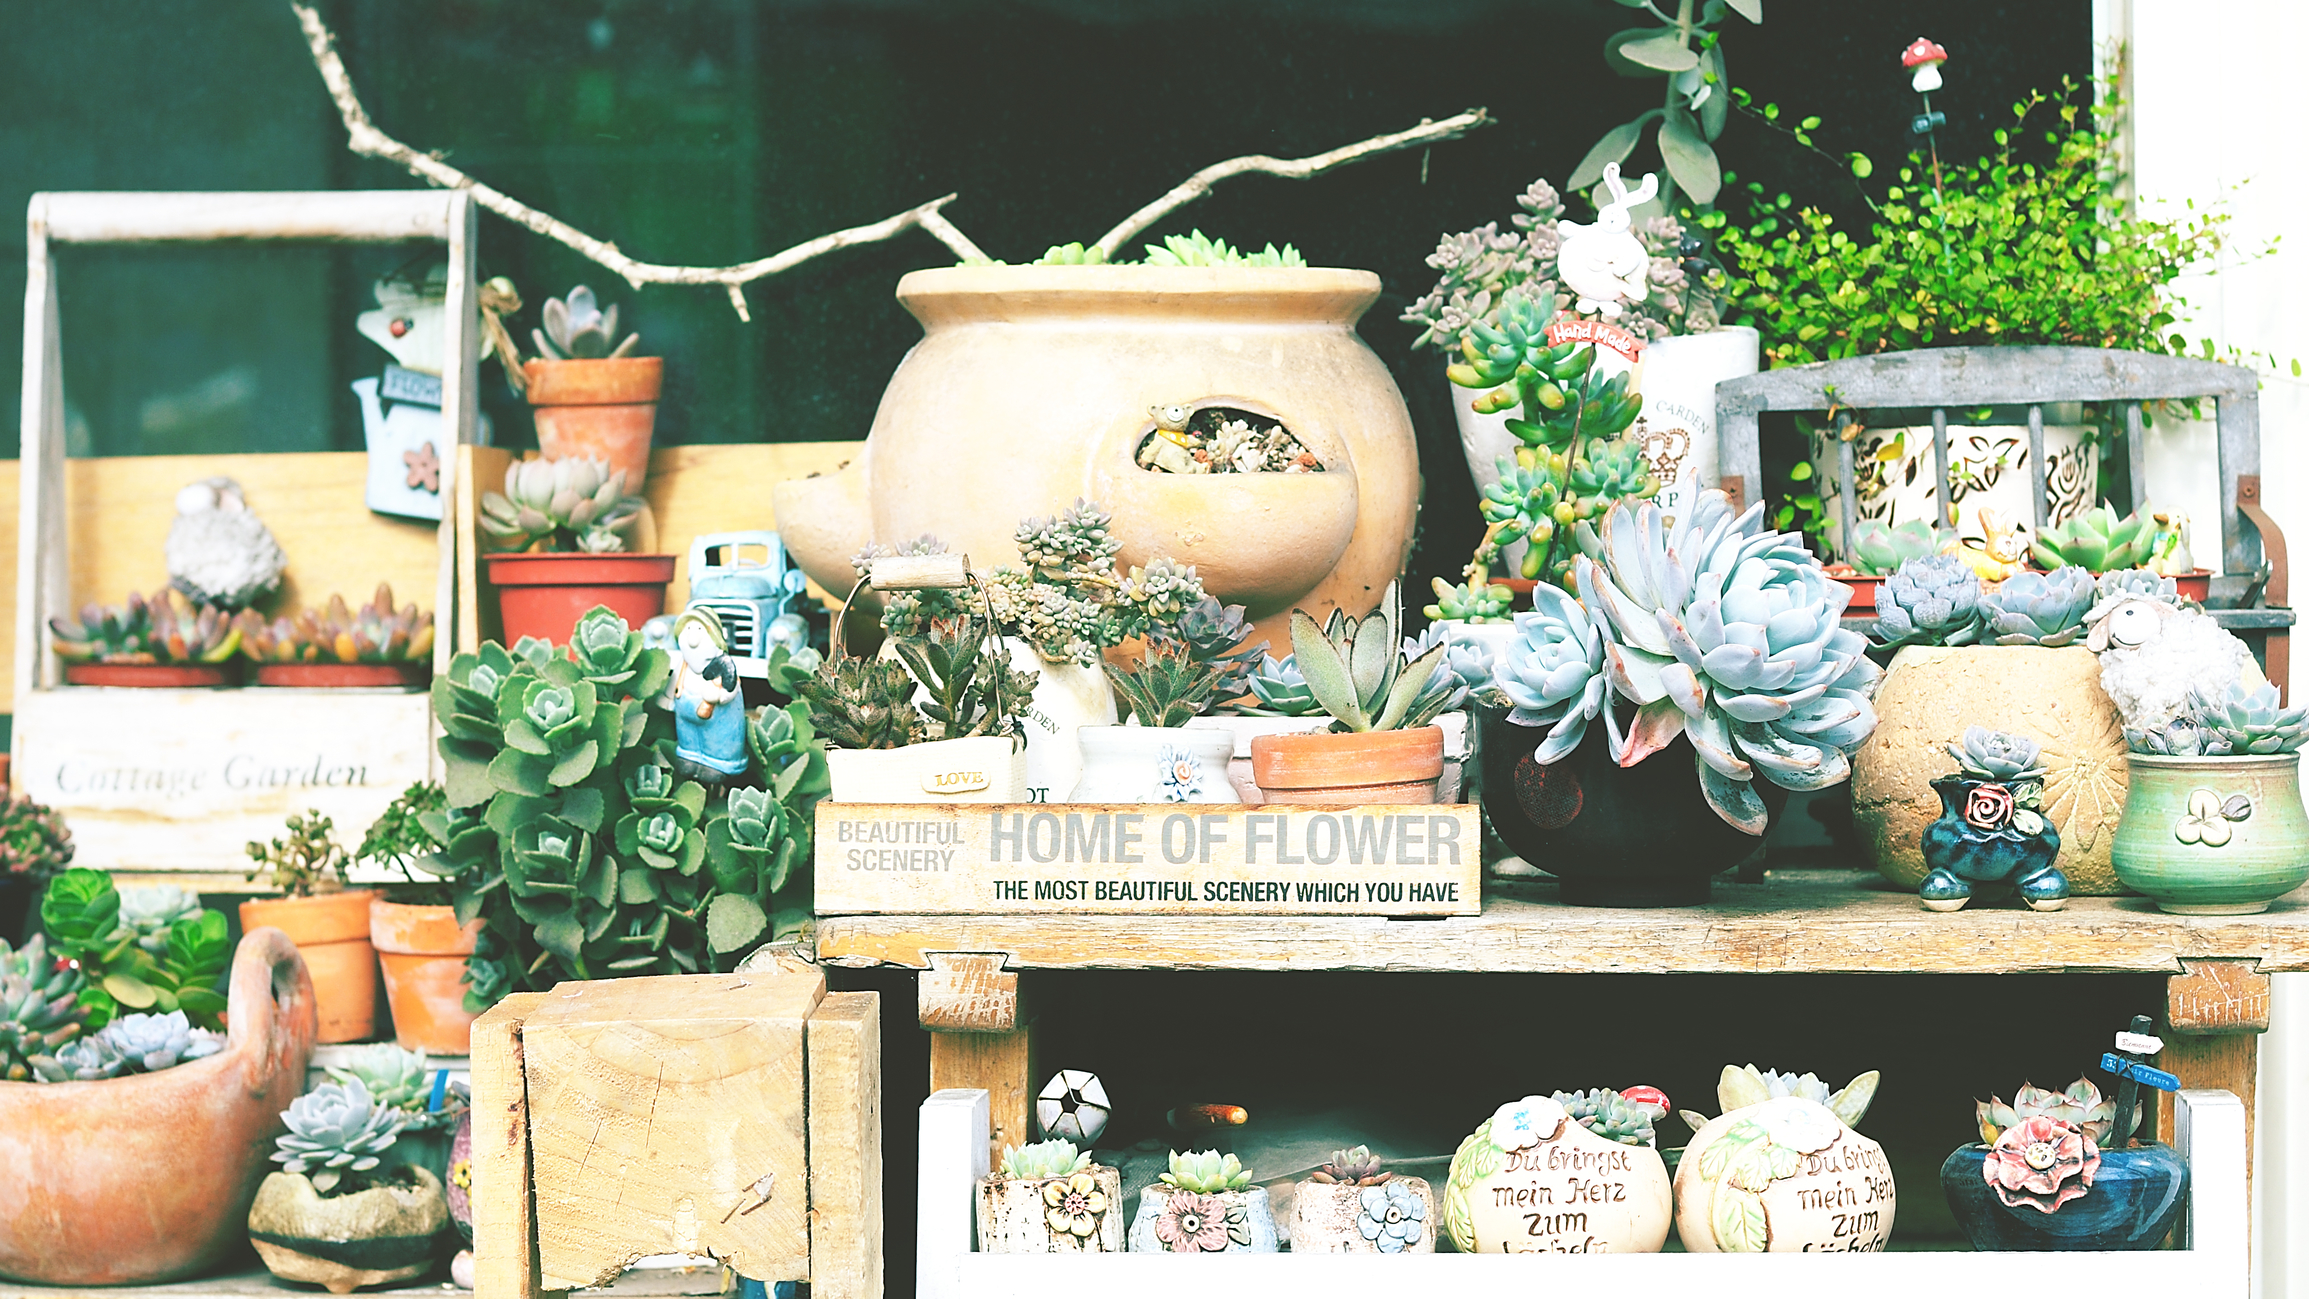
    Plants help clean the air, add oxygen and any number of other benefits.  The problem?  Not everyone has a green enough thumb to keep their plants alive, let alone flourishing.

    Fortunately, you don’t have to have a degree in botany to enjoy having plants indoors; you have to pick the right ones.

    Enter the succulent.  Succulent plants, or succulents, are a type of plant that displays parts that are especially thick and fleshy.  This characteristic lets the plant retain water in drying climates and soil types in a similar manner to cactus plants.

    These wonderful little plants have become even more popular recently and for good reason, besides the typical benefits of adding oxygen and purifying the air. Let’s look at some of the other great reasons to add succulents to your home.


    They Bring a Zen Quality to Your Environment

    Houseplants have been shown to aid in concentration as well as improve your overall mood.  The geometrical patterns of succulents have the effects of focusing your thoughts, helping you feel more relaxed and able to process information better.

    Additionally, the process of taking care of a plant and watching it develop and grow can help rid yourself of feelings like loneliness and even depression.


    They Provide Natural Medicinal Properties

    Some succulents are good for more than just decorating a space.  Plants like agave and aloe vera also have medicinal properties. Keep agave on hand as a natural antiseptic to treat scratches and cuts.

    Aloe vera is not only great for burns and sunburn but can be taken internally to help alleviate fevers, bowel issues and more.

    They Are Not Picky About Their Living Quarters

    It doesn’t take much to make a succulent happy.  Their shallow root systems make them ideal for planting in bowls, jars, teacups, or anything else you can conjure up.  Let them take up as much or as little room as you can spare.


    They Rank High on the Hardiness Scale

    What does this mean for you?  They don’t require as much water and attention as other houseplants, making them easy to care for.  Have you ever left for a week and forgot to get someone to take care of the plants?

    No problem, more than likely your succulents will be no more the worse for wear when you get back. They may be a little thirsty though.

    Also, they don’t need very much light to get by.  This means you can keep them in your bedroom, and as long as there is a little light peeking through the blinds during the day, they’ll be happy and waiting for your at bedtime to commune with and clear your head before lights out.


    Where to Find Succulents

    Thanks to there increasing popularity, you won’t have to hunt down a specialized garden store to get started.  Any local DIY center with a garden section will probably have a large variety to choose from.  From there you can pick out a great planter to add to the aesthetic or take them home and put them in your favorite coffee mug.

    New Powerful Laundry Magnets — Never buy detergent again>>>

  • How to Prune your Roses the Proper Way

    How to Prune your Roses the Proper Way


    Roses come in a plethora of species. Over a hundred of them are available to be exact. They can be climbing, bushes, or trailing with long stems. You can grow just about any color that you can imagine at this point as a result of cross-breeding different ones to achieve the desired shades. They are gorgeous, they have a pleasant aroma, and they brighten up the exterior of any homestead or home. That’s why they are one of the most popular flowers found in gardens all over the world.

    Even though roses are pretty easy to grow and to maintain, there is still some work required in order to keep them looking their best. With proper pruning done regularly, the flowers will bloom beautifully and reach their fullest potential. The best part of that is, it can be done in just a few simple and easy to understand steps.


    1. Eliminate the Foliage

    You first need to get a good visual of what your rose plant or bush looks like. The best time to do this is in the spring before any leaves start sprouting up on it. If there are already leaves on the stems, just get rid of them by pulling them off with your hand. Be sure to wear thick gloves and watch for the thorns if there are any to prevent cutting yourself.


    1. Check for Horizontal Canes

    Look over your rose plant for branches or canes that are growing horizontally. Make sure you check for anything that is growing in towards the center of the bush. The ones that are crossing over other branches should be trimmed away as well. It will ensure that the remaining branches will have the ability to stretch as they should without anything disrupting their growth patterns.


    A Revolutionary, Double Patented-Technology That Allows You To Wash Your Clothes Without Using A SINGLE DROP Of Toxic Chemical Detergent


    1. Remove Dead or Diseased Sections

    For beginning growers, you may not be sure how to check and see if your plant is in good health. First, break open one of the canes. If the inside is brown or black, the branch is dead. A lovely green color means that the plant is in excellent condition. The dead areas cut off the air flow to the rest of the plant. By getting rid of them, that circulation is improved, and the overall health and appearance of the plant are going to increase.


    1. Tend to the Vertical Canes

    Now that you’ve reached this point in the process, you should have around six to eight nice, healthy, strong branches left of your rose bush. The objective from here is to get the biggest and most beautiful continuing blooms possible.

    The branches that are remaining should be cut down to 18 to 24 inches in length. Before cutting through, check the cane for an outward facing bud. Prune just above that one that is both outward facing and closest to the length you are trying to achieve.


    1. Cutting at the Proper Angle

    You have to make careful note that you cannot just cut the canes in whatever direction you want to. The trim should happen at a 45-degree angle. There is a reason this is done, and that’s so that the water can drain away from the buds. Too much water in the budding area will cause rotting or disease.

    The cut should be straight and smooth with no jagged areas. Get yourself a good pair of sharp pruners to make sure you can achieve the proper cut. It may be somewhat of an investment in the start, but it’ll make your job a lot easier. Not to mention the fact that you will probably have some of the best-looking roses around.


  • The Best All Natural Fertilizers For Your Garden

    The Best All Natural Fertilizers For Your Garden


    Store-bought fertilizers can get expensive. On top of that, they don’t always produce the results you are looking for. They aren’t natural, so there’s no guarantee that they are going to work the way they’re supposed to. Instead of heading into town to pick up an overpriced bag for your garden, go to your kitchen and mix up your own batch with any of these natural fertilizer recipes.


    1. Egg Shells

    After breakfast, don’t toss your egg shells. Wash them up and crush them. They are 93% calcium carbonate. With that there, it’s effective to use near peppers, tomatoes, and other plants to prevent rotting. If you are planting something fresh, you can mix your egg shells in with your potting soil for bigger and better results.

    Related Article:  13 Useful Ways to Reuse Eggshells

    1. Coffee Grounds

    Your coffee is good for waking up more than just you in the morning. Those grounds can bring to life a variety of plants including roses, azaleas, blueberries, and tomatoes. You can mix the grounds directly into the soil or place them on top before you water. The nitrogen seeps in and gives the foliage a jolt. You can mix up a batch for watering by blending six cups of coffee grounds in a full five-gallon bucket for a couple of days. Then, dump it over your plants.

    Related Article:  The Undeniable Benefits of Coffee Grounds in Your Garden

    1. Banana Peels

    Bananas have a ton of nutrients for humans, so it’s no surprise that they are also healthy for plants. You can bury the peels in the ground before planting so that they decompose in the soil.


    1. Molasses

    Molasses is said to increase the good bacteria and microbes in various plants allowing for bigger and healthier results. A simple recipe is mixing one to three tablespoons of molasses per gallon of water. Dump the concoction directly on the plants.


    1. Human Urine

    As long as your body is healthy and free of any disease or infection, your urine is sterile. Sounds kind of gross to use it as a fertilizer, but it’s loaded with phosphorous, potassium, and nitrogen. There’s way more in there than what you find in the store-bought versions. The ideal urine to water ratio is 1:8.

    Top “All Natural” Products:  Saves you money from buying chemical laundry detergents for your ENTIRE LIFE>>>

    1. Pet Food

    This is going to depend on what kind of animal food you have. As long as it’s not loaded with artificial stuff, even the cheap type has protein and nutrients that can aid in fertilization. Just sprinkle it over the garden, turn the food into the soil, and water. Cover the area to keep the critters away. Continue watering and turning the soil for about a month. When the food has decomposed all the way, put in your desired plants.


    1. Worm Castings

    You are going to have to do some worm hunting for this one. Get a handful of red wiggler worms and toss them in with some cardboard and various kitchen scraps. The worms will start making compost from the waste they create, and you can use that for fertilizer safely wherever you want.

    Related Article:  DIY Worm Casting

    1. Manure

    One of the most significant benefits of using cow, horse, or chicken manure is that with a little legwork around your local farms, you can get it for free. The composted manure should be put in some type of permeable bag made from a decomposable material. Put the bag in the shade and allow it to sit for a few days. When it’s conditioned properly, toss the bag or bury it and spread the compost over whatever area you are planting.


    1. Grass

    Put your grass clippings in a five-gallon bucket. Add water to fill all the way to the top and then let it sit for a couple of days. The nitrogen from the grass is excellent for plants. The tea you have made with your grass clippings can be diluted 1:10 with water before being dumped at the base of your foliage.

    A Revolutionary, Double Patented-Technology That Allows You To Wash Your Clothes Without Using A Single Drop Of Toxic Chemical Detergent

  • 4 Completely Natural Ways to Rid Your Property of Mice

    4 Completely Natural Ways to Rid Your Property of Mice


    Mice can be the bane of the homestead pantry, and feed shed, and garden, and…well, you get the idea.

    One thing that is important to understand is you will never have only one.  You may see only one, but there where there is one there is the potential for dozens more.  With a very short breeding cycle, mice can overrun a food source in a matter of weeks if left to their own devices.

    For many of us, the first reaction to the idea of mice is to go out and buy some chemical bait that will get rid of the problem as quickly as possible.

    However, especially if you are living in the country, on a homestead, or even just in the suburbs and have a cat, you’ll want to avoid this initial instinct.

    Poisoned mice can also poison the natural predators that eat them. That could be any bird of prey included in the local wildlife like hawks and owls.  It could also be a danger to the family cat. Instead, consider one of the options listed below.


    Repel them with Aromatherapy

    Mice don’t like the smell of peppermint or mothballs.  Even if you don’t have any signs of mice yet, a good preventative measure after filling any holes or crevices they can get in with is to lay out peppermint leaves or spray peppermint essential oil in all the areas they are likely to try to gain access.  You can also soak cotton balls in the essential oil for a stronger and longer lasting odor.

    Place mothballs in the areas they may try to gain access to as well as scatter them around the outside of any building you want to prevent them from going into.


    Free-Range Chickens

    Chickens are very good at pest control, sometimes even better than cats are.  If you are able to let your chickens run free-range outside the areas you want to keep mice out of, they will provide a natural and deadly “barrier” for your home or garden.

    Would you like to build anything you want out of wood without expensive tools or a large woodshop?  It’s fun and easy — Check it out here>>>

    Good Old-Fashioned Snap Traps

    Not just the fodder of classic animated TV characters, snap traps are an easy and inexpensive method for clearing out your new “neighbors” and protecting your pantry.

    Bait the traps with peanut butter, place them in areas mice will be but will be out of the way of children’s fingers and set them. Check regularly to see if you’ve caught something and dispose of immediately, so you don’t end up with the smell of a decomposing body.


    The 5 Gallon Bucket and Water Method

    Take a spare brown paper grocery bag or heavy-duty paper and cut out a circle cover that is 2-3 inches wider in diameter than your five-gallon bucket, then use a utility knife or Exacto knife to cut 2 slits in the center of the paper in the form of an X.  Fill the five-gallon bucket approximately half-way with water.  Lay the paper over the top of the bucket and tape it securely into place by folding down the overlapping paper.

    Spread a few dabs of peanut butter in the center area of the cover and place the bucket in an area the mice can reach it. When they move across the paper cover toward the peanut butter, they will fall through the X in the middle and drown.


    Happy Hunting!

    There you have it, from essential oils and free eggs there are ways to keep mice from overrunning your property that won’t run the risk of polluting the environment or leave you with unwanted casualties.

    The EZ Battery Reconditioning course is the easy to follow, step-by-step system to recondition all kinds of old batteries with just simple supplies you probably already have in your home.  Get more information here>>>

  • 4 Things Baby Chicks Need for Healthy Living

    4 Things Baby Chicks Need for Healthy Living


    Baby chicks.  Fuzzy and cute, warm and cuddly, they are adorable beyond words.  Sometimes called the “gateway drug” to adding animals to a homestead, the chickens these chicks grow into can add any number of benefits to your property, from pest control to fresh eggs to a Sunday Roast.

    If you are contemplating joining the thousands of people across the world to raise their own chickens for meat and eggs, here are some things you will need to be prepared with.


    A Brooder

    Brooder is a fancy way of saying container.  When you first receive your chicks, they will be too small to turn loose into the chicken coop.  Just as a baby needs a bassinet then a cradle before they grow into a standard bed, chicks need a smaller space so they won’t get caught in small places around the coop area you don’t even know exist.  It also keeps them better protected during colder weather.

    If you plan to have chicks around every year, you may consider getting one of the fancier brooders available on the market, but just about anything will work.  I remember one year when my parents helped out one of the local farmers in our town by taking in a several dozen chicks after one of their temperature regulated brooders broke.

    Other containers that work well are the smaller galvanized tubs or feeding troughs, and large plastic storage chests.  These are both easy to keep clean and can be used year after year then stored easily when not in use.

    Whether or not you need a cover on your brooder depends on its proximity to predators.  This doesn’t just mean coyotes or birds of prey.  If you have any cats on the property either domestic or feral, they can be a big threat.

    A simple wire mesh stretched over a frame and secured on the top will solve your problem without blocking ventilation.


    A Way to Stay Warm

    Initially, chicks must be kept in an environment that is 95-100o F.  This range goes down as they grow and produce more body heat themselves.

    The easiest way to provide a heat source for your chicks is with a heat lamp.  If you decide to go this route, though, be very careful.  Heat lamps can become a fire hazard very quickly.

    A safer but more expensive option is a heating plate.  If you are starting with a small number, this may be a good choice.  If you have a larger number of chicks you need to keep warm, the costs may become more expensive, but you will have less stress knowing you’ve gone with a safer method.

    A Water Source

    This may seem like a no-brainer since just about every living thing on our planet relies on water for survival, but we’re going to discuss it anyway.

    For your chicks’ safety and your peace of mind, it’s a good idea to invest in a specialized waterer instead of an open container of water in the habitat.  Open containers provide an easy way for your new babies to drown themselves.

    Most feed stores have waterers available to fit your needs.  To help your chicks become familiar with their surroundings more quickly, consider dipping their beaks into the waterer as you place them into the brooder, so they know where the water source is.

    Suggested Article:  “Why Chickens are Your Best Friend on the Homestead”


    A Food Source

    New chicks have very specialized nutritional needs at the beginning of their life.  There are some homemade starter chick feeds going around the internet, but the easier way to make sure your kids are getting exactly what they need, pick up some chick starter feed at your local supply store.

    Once they’ve gotten bigger, you’ll switch them to egg layer feed or meat bird feed, so there is no need to put a lot of extra effort in at the beginning.

    A feeder will help a little in keeping the food in one place, but keep in mind, chicks are messy, and there will be spills to contend with.


    Chicken Keeping Answers — Your one-stop chicken raising resource. Get info here>>>


  • Is Grass Fed Beef Really Better Than the Alternative?

    Is Grass Fed Beef Really Better Than the Alternative?

    As people work to become more health conscious, we are taking a closer look at the foods we eat regularly.  And, while some have chosen to avoid animal products altogether, others have instead made an effort to find healthier versions of the product they already know and love.

    Take beef, for example.  Most of us know from grocery shopping that it’s now possible to buy items like ground beef with different levels of fat in them.  And, you would think that when spending the extra money per pound on 93% lean beef that, that is hormone/additive free you’d be getting as healthy an option as possible.

    You may find it surprising then that you can do better.

    How?  By sourcing your beef from grass-fed cows instead of grain fed cows.

    But wait, isn’t grain a healthy food too? Well, yes, it is.  However, in a cow’s diet, it has more in common with a bag of potato chips than a leafy green salad.  The purpose of adding grain to a cows feed to fatten them up.  Not bulk them up with lean muscle but add fat so they weigh more and can be sold for more money.

    Grass-fed cows are much leaner, not because they are undernourished, but because they don’t build up excess fat. Beef from grass-fed cows is shown to be lower in saturated fat, calories, and total fat while being higher in vitamins and healthy fats.

    Additionally, since the cattle are allowed to graze in open fields more than those who get crowded into feedlots, there is little to no need to give them antibiotics.

    Finally, another side effect of some cheaper grain feeds it its ability to allow E. coli bacteria to breed much easier in the cows’ stomachs.

    Still not convinced?  Take a look at some more advantages grass-fed beef, and farming has:

    • Lower Omega 6-fats (These are linked to heart disease)
    • Higher Omega 3 fats (good for your brain)
    • Higher CLA levels which help reduce the risk of heart disease and cancer
    • Higher vitamin C and E levels
    • Better quality of life for cattle (Less stress)
    • Higher quality of Dairy products
    • Pastures provide reduced flooding and soil erosion versus grain fields
    • Self-fertilizing of pastures provides a more nutritious and more sustainable food source without costing extra money.
    • Reduces the use of chemical fertilizers and pesticides to produce unsustainable corn and soy feed.

    Disadvantages of Grass Fed Beef

    Like organic produce, especially when the movement was just getting off the ground, it may be difficult initially to find a local supplier.  The lack of farms producing grass-fed beef also tends to make it more expensive for now.  But, if you are in a position to take advantage of this healthy and more sustainable beef source, the advantages definitely outweigh the disadvantages.

    It Just Tastes Better!

    One last advantage to mention that anyone who’s made the switch will tell you, grass-fed beef has a much better taste to it.  Of course, the best way to find out is to try it and see.

    Where to Buy Grass Fed Beef

    If you have a locally owned butcher shop or similar, you may be able to find it there.  Whole Foods stores also carry it, but it tends to be more expensive.  Buying from Whole Foods initially would give you an opportunity to assess the differences yourself before looking too hard in your area for a supplier.

    Two resources online that provide information about where to buy grass fed beef are:

    • Eat Wild at www.eatwild.com
    • US Wellness Meats: 100% Grass-Fed Beef https://grasslandbeef.com/

    Once you’ve made the switch, its time to fire up the grill and cook up the best burger or steak you’ve ever had.

    [Bonus] This strange method will make your food last for 2 years without refrigeration.  Learn More>>>

  • 4 Critical Methods to Improve Your Garden Soil

    4 Critical Methods to Improve Your Garden Soil

    You have the perfect spot picked out for your new garden.  It gets just the right amount of sun, its easy to access and there is plenty of room to plant whatever your heart desires.  Just one problem.  The ground in your perfect spot is less than optimal for growing anything more than plastic plants.

    What do you do when your potential garden’s soil is more akin to just plain dirt that the rich compost you dream of getting your hands into?  Pick another site?  Probably now very practical.

    Fortunately, there are several natural ways you can inject your ground with what it needs to support a flourishing garden.  Here are a few you might want to consider.


    Composting

    Composting your kitchen and yards waste gives you a tremendous source of organic material that will add nutrients and extra material to your garden plot.

    If you haven’t had a chance to get a good compost heap going, your local DIY or garden center will be able to provide you enough to get started.

    Not sure you want to take on the job of maintaining compost?  Consider at least saving all your used coffee grounds and egg shells.  Adding these directly to the soil around each plant will go a long way to building up much-desired nutrients.

    Related Article:  The Undeniable Benefits of Coffee Grounds in Your Garden


    Natural Fertilizer a.k.a Manure

    Adding animal dung to your soil will give it a much-needed boost in organic material, nutrients, and beneficial microbes. If you go this route, make sure you follow a few precautions.

    First, most fresh manure is too “hot” to add directly to plants.  There are high levels of several compounds that can burn your plants chemically.  For best result, let manure compost or at least age for a while before adding it to soil and around existing plants.  This gives those chemical compounds time to break down to safe levels for planting.

    If you are preparing a new site, you can use a tiller to mix in fresh manure in the fall, and then let it set over the winter to be ready for spring planting.

    Also, if you are sourcing your manure from an outside source, say the farmer down the road, make sure the manure you receive is from animals that have not been allowed to graze on food sources that have been exposed to herbicides.

    Some herbicides can survive the digestive process and will exist in the animals waste, which will have unwanted side-effects on your new planting.

    Plant Cover Crops

    This relatively easy option lets you build up your soil quality with much less work than some other methods. Cover crops provide nutrients to the soil as well as improve drainage, attract beneficial insects and other organisms, strangle out weeds, and act as a mulch.

    One thing to note, however, using this method will take longer than others.  You won’t be able to use the site for other planting until the following year.

    If you are someone who really plans ahead, though, this would be a good option for you.


    Let the Worms do the Work

    Vermicomposting is basically the process of introducing worms to the environment and letting them add important nutrients as well as increase aeration and drainage just by being themselves.

    There are a few ways to accomplish this:

    • Add the worms to your compost pile. They will speed up the decomposition process and add vital nutrients to the material.
    • Add the worms to your garden soil and pile on some compost and mulch to give them a new home.

    Related Article:  Do-It-Yourself Worm Casting


    Let the Gardening Begin

    We’ve discussed four fairly simple ways you can turn a patch of dirt into a flourishing garden plot ready to nurture whatever you want to plant.  With just a little planning, you can turn your backyard into a viable food source in no time.


    [Break-Through] Organic Gardening Secret Grows You Up To 10 Times The Plants, In Half The Time”. Learn More Here>>>


  • 5 Fantastic Benefits of Living in a Yurt

    5 Fantastic Benefits of Living in a Yurt


    Yurts are the ultimate example of efficiency in residential construction.  Their structural design, insulation and covering keep them cool in summer, warm in winter, and extremely wind resistant.  A yurt’s round walls allow for much less surface area for interior heat to escape while letting the wind move more organically around it instead of pushing against it.

    The framing of the support system is completely self-sufficient and a wonder of engineering.  The roof is supported by the use of a tension band and compression ring leaving the interior completely open and available to any interior design you could need.


    A Brief History of the Yurt

    Even though the practicality of yurt design and living didn’t reach the United States until after the second half of the 20th century, the design has been the primary traditional form of housing in Central Asia as far back as the 13th century.  Even today in many of the same regions, the Yurt is the only design used in most homes in Mongolia and other Central Asian areas.


    Yurts are Especially Friendly to the Environment

    Yurts are constructed on a raised platform supported by posts, versus a concrete slab directly on the ground.

    When properly anchored, these platforms create very little change to the area they are situated on.  Today’s structural beams and fabric coverings are often constructed through environmentally conscious methods and sustainable resources.

    The insulation fabrics used take up a very small footprint.  Additionally, it’s been reported that people who exhibit chemical sensitivities to other insulation materials used in modern building don’t react adversely to yurt insulation fabrics.

    Yurts are Especially Compatible with their Environment

    Yurts blend in nicely into whatever environment they are placed in. Their rounded form lends a more organic shape to the dwelling, versus the standard straight lines typical rectangular and square shapes do.  The overall appearance provides a much more attractive and serene feel to the residential space.


    Yurts Can be Moved and Lived in Just About Anywhere

    The construction makes a yurt extremely portable, allowing the owner to transition to just about any area a support platform can be contrasted.  This same construction also makes it incredibly strong and able to hold up to strong winds, heavy rain and snow and even earthquakes.

    With a yurt you can move from the desert to the beach to the mountaintops, taking your yurt along for the ride in each setting.

    Yurts Provide Incredible Flexibility of Use

    Since the design of the yurt doesn’t require any interior walls, you have an enormous open space to work with when you start planning the inside.  Whether you decide to put in permanent walls, movable dividers or build a loft for even more usable space, there is any number of ways you can use your yurt interior.  Smaller ones can be used as workout/yoga studios, guest homes, or even just temperature-controlled storage buildings.


    Suggested: Self Reliant Power Source For Your Yurt


    Yurts Encourage Inner Healing and Spiritual Enlightenment

    The aesthetics of a yurt’s construction, particularly its shape and openness, can be seen in other cultures throughout the globe. Round dwellings can be seen on just about every contentment throughout history, from traditional grass huts in Africa, igloos in the Arctic region, and the Teepees of many Native American tribes.

    Their very construction adapts not only to their physical surroundings but naturally allows a freer flow of energy inside and out.  These attributes aid in creating a more healing, creative and spiritual environment.


    Ready to Change Your Life?

    Or at least your home?  We’ve touched on just some of the benefits and fun Yurt living can bring to your life.  If you are looking for a more efficient and environmentally friendly living space, the yurt should be at the top of your list.


    [Did You Know]  What really happens when you bury a shipping container?  Learn Here>>>