Easy Checklist to Winterize Your Garden
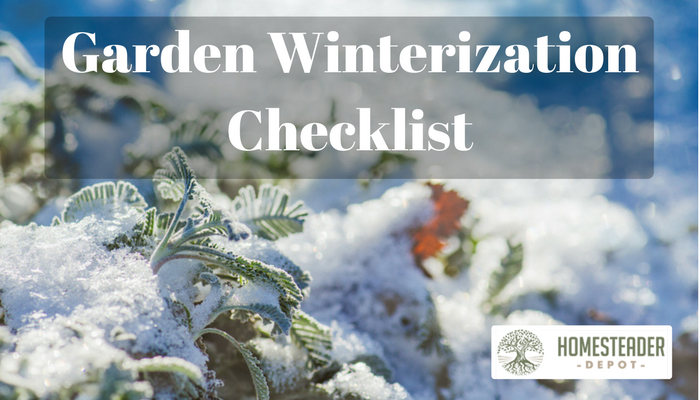
As a homesteader, you may be wondering where you’re going to get the energy for preparing your garden for winter after all the hard work of harvesting the vegetables from your garden. Remember how happy you were when you realized that you wouldn’t need to buy any vegetables all winter long? Keep that in mind … Read more