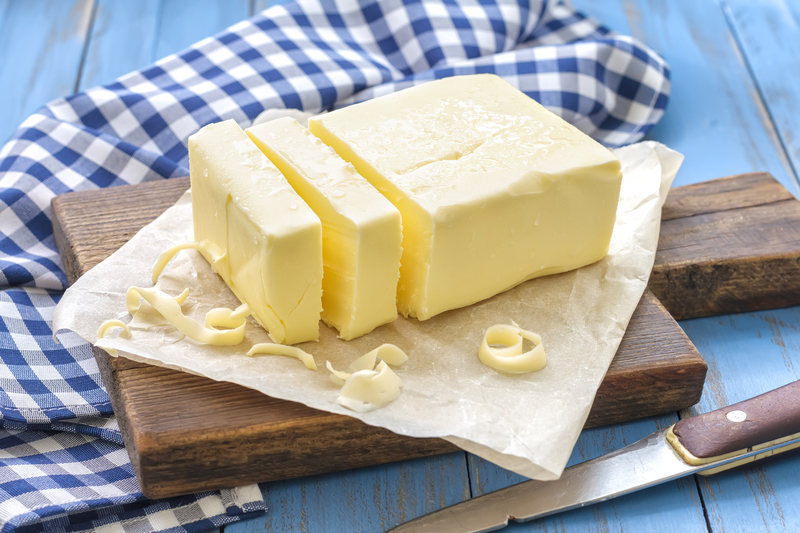
Imagine the smell of freshly made homemade bread. Now imagine spreading your own homemade butter on a slice of steaming hot bread. Is your mouth watering yet? Mine is! One of the things about my mom that I miss the most is her homestead cooking and one of my favorites was that creamy homemade butter that melted on my tongue.
Butter Basics
Homemade butter does not have an oily taste like margarine. The cream and butter that comes from grass-fed cows are high in vitamin E, beta-carotene, and it can lower cholesterol. Even though butter has saturated fat, it is better for you than margarine as long as it is raw organic butter made from organic cream.
You can make butter with just a few steps. You do not need one of those old-fashioned butter churns or a cow to milk. Although having a cow or two that eat green grass may be a good idea when homesteading, this recipe uses an electric mixer instead of a butter churn. You can even use a mason jar with cover and shake the cream instead of using a mixer. Shaking it will take more time but would be a fun thing for your kids or grandkids to do. If you don’t have cows, you can make butter from organic heavy whipping cream (butterfat content of at a minimum of 35 percent) from your local grocery store.
Making the Butter
The amount of cream needed depends on how much butter you want. It should be kept at room temperature for about 12 hours before mixing. About 15-20 minutes (or amount of time that water can be kept in the freezer before freezing) before mixing you need to place 2 cups of water in the freezer so you will have ice water for the recipe. You can make butter with any amount of cream and here is the typical breakdown for a pound or half a pound:
- 1 quart of cream = 16 ounces (1 pound) butter and two cups of buttermilk.
- 1 cup of cream = 8 ounces (1/2 pound) butter and about 1/2 cup of buttermilk.

If this is the first time making butter, you may want to start out with the smaller amount of 1 cup of cream. Pour the cream into a mixer bowl and blend with an electric mixer at medium speed for 10 to 15 minutes. When the cream turns into curd-like lumps, keep blending until it starts to thicken and a watery/milky liquid forms at the bottom of the bowl.
Stop the mixer and pour off the liquid into a sealable container that will hold about 1-2 cups. The buttermilk will not look like the kind you buy at the store. It is thinner but still can be used in place of water for cooking and baking.
Suggested Article: “Canned Corn: Whats the Trick”
Use a stiff spatula to press the butter up against the walls of the bowl to squeeze out as much liquid as possible. Add about 1/2 cup of ice water and press up against the walls of the bowl to release the buttermilk liquid. Repeat two more times or until water loses its cloudiness.
Continue to pour the liquid into a container and when finished, seal and refrigerate. Once all the buttermilk is collected, you can add a pinch of sea salt (per pound) to the butter unless you want to keep it unsalted. This process will give you buttermilk to cook with and keep the butter from spoiling.
Storing the Butter
Pack the butter you plan to use for the next week into a container with a cover and refrigerate. To store the remainder, wrap in parchment paper and then in foil or plastic wrap. You can store in the freezer for up to six months. Enjoy!


