Sewing, Knitting, and Crocheting – Three Skills You Need
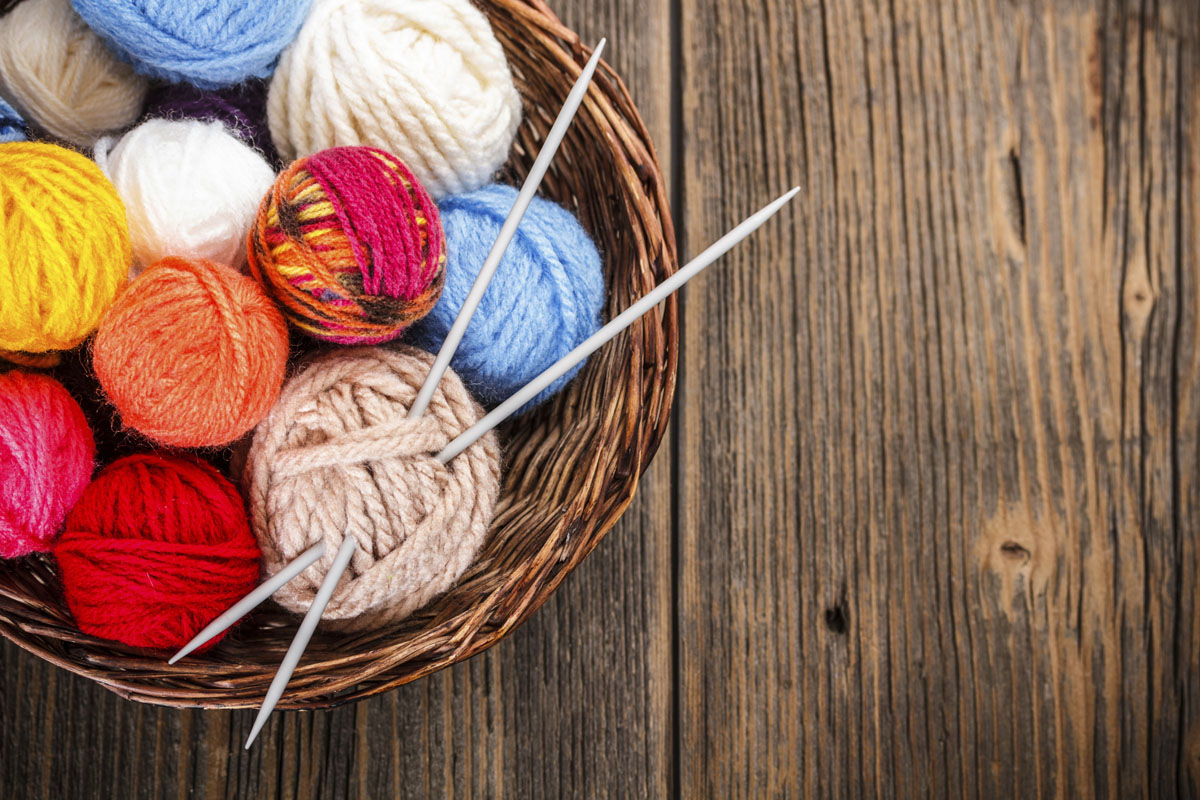
As a homesteader, you are a collector of skills. With every skill that you acquire, it leads you one step closer to true self-sufficiency. The following are three related skills that you will certainly want to add to your repertoire – sewing, knitting, and crocheting. Let’s learn how these skills can benefit you. Sewing If … Read more