Page 1 of 5
1 2 3 5
Cooking – Homesteader Depot

Tag: Cooking

  • 7 Clever Uses for Cheesecloth

    7 Clever Uses for Cheesecloth

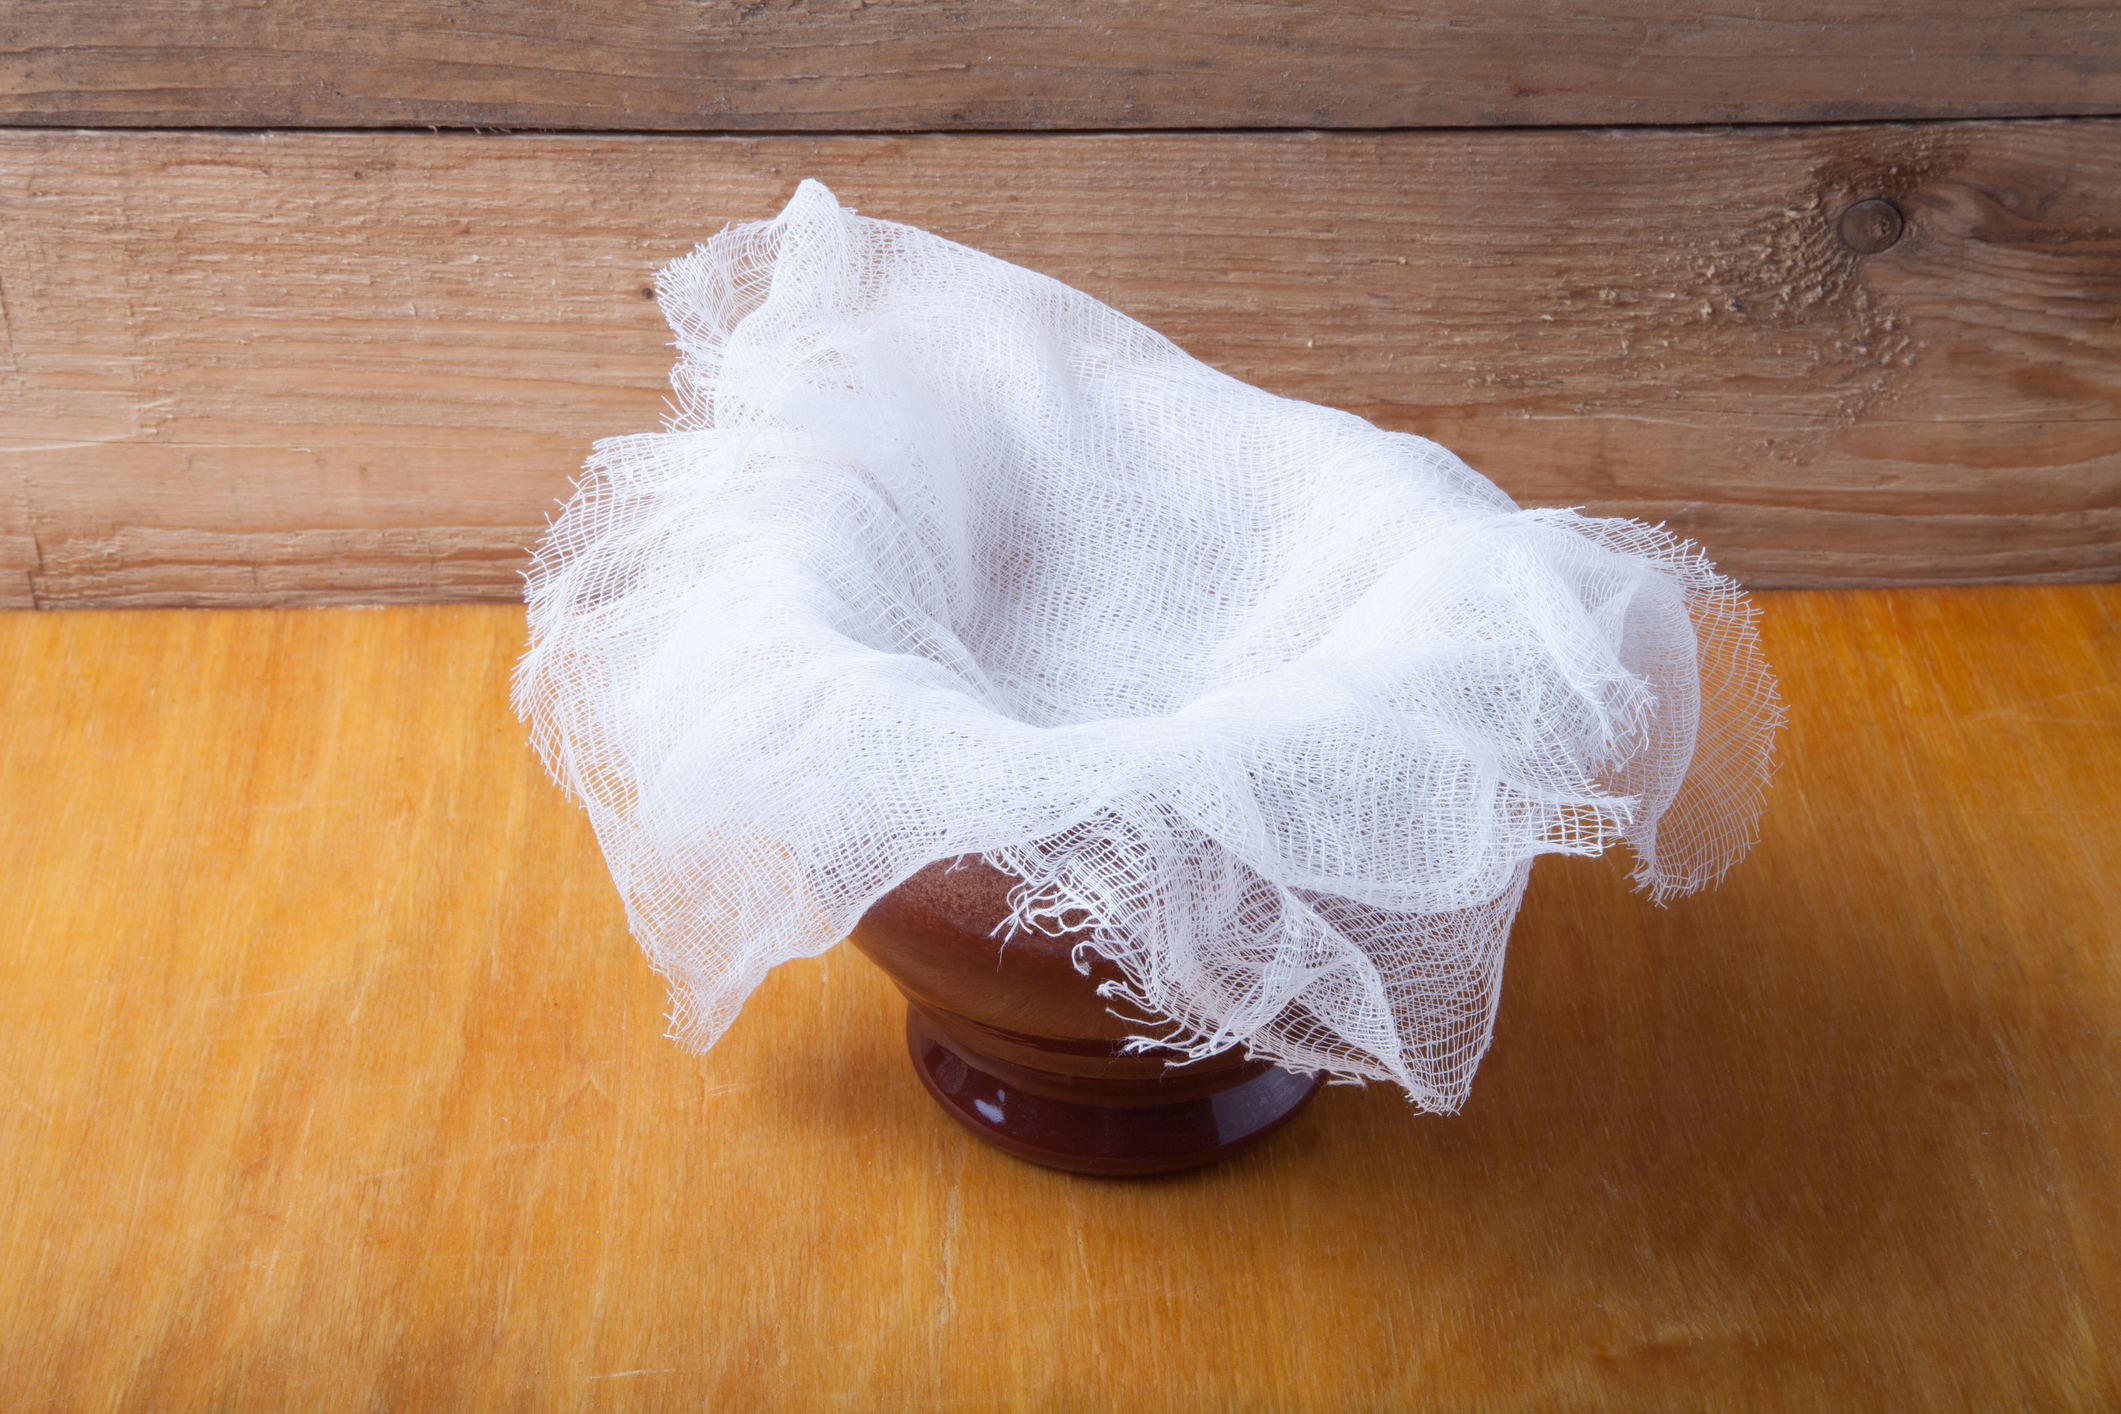
    How much do you know about cheesecloth? This porous cloth was initially designed to help cheesemakers squeeze the liquid out of cheese curds, hence its name. However, it has a number of other uses as well – many of which you probably never considered. Here are seven of these incredibly clever uses for cheesecloth. You’ll want to keep some in your home after reading them.


    1) Polishing Your Silver

    All that you need in order to make your silver shine is a little silver polish, some water, and a piece of cheesecloth. The steps are very easy. Start by moistening the cheesecloth by dipping it in the water. Squeeze out any excess water. Then dip the wet section of the cloth in the silver polish (or squeeze it on, depending on the type of polish). All that you have to do next is rub your silverware or your pots and pans until they shine, repeating the process as necessary.


    2) Making Herb Bundles

    Have you ever wondered how chefs manage to make their soups and stews taste so nice, even if there isn’t any evidence of herbs and seasonings in them? Cheesecloth is the answer to that question. Cut a small square of cheesecloth and wrap some herbs up in it. Tie the bundle tightly with a piece of clean string – butcher’s twine will work well. Place the bundle in the soup or stew and fish it out before serving. The flavor of the herbs will soak through the cheesecloth.


    3) Quick Bandages

    If you cut yourself in your kitchen (or anywhere else in your home, for that matter) and don’t have any gauze in your first aid kit, then grab a piece of cheesecloth. It won’t stick to your wound and will provide a clean cover until you can get some proper bandages. Just make sure to place some antibacterial ointment on the wound first. The cheesecloth will last until you can make it to the emergency room, if the cut it bad enough, or until the bleeding stops and you can place a proper bandage on it.

    Breakthrough in Electric Car Technology Powers An Entire Home>>>

    4) Dust Some Sugar on Your Baked Goods

    If you’ve ever made a mess of your baked goods when you sprinkled powder sugar on them, then we have a good solution. You can place the powdered sugar in a jar, top it with a tightly wrapped piece of cheesecloth, and then begin dusting the tops of them with it. The pores in the cheesecloth are just the right size, so you won’t make a mess.


    5) Food Drapes and Covers

    The next time you want to protect your food before it is served, rather than reach for plastic containers or glass lids, use a piece of cheesecloth. It will neatly cover everything, preventing your contaminants from touching your dishes. On top of this, cheesecloth is very sanitary.


    6) Straining Your Food

    Sometimes you need to strain things before you serve them. Since this is the original use for cheesecloth, it works perfectly. Just be careful when you’re straining the hot stock and other things, as you don’t want to burn yourself. Place the cheesecloth in a bowl and pour the contents of your pot into it. The cheesecloth will do its job, and once you lift it up, you’ll notice just how nicely contained everything is.


    7) Baste Your Thanksgiving Turkey

    There are several different ways to baste your Thanksgiving turkey, although cheesecloth is the most effective. Start by soaking your cheesecloth in a mix of melted butter, herbs, seasonings, and even some turkey stock. Then lay it over your turkey until everything has sunk in. You won’t regret it!

    Power Efficiency Guide Will Change the World Forever>>>

  • 10 Substitutes for Baking Powder

    10 Substitutes for Baking Powder

    Baking powder is a widely used ingredient that makes your baked goods lighter and fluffier. The problem is, you might not always have it available to you. Instead of skipping the recipe altogether, discover some great substitutes that can be used in its place.

    Baking Powder Defined

    The composition of baking powder is sodium bicarbonate. It is known in the world of chemistry as a base that gets paired with an acid like cream of tartar or filler such as cornstarch. The leavening agent is used commonly in a variety of baking recipes.

    When the baking soda is mixed with water, the acidic component and the sodium bicarbonate react with one another allowing the release of carbon-dioxide gases. This reaction makes bubbles form, and that’s what adds the volume to baked goods, bread, cakes, and other foods.

    Baking soda and baking powder are two different ingredients that get confused frequently. Baking soda doesn’t have the acidic component however and must be blended with an acid to produce the same results as baking powder.

    If you run out of baking powder, try using one of these alternatives.

    1.    Plain Yogurt

    Plain yogurt has an acidic pH that adds the same effect as baking powder to your recipe. Mix ¼ teaspoon of baking soda and a ½ cup of yogurt and replace one teaspoon of baking powder. Be sure to reduce your liquid ingredients in an amount equal to your yogurt addition.

    2.    Buttermilk

    Buttermilk is similar to plain yogurt in makeup and can be used in the same manner when you don’t have baking powder as an option for your recipe.

    Suggested Article:  “Super Easy Homemade Buttermilk”

    3.    Cream of Tartar

    A two-to-one ratio of cream of tartar to baking soda creates the best finishes when using it as a substitute. ¼ teaspoon of baking soda and a ½ teaspoon of cream of tartar equals one teaspoon of baking powder.

    4.    Molasses

    Molasses is high in sugar and when using a ¼ of the liquid combined with a ¼ teaspoon of baking soda you can leave out a teaspoon of baking powder.

    You Are Not Failing Your Diet, Your Diet Is Failing YOU — Learn how To Create Quick & Easy Fat Burning Recipes That Will Taste Just Like Your Favorite Meals…Click here>>>

    5.    Vinegar

    White vinegar has a natural taste, and when paired with baking soda in cakes and cookies a leavening effect is produced. When your recipe calls for a teaspoon of baking soda, use a ¼ teaspoon with a ¼ teaspoon of baking soda and a ½ teaspoon of vinegar as a replacement.

    6.    Sour Milk

    Acidification has occurred in sour milk so using a ½ cup along with a ¼ teaspoon of baking soda can be used to replace a teaspoon of baking powder. Reduce your liquids by whatever addition of sour milk you’re using.

    7.    Club Soda

    Baking soda is found in club soda in the form of sodium bicarbonate. Use it to replace any liquids in your recipes that only require a small amount of lightness and volume. It can be used instead of milk or water for instance.

    8.    Lemon Juice

    Use ¼ teaspoon of baking soda, ½ teaspoon of baking soda, and ½ teaspoon of lemon juice to replace a full teaspoon of baking soda. There are high levels of citric acid in lemon juice that allow for the acid-based reaction that comes with baking soda.

    Related Article:  “10 Amazing Uses for Lemons”

    9.    Whipped Egg Whites

    Whipped egg whites create tiny bubbles that contribute to the rising of many baked goods. Pancakes, meringues, and soufflés often call for whipped egg whites. Beat them slowly until they foam and then increase the speed of your mixer until soft peaks start forming.

    10.    Self-Rising Flour

    Baking powder, salt, and all-purpose flour all makeup self-rising flour making it a good option if you run out of baking powder and baking soda. Just take out the baking powder, baking soda, and regular flour in your recipe and replace it with self-rising flour to help your baked goods rise.

    Never BUY Papertowels Again…Use THESE Instead>>>


  • How To Build An Earth Oven

    How To Build An Earth Oven


    An earthen oven is exactly what it sounds like – an oven made of a combination of dried earth and clay. These ovens tend to cook things better than standard outdoor brick ovens, and are fairly easy to build, as long as you know how.


    History of Earth Ovens

    A type earth oven, known as a pit hearth, has been used for centuries. Examples of them have been found in Europe that date back to the Bronze Age. In the United States, they were commonly used by Native American tribes to cook large meals. Use of these ovens hasn’t died out. Many cultures, such as the Maori and the people of Papua New Guinea use them today. Since they aren’t difficult to build, you can even make one in your own backyard.


    The First Steps

    Before you start building your earth oven, you first need to gather your materials and make a space for it. A cleared section in a backyard that has some natural cover makes a great place for such an oven. Even out the land where you intend to build this small structure.

    You’ll need a number of things to build your earth oven. These include:

    1. firebricks (the first layer on the ground)
    2. building sand
    3. water
    4. newspaper
    5. clay
    6. either straw, hay, or dried grasses.

    Each of these components is essential to the process.

    The Building Process

    Next, you’ll need to begin construction. Since you already have a cleared space for the oven, you can start by laying down the fire bricks. They’ll become the base for the oven. How many bricks you use depends on how large you want your oven to be. An 18-inch inside is a good basic measurement for this oven, so set yours up accordingly. Once the bricks are laid down, you’ll need to trace out the shape of your oven.

    Now it’s time to mix your clay together and start the rest of the building process. Lay a tarp down on the ground and place your clay and sand on it. Mix them together, then add water. This is going to become the inner layer of the oven. Once they’re ready, lay the mixture down on the bricks in the shape of your oven. Remember to build up the middle and leave one of the ends low. The best ratio is about 60% tunnel to the middle dome. After you have the desired shape that you want, place some newspaper on top of it.

    After this, begin mixing together the final layers of clay. The first of these top layers need to be about three inches thick when laid on top of the inner oven. This clay mixture shouldn’t contain any of the grass, straw, or hay. The next layer also needs to be three inches thick and needs to have these dry materials mixed into it. This is the absolute final layer of your earth oven.


    Let It Dry

    Some patience is required before you can use your oven. The entire structure needs to dry out. This can take anywhere from two to six weeks, depending on your local weather and overall environment. You can’t cover your oven with anything while it dries, as that can harm its final composition and even slow the process.

    Finally, once your oven is completely dry, the next steps involve digging out that inner layer of sand and clay. The newspapers that you used to cover this layer will burn up when you use your oven, so there’s no need to worry about them.

    So, as you can see, an earth oven is a very simple structure that can be used as an alternative to your home oven and other cooking methods you may be using.  This is a neat, primitive way to cook and enjoy some food.

    [NEW DISCOVERY]  Easily produce all of the FREE, RENEWABLE, and GREEN ENERGY you need…Find out how>>>

    Below, David shows us a much more advanced earth oven and goes into detail about the composition of his particular, AMAZING earthing oven.


  • Homestyle Skillet Pizza (Video)

    Homestyle Skillet Pizza (Video)

    Who doesn’t love pizza? Ordering in from your local pizzeria is great, but like so many things in life, homemade is always better. You get fresher dough, you can tailor ingredients to your personal

    A really fun and easy way to make homemade pizza taste delicious and cook perfectly is to cook it in a skillet, like this video shows. Cast iron skillets are so useful in the kitchen, but they don’t have to be restricted to stir-fries and bacon! Baking in cast iron is a great way to add some versatility to your dishes and your cooking talents.

    Enjoy, and bon appetit!

    If you enjoyed this, you might also like….

    Long-Term Survival for Homesteaders…

    Natural Healing Secrets You Need to Know…

    Effective Primal Diet Hacks…

  • Cooking Skills Every Homesteader Should Cultivate

    Cooking Skills Every Homesteader Should Cultivate

    One of the primary reasons many people homestead is to have a closer relationship with the source of their food. You yearn to grow your own vegetables, raise your own meat and dairy, forage, and hunt; essentially, to be independent of the increasingly complicated globalized food system.

    These are certainly noble aspirations, and we share them here. Going back to a simpler time, to our roots, is something many of us are striving for in this modern world. Only a few generations ago, many people lived much more self-reliant and independent lives, and with the precarious situation our whole planet seems to be in so many ways, it’s very tempting, and quite prudent, to try to return to these traditions.

    There is, however, much more to going back to our roots than simply gardening and raising livestock. As we explained in a recent post on reading antique cookbooks, cooking was very different a century ago and much more centered around the kind of food systems many homesteaders desire to return to.

    If you want to be more independent, there are a number of cooking skills that can help. Whether you are homesteading out in the country or simply trying to live a more wholesome life in the suburbs or a city, these are skills that are invaluable to cultivate and can have a great positive influence on your cooking and health.

    1. Cooking over an open fire

    This is bare bones basic cooking, and everyone should (but most likely won’t) know how to do this. If you ever go camping or have bonfires, you should be working on cooking over an open fire. There are many methods of how to do this, and yes, bar-b-que (sort of) counts. The thing is, we just get so used to our gas or electric ranges we never learn the art of controlling the heat ourselves, other than turning a knob, and this takes a huge aspect of cooking out of the equation. If you work on only one basic cooking skill, this should be it.

    2. Cooking in a wood oven

    This is very similar to cooking over an open fire in that we have become spoiled by modern ranges and can greatly benefit from learning this art. Wood ovens are great staples to have on a homestead anyway, for many reasons, and odds are if you plan to go off-grid or are caught in a grid-down situation, you might need to rely on a wood stove and oven to prepare your food.

    3. Butcher whole animals

    This is a big one, especially if you want to raise your own meat. If you live in a community, you probably have a butcher you can bring your animals to once you’ve slaughtered them, and this is definitely a great resource to have. The thing is, as great as it is to support your local butcher and we’d highly encourage you to keep him in business, you should also be learning to do it yourself when you can. Because let’s be real: it’s not entirely self-reliant if you have to rely on someone else to do the really hard part.

    Try to find ways to integrate butchering into your cooking life. Even if you don’t raise animals, simply buying a whole chicken and learning to properly section it off not only saves money but is good experience. If you do raise animals, take some time to learn to butcher them yourself. It’s hard work and you don’t want to get stuck having to learn how to do it when your life depends on it.

    4. Curing Meat 

    Curing meat is a very underrated method of food preservation. We constantly advocate for learning to preserve your own food, such as canning or lacto-fermenting, or culturing of any kind, and these methods of food preservation is all the rage these days. Less popular but equally important is learning to cure meat. If you are raising your own meat, this is essential. Curing can help preserve meat for a very long time, and of course,  make it absolutely delicious as well. This age-old method of curing meat has been used for centuries, since long before refrigeration, and shouldn’t be underestimated.

    5. Cooking with cast iron 

    You may already be familiar with cooking with cast iron, but if you’re not, you should seriously consider investing in a skillet or dutch oven. No cookware lasts as long or endures as much wear and tear. There’s a reason it has been a staple in Western kitchens for years. It’s the original non-stick skillet, and you can easily clean and maintain it using some oil or lard (how old-fashioned is that?), making it a great option for off-grid kitchens without running water as well. Where all other pots or pans will eventually deteriorate or break, cast iron will last forever.

    It’s great to start homesteading and create a more empowering relationship with your food, but don’t forget to learn how to cook it in a more traditional way!

    If you enjoyed this, you might also like….

    Long-Term Survival for Homesteaders…

  • How to Read Antique Cookbooks

    How to Read Antique Cookbooks

    Antique cookbooks are a wonderful relic of the past, and yet, if you’ve ever tried to make any of the recipes contained within, you might find yourself scratching your head.

    Just as lifestyles have changed drastically in the last half, even quarter century, so have the way we cook, talk about, and interact with food, and the cookbooks of yesteryear might be a bit cryptic to today’s modern cook.

    However, if you are a homesteader, these antique cookbooks might be very appealing to you. They are written for people who had access to the kinds of things homesteads produce, and deal with ingredients like whole animals, natural leavening agents, and tools wood fire stoves or ovens.

    To help you decipher the archaic language of antique cookbooks, we’ve put together a little guide.

    Leavening 

    The way we leaven our baked goods these days is very different from the way people did a century ago. While there is a big movement to return to natural leavening agents, you either might not be familiar with this technique yet, or simply don’t understand what the cookbook is calling for.

    You might find yeast being called for by the cup or “teacup” in your antique cookbook, and this means an active starter like sourdough or a homemade yeast. You can also use dry yeast here (a relatively recent invention), but use 1 tbs for less than 6 cups flour, 2 tbs for 6-11 cups, or 3 tbs for 11-26 cups.

    There have also been many changes in agents like baking soda and baking powder. If baking soda is called for, you’ll want to reduce the amount you use, as the baking soda we have today is double-acting, meaning it rises twice as fast. If the recipe calls for soda, 1/2 a tsp per cup of milk, sour milk, buttermilk, etc., or every teaspoon of vinegar or lemon juice.

    Temperature 

    Most old cookbooks assumed that the reader already knew how to operate their oven and range, so most of the time, ingredients, and steps for preparing the dish are given, but with only a few vague instructions for baking at best. Since gas ranges and ovens weren’t common until well into the 20th Century, anything written before that wouldn’t assume you were using one.

    In many cases, you’re simply going to have to use common sense. Odds are if you’re brave enough to dive into an antique cookbook, you are probably pretty comfortable in the kitchen, and know that, for the most part, certain baked goods tend to be baked around the same temperature. If you’re confident baking on a regular basis, you should be fine. If you’re confused, reference the temperature used in a contemporary version of a similar recipe, and just watch your dish carefully as it bakes.

    Measurements 

    Old-fashioned cookbooks have some odd standards of measurements. For instance, “teaspoons” are the same word, but the measurement has changed. It used to be 4 tsp per 1 tbs, while our present measurement is 3 tsp per 1 tbs. Also, when teaspoons or tablespoons are indicated in old cookbooks, they might have meant rounded, while today we typically refer to these measurements as the flattened-off version. These rounded, or “heaping” measurements, means that there could be nearly double the amount in one measurement!

    You also might find some unusual words you don’t recognize. A “dessertspoon” is half a tablespoon, meaning that, when a tsp equaled 1 tbs, a dessertspoon would be 2 tsp (today you might simply have a half-tablespoon measuring spoon on your personal set, I do).

    Other measurements that might be unfamiliar are a  “salt-spoon”, which is is 1/8 of a tsp, a “dash” (still used today in many cookbooks) is one shake of a shaker.

    A “cup” in an old-fashioned cookbook might mean about 1/5 less than our modern 8 oz cup. “Teacup”, a phrase you won’t see anymore, is simply half a cup. “Wineglass” is the equivalent of our current 1/4 a cup. Sometimes, you might see a recipe call for a “bowl”, use your best judgment using one of your own bowls, based on the other proportions in the recipe.


    While some old-fashioned recipes from antique cookbooks might be a bit daunting at first, never fear. While cooking language and techniques have changed, for the most part, it’s all still food. If you’re confident cooking on a daily basis, you can probably use your best judgment to make the recipe work for you. These old cookbooks can contain timeless wisdom when it comes to food, and since homesteading is all about getting back to our roots, its important to take advantage of these antique resources.


    If you enjoyed this, you might also like….

    Long-Term Survival for Homesteaders…

    Natural Healing Secrets You Need to Know…

    Effective Primal Diet Hacks…


  • Slow Cooker vs. Instant Pot (Video)

    Slow Cooker vs. Instant Pot (Video)

    I have been hearing so much hype about the Instant Pot lately, and I wanted to see what all the buzz was all about.

    I have got to tell you, I’m itching to get one of these myself after watching this video! Slow cookers are great, especially for things like bone broth or chili, but Instant Pots can cook both quickly and slowly, which is super cool.

    Regular pressure cookers are great, especially for off-grid energy situations, so I could see an Instant Pot being a real boon to many homesteaders! Check it out, I bet you’ll want one too:

    If you enjoyed this, you might also like….

    Long-Term Survival for Homesteaders…

    Natural Healing Secrets You Need to Know…

    Effective Primal Diet Hacks…

  • How to Cook With And Season Cast Iron (Video)

    How to Cook With And Season Cast Iron (Video)

    A good cast iron skillet is one of the most important–if not the most important kitchen tools you’ll ever own. You could probably have only a cast iron skillet and some basic utensils in your kitchen and go very far.

    Many people are intimidated by cast iron because it has a particular cleaning protocol, but it’s really not so complicated to care for, especially if you know what you’re doing.

    The YouTube channel Tasty, purveyor of those really awesome visually-appealing viral cooking videos, shares some important tips on how to care for and use the classic cast iron skillet.

    Enjoy!

    If you enjoyed this, you might also like….

    Long-Term Survival for Homesteaders…

    Natural Healing Secrets You Need to Know…

    Effective Primal Diet Hacks…