Page 9 of 15
1 7 8 9 10 11 15
diy – Page 9 – Homesteader Depot

Tag: diy

  • DIY $5 Funnel Solar Oven (Video)

    DIY $5 Funnel Solar Oven (Video)

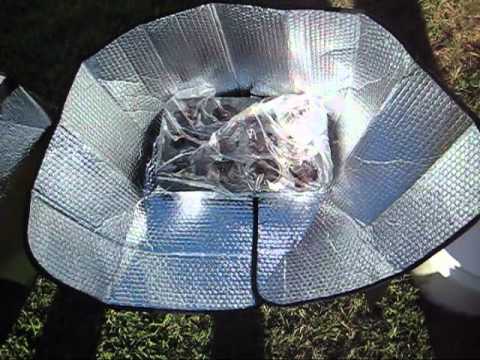
    I love off-grid cooking of all kind, and a solar oven is something I’ve been wanting to make for a long time. I always thought that it was fairly expensive to make, but this guy made one for only $5. It’s amazing how much you can cook in one, and it is the most bare-bones type of off-grid, renewable energy out there.

    The design is super simple and dirt cheap. Using two reflective windshield sun visors, he creates a funnel to concentrate the heat onto the oven. Check it out! I might try this when the days get warmer.

    If you liked this, you might also enjoy…

    What Are the Signs of the End Times?

    Learn Natural Healing Secrets From the Masters

    Preparing for the Bubble to Burst 

  • Homemade Dish Soap Recipe

    Homemade Dish Soap Recipe

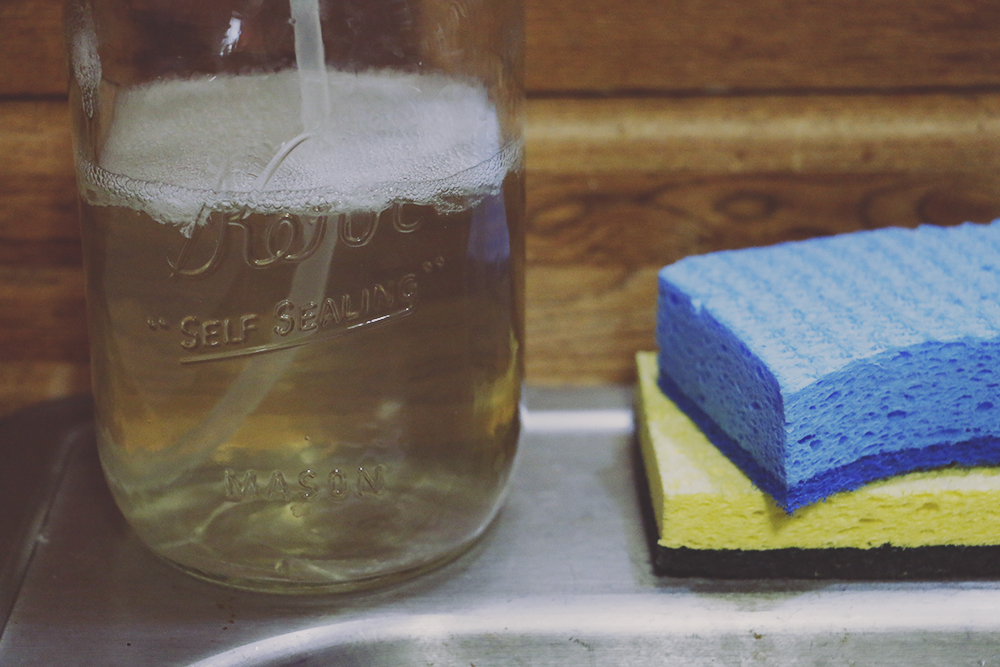
    I love to DIY everything, but dish soap is something I’ve had trouble with in the past. It always streaks on dishes, doesn’t lather, or leaves a horrible film that’s difficult to remove. However, I really hate buying dish soap from the store, because if it’s not super expensive, it usually contains harmful chemicals. Even the supposedly natural and eco-friendly brands like Seventh Generation still contain sodium lauryl sulfate, which is something I try to avoid, if I can.

    However, I found this recipe recently and really liked it!

    The key ingredient is Sal’s Suds, which is a Dr. Bronner’s product. You can usually find it at Ace Hardware stores or on Amazon. It’s a great DIY cleaning product ingredient to have around the house.

    So, without further ado, let’s get started:

    INGREDIENTS

    • 1/2 cup Sal Suds
    • 1/2 cup distilled white vinegar (you could use herb or citrus infused vinegar as well)
    • 1/2 cup warm filtered water (minerals in tap water might prevent the soap from forming properly)
    • 1 tsp. citric acid or lemon juice
    • 2 tsp. kosher sea salt
    • 20 drops essential oil of choice (lavender and lemon are great options)

    DIRECTIONS

    1. In a mixing bowl, combine the warm water and salt, and stir until the salt is completely dissolved
    2. In a separate bowl, combine the vinegar, Sal Suds, and citric acid
    3. Stir the vinegar, Sal Suds, and citric acid mixture into the warm water and salt mixture
    4. As you stir, the mixture will thicken. Just keep stirring until fully combined and thickened.
    5. That’s it! You can pour this into an old dish soap container, or even one of those fancy oil bottles with the metal spout if you want to get fancy. Use as you would your regular dish soap, and enjoy the savings!

    If you try this recipe, please let us know how it turns out in the comments below. Enjoy!

    If you enjoyed this, you might also like….

    Home Defense in the End Times…

    Natural Healing Secrets You Need to Know…

    Eat Like Your Ancestors…

  • Beer for the Garden

    Beer for the Garden

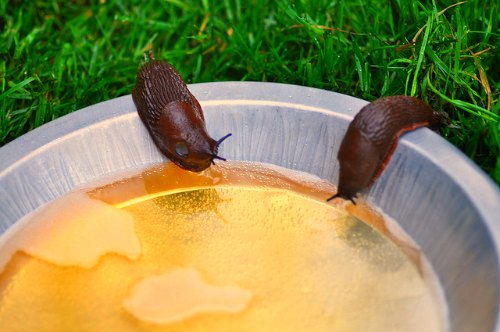
    Beer isn’t just great for the gardener after a hard day’s work, it’s also great for the health of your garden.  One way to put this beverage to work for you is to use it to attract and to kill slugs that can damage your crops and even spread disease.  Here’s how to use household items and little extra beer to keep your garden healthy and productive.


    • You will need a small tin, like a tuna can or a cat food container, a large plastic bottle, and some beer.
    1. Empty and clean the tin. You don’t want to try to get rid of slugs only to bring in the neighborhood stray cats.
    2. Cut the top off of a plastic bottle that has a diameter larger than the tin. This will be used to cover the tin to keep water out, so it needs to be able to fit over the tin completely.
    3. Cut 4 “mouse holes” in the bottle top, one on each side. This is to allow the slugs to get in while it is covering the tin.
    4. Place the tin in the ground near crops that have been affected by slugs or where you have seen their trails. You want the top the tin close to the ground so that the slugs don’t have to work too hard to get to their beer.  But, if you notice that you are catching other critters, especially ground beetles that eat slugs, then you are going to want to raise the tin up a little to reduce this risk.
    5. Fill the tin with beer, almost to the top.
    6. Place the bottle over the tin to keep rain from diluting your beer to the point that it does not attract slugs.
    7. Change the beer in the trap and the location of the trap every few days to keep the slugs guessing.

    Don’t waste all the beer on the slugs, gardening can be hard work, save some for yourself.

    If you liked this, you might also enjoy…

    Holistic Medicine Basics

    Ever Considered Taking Yoga? Read this

    The Ultimate Woodworking Course..

  • Curing Bacon, Step by Step (Video)

    Curing Bacon, Step by Step (Video)

    Who doesn’t love bacon? One thing I love even more than bacon is seeing processes like curing meat, so this video was fascinating to me.

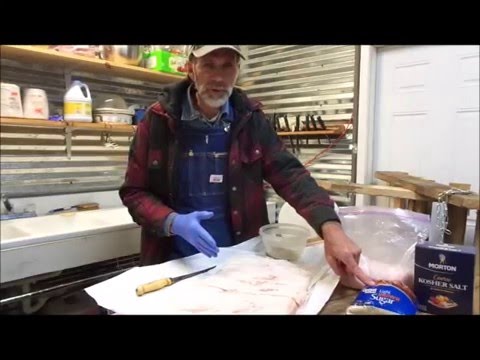
    One of my favorite YouTubers, Down South Homestead, wanted to show their viewers how they cure their own bacon. I’ve always wondered what the exact process would look like since I love cured meats of all kinds. They take you through each step of prepping the meat, preparing the cure, how the cure draws the moisture out, drying it, smoking it, etc. If you’re not hungry by the end of this video, there’s probably something wrong with you! Enjoy.


    Natural Healing Techniques Doctors Don’t Want You to Know…

    The Weight-Reducing Magic of Yoga…

    The Ultimate Woodworking Course..

  • DIY Budget Grow Box

    DIY Budget Grow Box

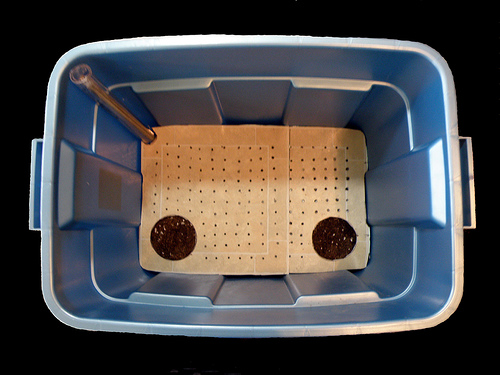
    I am personally not a fan of trying to grow plants indoors on in any other artificial and costly setup, but having a grow box doesn’t have to be expensive.  You can have a grow box that allows you to get your seeds started safely inside 6 weeks prior to the last frost in your area.  This will give you a significant jumpstart and extension on your growing season.  And this can be done for about $50 if you have purchased all the material, but you probably have most if it around your house already.


    Materials

    • 18-gallon plastic bin (If you have one that is larger you can use that too) $30
    • 5-inch clamp light $10
    • Aluminum foil $6
    • Duct tape $5
    • 5,000 K compact fluorescent bulb $2

    Directions

    1. Remove the lid from the plastic bin and lay the bin on its side. Place aluminum foil on the side that is down and use duct tape to hold it in place.  Turn the bin to the next side and repeat this until the inside of the bin is covered in foil, including the bottom.   The purpose for this is to reflect light back on the seedlings.
    2. Cut a 2inch square in the center of the lid to accommodate the light. Then cut a “T” shaped slit coming off one side of the square to accommodate the camp on the light.
    3. Cover the inside of the lid with aluminum foil and tape it in place just like the inside of the bin.
    4. Put the light in place and clamp it to the lid. The light should be on the inside of the lid, the square hole is only for the back of the light so that it can sit more flush with the lid.

    Tips

    1. If possible use square starting containers for you seedlings to save space.
    2. Get an aluminum baking pan to place the starts in.
    3. When you water the seedlings remove them from the grow box and pour about ½ inch of water in the baking pan instead of on the starts.

    Upgrading to an indoor/outdoor growing system doesn’t have to be difficult or expensive.  You can get started for under $50 and in less than an hour with this simple DIY grow box design.

    Natural Healing Techniques Doctors Don’t Want You to Know…

    The Weight-Reducing Magic of Yoga…

    The Ultimate Woodworking Course..


  • Mason Jar Aquaponics (Infographic)

    Mason Jar Aquaponics (Infographic)

    I shared an infographic recently on the benefits of aquaponics, and I came across this the other day that I thought was really neat, and super easy to create.

    It is a very simple DIY mason jar aquaponics set-up. Obviously, you’re not going to be growing tons of your own food this way, but I thought it would make a great experiment for homeschool or even for curious grownups. It could even serve simply as a very cool upgrade to an indoor decorative plant or herb garden!

    The original post on Desima.co has a photograph of one in real life, it’s pretty neat!

    masonjaraquaponicsdiy

    If you enjoyed this, you might also like….

    Home Defense in the End Times…

    Natural Healing Secrets You Need to Know…

    Eat Like Your Ancestors…

  • How to Make Homemade Almond Extract

    How to Make Homemade Almond Extract

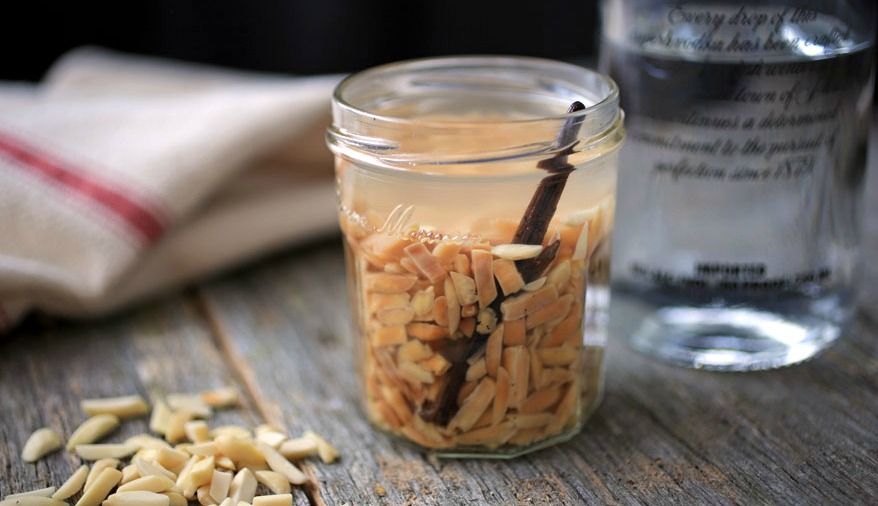
    I love DIY everything, and extracts are surprisingly easy. At the store, extracts for baking and flavoring foods can be surprisingly expensive, especially if you’d like organic or natural extracts of any kind. Almond extract is great to have for baking of all kind as the subtly sweet flavor of almonds makes for delicious cakes and cookies.

    The process for making your own is very simple. Since it only requires 15 raw almonds, it shouldn’t be too expensive to make this organic and natural, with some decent-quality vodka as well. You could make this large batch and put into smaller bottles for gifts or even to add to your farmer’s market stand if you have one.

    Ingredients 

    15 raw almonds

    2 cups of 80 proof vodka

    1 pint sized mason jar

    Jar or bottle for long term storage

    Directions to make one pint of Homemade Almond Extract

    1. First, blanch your almonds, if you don’t already have them blanched. Boil one pot of water and put your 15 almonds for 1 minute-be precise, set a timer. When the minute is up, drain quickly and run under cold water. Lay out on a tea towel to cool. The skin should look shriveled, and once they’re cooled you should be able to easily remove the skin from all the almonds.
    2. Roughly chop the blanched almonds and put them in your pint jar.
    3. Pour the vodka over the chopped almonds and secure the lid.
    4. Shake vigorously and place in a cool, dark place.
    5. Let sit for at least 6 weeks, or more if you’d like a bolder flavor. As it sits, make sure to shake every other day or so.
    6. Once the desired sitting time is up,  you can strain through a cheesecloth or coffee filter and pour into the bottle you’d like to use for storage. You can reuse the mason jar, or pour into smaller amber bottles for gifts or even sale.

    Enjoy!

    If you liked this, you might also enjoy…

    Holistic Medicine Basics

    Ever Considered Taking Yoga? Read this

    The Ultimate Woodworking Course..

  • Food for Healing (Inforgraphics)

    Food for Healing (Inforgraphics)

    I am a huge fan of using food for natural remedies and anything DIY. Not only does it save a bunch of money to use natural remedies made with food, but it’s most often much healthier and with more readily available healing properties than the over-the-counter alternative.

    I’m often recommending food items for DIY natural remedies, as you’ll know if you follow this blog regularly, and in my personal research I’ve often found Indian bloggers and vloggers are well-versed in using food, herbs, and other plants for natural remedies and beauty treatments.

    I recently came across this great set of articles from, not surprisingly, TheIndianSpot.com, listing several common kitchen items and their uses for natural remedies and beauty treatments. It’s a really great and handy resource, and would be perfect if you’d like to figure out what you might be able to do with what you’ve got in your kitchen right now. Odds are, you’ve got the makings for some great home remedies or maybe a rejuvenating facial mask sitting right in your fridge. Check it out, and see what you can make!

    natural-healers

    kitchen-healers

    If you enjoyed this, you might also like….

    Home Defense in the End Times…

    Natural Healing Secrets You Need to Know…

    Eat Like Your Ancestors…