Page 19 of 23
1 17 18 19 20 21 23
gardening – Page 19 – Homesteader Depot

Tag: gardening

  • All About Feverfew

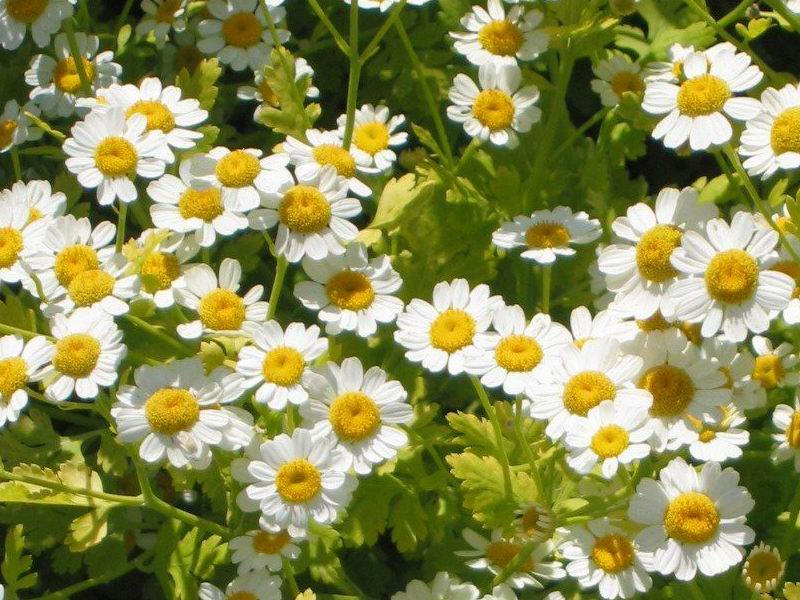
    All About Feverfew

    Feverfew is a great resource to have on your homestead.  With so much work to get done, you can’t just take a sick day every time you don’t feel good.  You need to have a medicine on hand to get you back on your feet.  Feverfew can help with that.


    Uses

    Feverfew can be used to treat headaches, reduce fever, and help with inflammation.  It works by opening up your vascular system and allowing the blood to flow smoothly as it should.  Feverfew is said to be safe for pregnant women and children.

    Cultivation

    Feverfew is grown from seed.  Once established it is a hardy herb, tolerating low to full sun, drought resistant, and frost resistant.  You may even need to weed out seedlings in the spring to prevent it from spreading.

    Harvest

    All above-ground portions of the plant can be used medicinally.  When harvesting plants that you want to continue to grow, find the stems that green and bendable, avoiding the hard woody stems towards the bottom.

    Methods

    Most people who treat migraines with Feverfew eat the leaves daily, as little as 1 leaf a day can be effective, some eat as much as 3 leaves a day.  Others make tea from fresh or dried leaves.  Because of the bitter taste, you may want to add some honey, or just hold your nose and hurry up and swallow it.  Alcohol tinctures are a great option since they make the medicinal components more bioavailable, and can be used in the winter when your plants have stopped producing leaves.


    Growing medicinal herbs will allow you to stay healthy and working to your best potential on your homestead, while also reducing your need to spend your hard earned money on store bought remedies or pharmaceutical drugs.

    If you liked this, you might also enjoy…

    Natural Healing Techniques Doctors Don’t Want You to Know…

    The Weight-Reducing Magic of Yoga…

    The Ultimate Woodworking Course..

  • What Is Hugelkultur?

    What Is Hugelkultur?

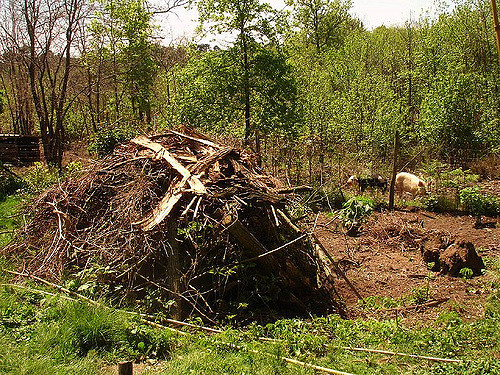
    The name is funny, but for those seeking to have a garden that requires less water and fertilizing, hugelkultur is something to take seriously.  The basic idea is to create raised beds on top of buried wood.  It may take a little more effort to get in place, but in the years to come, it will require less attention and resources than conventional beds.


    Why Use Hugelkultur

    As with any other aspect of homesteading, resource conservation is critical in gardening.  Hugelkultur allows you to make use of wood that is not suitable for fuel or building since you can use wood that is already rotten.  While in the ground the wood will soak up water when the soil is wet, and release it slowly when the soil dries out, greatly reducing or eliminating the need to irrigate.  Wood is a great source of minerals and nutrients for your soil.  As the wood breaks down it will feed your garden from the inside out, providing the nutrients in the plants’ root zone is more efficient.  This will reduce or eliminate your need to continue to fertilize your bed.

    How Do You Build a Hugelkultur

    The basic concept of building your hugelkultur bed is simple enough.  You just want to bury some wood, and grow on top of it.  The more rotten, and otherwise useless the wood is, the better it is for hugelkultur.  Fresh wood will lock up nitrogen as it begins to decompose.  Wood that already has mushrooms growing on it is perfect.  You can make it level, but a raised bed is better, for one, the wood will shrink while it further decomposes, if your bed begins level you might end up with a depression.  If you need to, you can add more wood and another layer of soil as time goes on.


    To make use of otherwise worthless resources on your homestead is something that you don’t want to overlook.  Hugelkultur could save you a lot of work and resources in the long run, and considering it just takes some rotten wood and dirt, you don’t have much to lose if you give it a try.

    If you liked this, you might also enjoy…

    Natural Healing Techniques Doctors Don’t Want You to Know…

    The Weight-Reducing Magic of Yoga…

    The Ultimate Woodworking Course..


  • How to Use Fall Leaves

    How to Use Fall Leaves

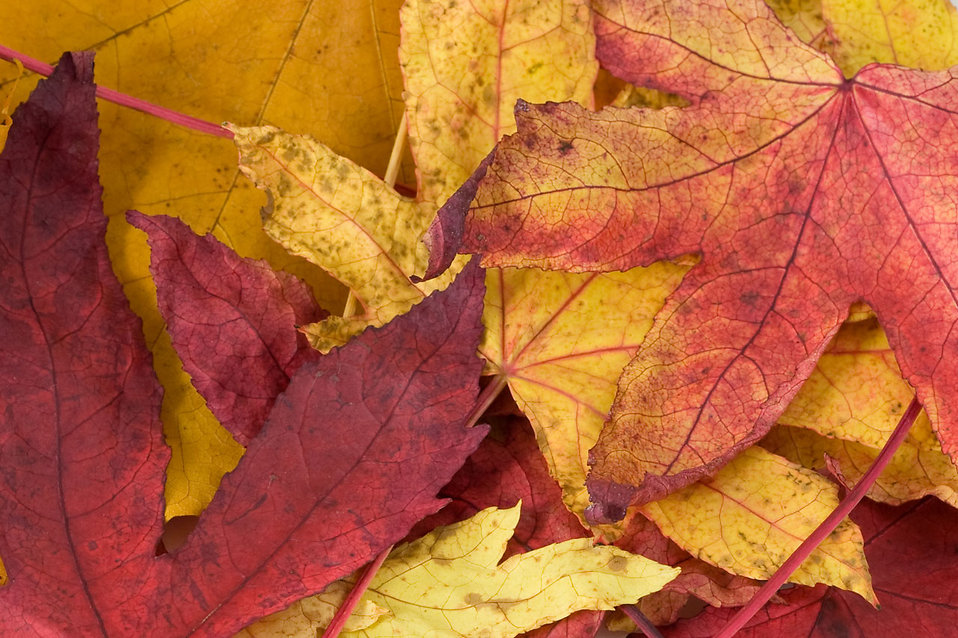
    This time of year many of us are going to have a layer of leaves all over the lawn.  Many people simply rake and bag them to put on the street for the trash men to pick up, others will even pay someone else to do this.  But there are more options for what to do with this fantastic free garden resource.

    Fall Mulch

    Mulching with leaves can have a drastic impact on your garden’s soil mineral content.  Not only do the leaves of many deciduous trees have an NPK of around .5, .1, .5, but they also have calcium, magnesium, and other minerals drawn deep from underground by the trees roots.  Along with providing a slow release fertilizer for your garden a thick layer of leaf mulch applied in the fall or winter will insulate your soil, providing a more hospitable environment for earthworms which will feed on the leaves all winter.

    Leaf Mold or Compost

    Leaves can also be bagged and kept for leaf mold.  Leaf mold can help aerate clay soil or help water retention in sandy soil.  But it will take years to make and not everyone has the space or the patience for that.  Some of the benefits can still be had simply by adding the leaves to your compost pile.

    Spring Mulch

    If you do bag your leaves for leaf mulch only to find that you don’t have the space to store the bags, or that you are just not patient enough to wait 2 years for the results all is not lost.  You can take the partially broken down leaf mold which will still resemble its original state, and apply it as a thick layer of mulch in spring or summer.  It will not heat up the way grass clipping do, and leaf mold, even partial leaf mold, can hold up to 3 times it’s weight in water, reducing your need to irrigate or hand water, and keeping your crops happy in warm weather.


    This year, don’t waste your time and energy to just throw away a free resource that could have powerful benefits for your garden.

    If you liked this, you might also enjoy…

    The Ultimate Guide to Natural Healing…

    Does Yoga Help You Lose Weight? 

    Become A Woodworking Master…


  • Are Vertical Farms The Future Of Agriculture?

    Are Vertical Farms The Future Of Agriculture?

    When space is tight and the demand for food is high, vertical farms might be the best answer. Check out this piece from PBS on the subject.

    Here are some fun facts about vertical farms. If you are interested in building your own vertical farm, https://homesteaderdepot.com/supports-for-vertical-gardens-infographic/here are some alternative or unique supports you could use to get started.

    How to get started with Aquaponics.

    Vertical Farming

    Other things your might like…

    Advanced Gardening Course To Accelerate Your Food Production…

    A to Z Survival Medicine & Wilderness Survival…

    Traditional Survival Techniques From Long Ago, Re-purposed For The Modern Era…

    The Ultimate Natural Medicine Course…

  • Best Perennial Vegetables to Grow

    Best Perennial Vegetables to Grow

    If you are a new homesteader, one of the first things you want to think about when creating your plan is what vegetables you will be growing. You want to be as self-sufficient as possible, and that means growing and raising as much of your own food as possible. Of course, those who are new might not know what some of the best perennial vegetables are to plant.

    Asparagus

    One of the nice things about asparagus is that it is extremely durable as a crop. It also happens to be one of the first vegetables that you can harvest during springtime. They are easy to plant. You want to plant them in moist but well-drained soil that gets full sun, and you will want to plant in the early spring after the last frost. The best way to grow them is from rooted crowns. You can find these online or at local nurseries.

    Rhubarb

    You will actually plant rhubarb in a similar manner to asparagus. You want to have it in a location where it will not be disturbed and can grow year after year. Plant this the same time as you plant your asparagus. Something important to keep in mind about rhubarb is that you are only supposed to eat the stems. The leaves are poisonous.

    Sorrel

    This is another perennial plant that works very well in many gardens. It has a tart flavor that is similar to rhubarb. In fact, they are related plants. You will plant these so they get full sun and in soil about six eight inches apart, and rows that are two feet apart. The sorrel can be used in salads, as well as a number of other dishes.

    Garlic

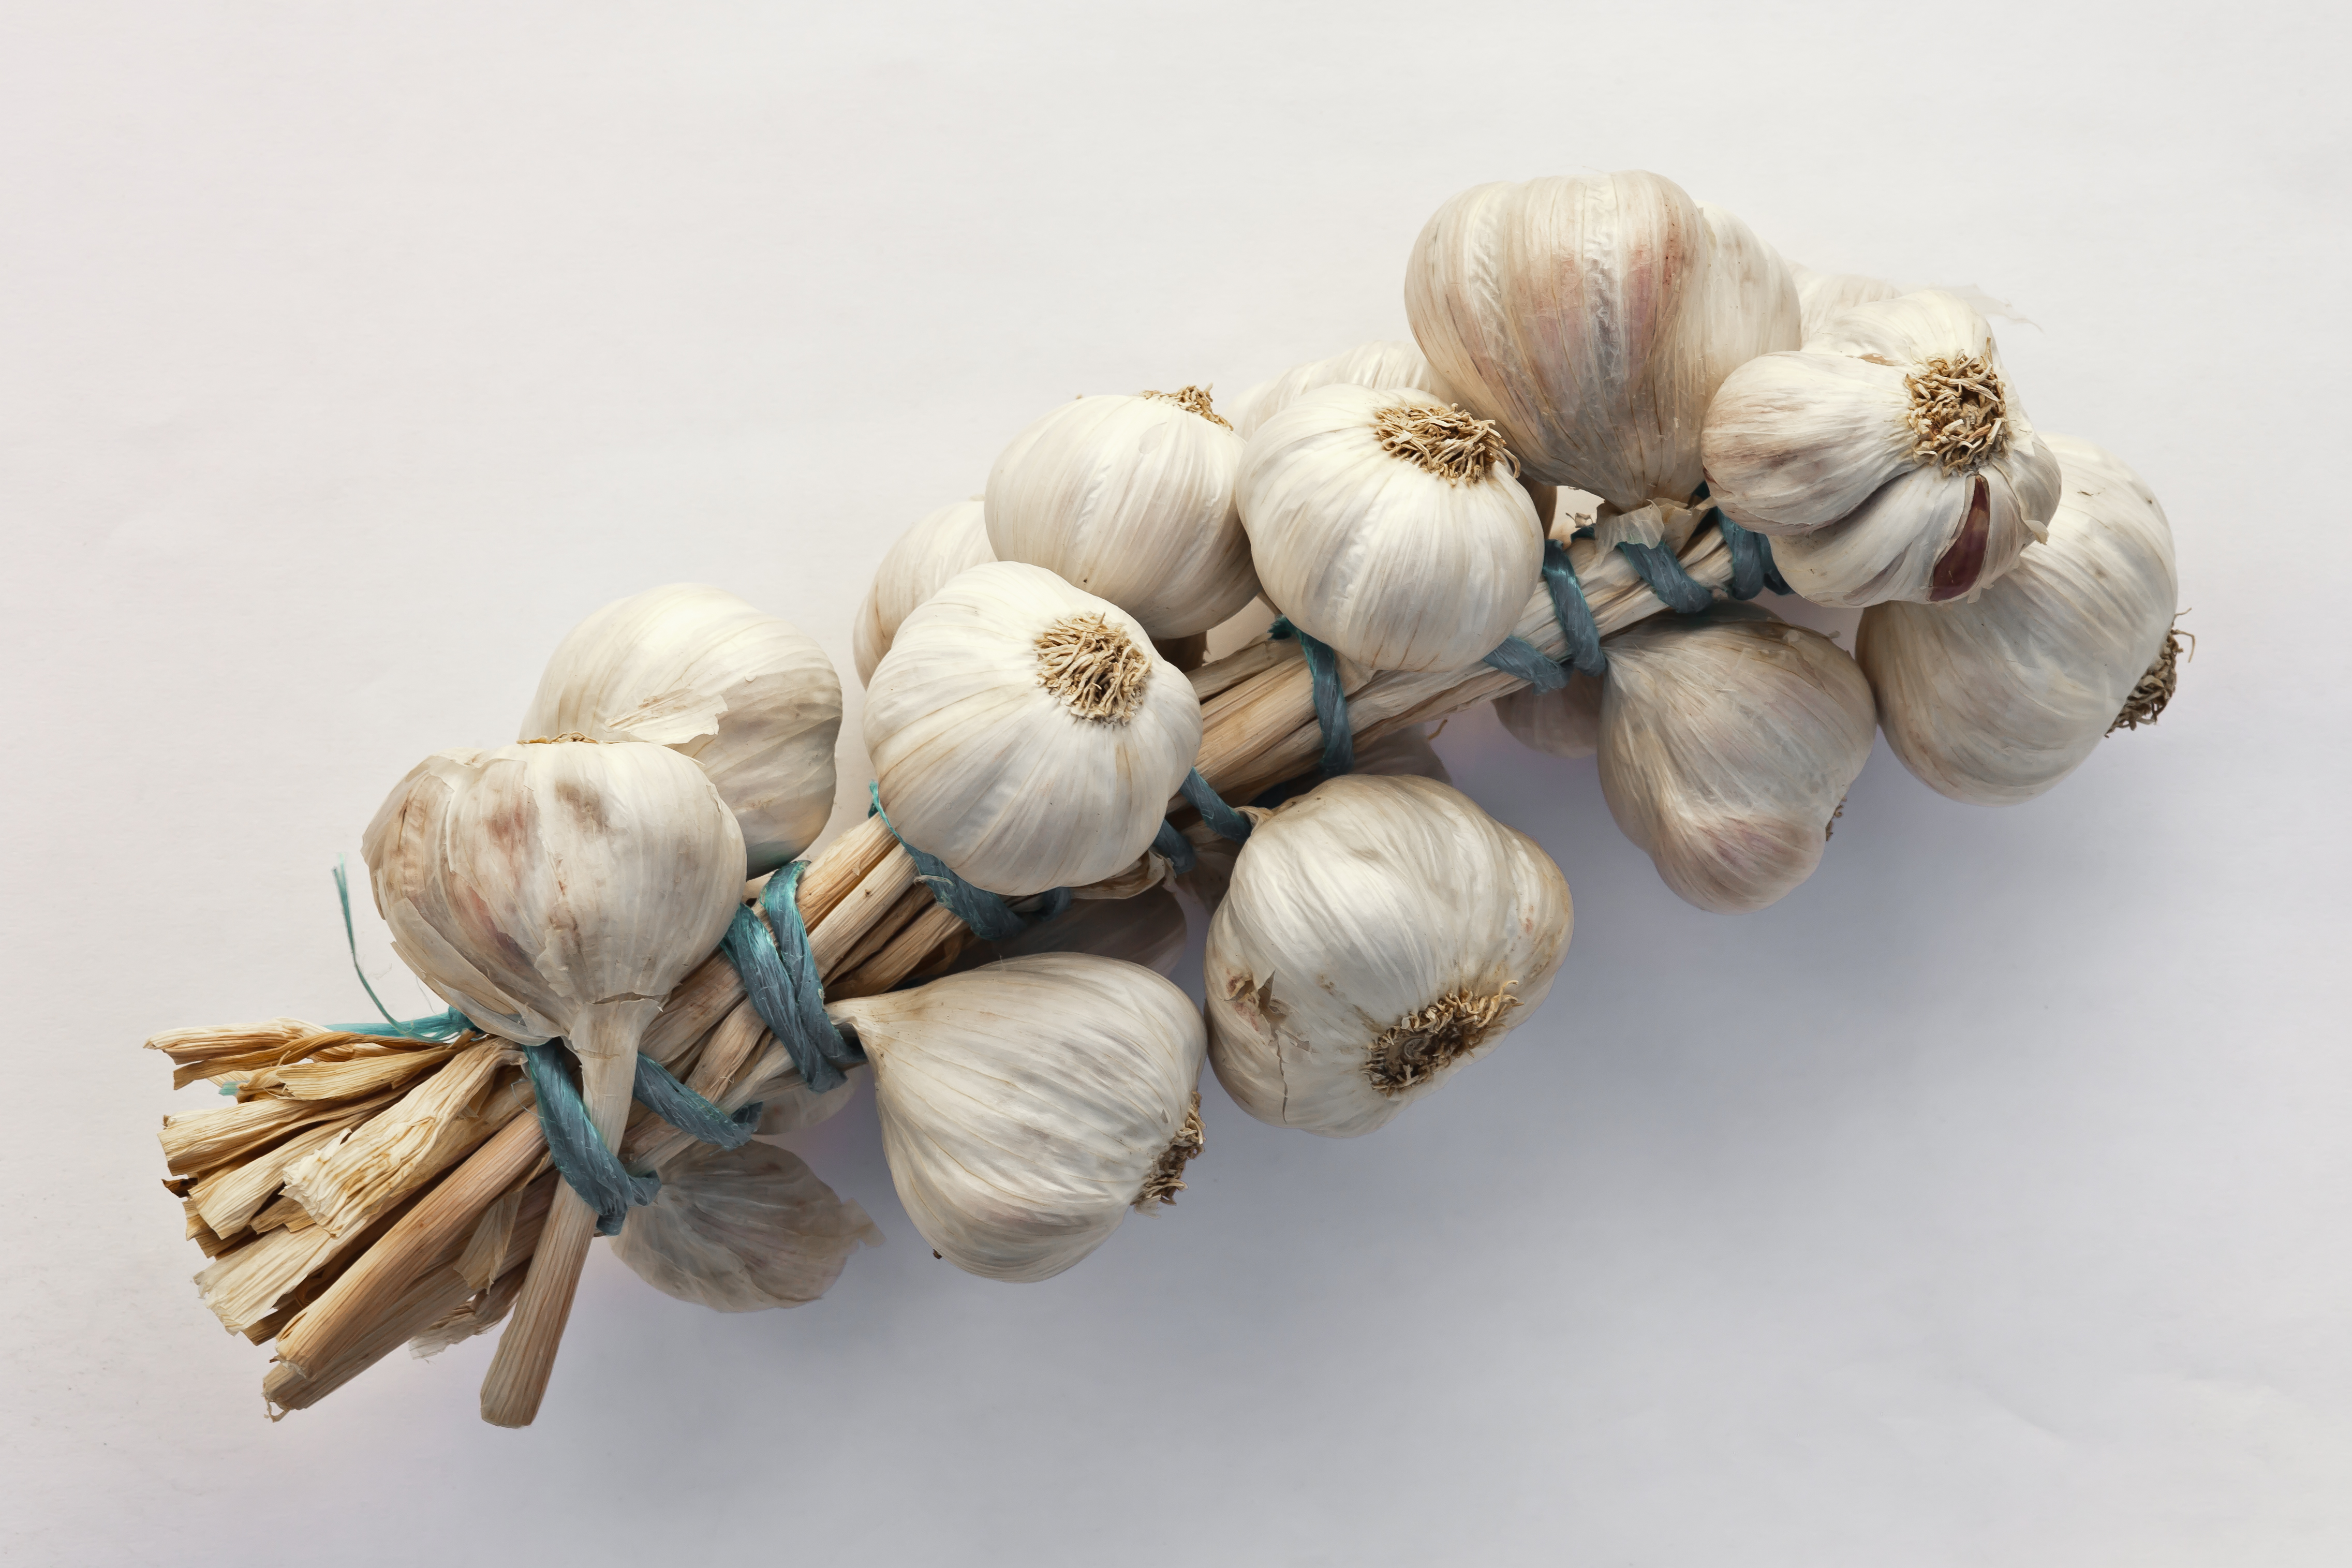
    This can be a perennial as well. All you need to do is leave some of them to go to seed, and they will grow again the next year. One of the nice things about garlic is that it is very easy to grow. In fact, you could even go in for a store-bought garlic if you had to. They need to be planted in a sunny location with well-drained soil, and the root side needs to be down. Only the top of the cloves should stick out above the ground, and then only just barely. They should be spaced about 8 inches apart. As long as you want them, they will sprout relatively quickly.

    Garlic works well to flavor many different types of food from soups to sauces to meat and more. It also has some nice health benefits, as it is good for the heart.

    These are just some of the many different types of perennial plants you can start growing. Take some time to consider different types of fruits and vegetables that you enjoy, and see which ones will work best as perennials. They will likely become a staple of your diet, so make sure it is food that you and the family actually enjoy.

    If you liked this, you’d also like…

    The Secret to Sticking With the Paleo Diet…

    The Ultimate Natural Medicine Course…

    The Little-Known Benefit of Doing Yoga…


  • Tips for Weeding the Garden

    Tips for Weeding the Garden

    Having a garden is a lot of work, and a big part of that work is weeding it. If you don’t weed the garden, those weeds can end up choking out the vegetable plants, or any other plants you want to grow. They take the nutrients that your plants need. However, if you are vigilant and are willing to spend time maintaining the garden each day, you have a much better chance of combating weeds effectively.

    One of the first things you want to do is make sure that you aerate the soil. You can do this with a specialized aeration tool. This will help to loosen any weeds, which can remove before you do the planting. Try to remove every bit of the weeds if you can. If you have chickens, you can count on them to eat the weeds. They can do a good job of cleaning up.

    Also, make sure you use mulch. Mulch can be very effective at getting rid of weeds. It helps to keep the soil cool and moist. In addition, it will not let the weeds get light. Mulch also happens to be a good home for crickets, which tend to eat weed seeds.

    Take care when you are watering the plants as well. Only water the plants you want to grow – not the weeds.

    Take 10 to 15 minutes each day just walk around the garden and look for any weeds that might have sprouted up. Remove them as soon as you find them. If you are willing to put in this work each day, it will be much easier to have a weed free garden.

    With these tips, and some work on your part, you can get the better of the weeds that are in your garden.

    If you liked this, you might also enjoy…

    If you liked this, you’d also like…

    The Secret to Sticking With the Paleo Diet…

    The Ultimate Natural Medicine Course…

    The Little-Known Benefit of Doing Yoga…


  • Garden Calendar (Infographic)

    I came across this great infographic on Pinterest today for what needs to be done in the garden during each month. Given we have Fall and Winter well on the way I thought it was perfect for this time of  year. Not only for what to do in the garden as the seasons are changing but also because winter is a great time to start planning next year’s garden.

    As the weather gets cool and you harvest your summer crops, it’s the perfect time to think about next year’s garden. Garden journals are great for this: you can write down everything you want to repeat or change next year. But whether you want to start a garden journal or simply start thinking about next year’s garden, this infographic, from Spalding Plant and Bulb Co., is very handy.

    Happy gardening!

    garden-calendar

    If you liked this, you’d also like…

    The Secret to Sticking With the Paleo Diet…

    The Ultimate Natural Medicine Course…

    The Little-Known Benefit of Doing Yoga…

  • Storing Potatoes for Winter

    Storing Potatoes for Winter

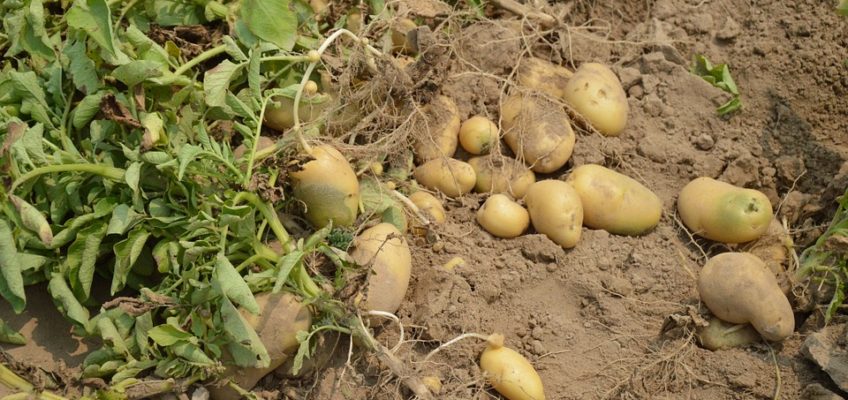
    Potatoes are one of the best crops you can grow! Nutritious, substantial sources of food, they also keep well over the winter, if you know how to store them right. Whether you’ve been growing them and would like to do a big harvest to keep them all over the winter, or you’re buying them in bulk from the farmer’s market before it closes from the winter, it’s important to use the best storage practices so they don’t rot or sprout through the winter months. Potatoes are wonderful for hearty winter dishes so it’s imperative to store them well!

    Here are a few tips for keeping potatoes preserved over the winter:

    Keep it cold

    Wherever you choose to keep your potatoes, make sure you have a cold environment. This is what old-fashioned cellars were commonly used for. The ideal location will have a relative humidity of 95% so that the potatoes don’t dry out, and stay around 45 to 50 degrees Farenheight. This can be your basement, unheated garage, enclosed back or front porch or of course, a cellar.

    Keep them separate

    One very important tip is to keep your potatoes away from fruits or onions, which put off gasses that will cause the potatoes to rot and spoil much faster. You want to keep the potatoes anywhere they won’t be trapped with the gas from these fruits, so in their own containers with plenty of room in between the gassy produce.

    Cure the potatoes

    Before you pack them up for storage completely, it can help to spread them out in a well-ventilated tray, in a single layer, to let some air circulate and to dry the skins a bit. Leave them here for several weeks before packing in their long-term storage.

    Pack them up

    You can use boxes, baskets or even plastic laundry hampers, to pack up the potatoes. The most important thing is to have air circulation throughout the container the potatoes are in, so if you are using a box make sure there are some holes or slats in the side. You can use shredded paper, newspaper or even very dry hay or straw to pack the potatoes. Make sure they’re just not all piled up on top of each other, and spread them out in between the dry medium you’ve chosen.

    Check them frequently

    Obviously, you should be using the potatoes throughout the winter, or maybe you’re not, but either way, you want to check the potatoes frequently to make sure they’re not rotting. Poke through each of your containers from time to time and eliminate any rotting potatoes and the surrounding medium. If you are frequently taking from your potato stash this should be easy, just check the rest of them each time you take some to use.

    If you liked this, you might also enjoy…

    Natural Healing Techniques Doctors Don’t Want You to Know…

    The Weight-Reducing Magic of Yoga…

    The Ultimate Woodworking Course..