Page 2 of 23
1 2 3 4 23
gardening – Page 2 – Homesteader Depot

Tag: gardening

  • Why Do You Need a Greenhouse and Things to Look for

    Why Do You Need a Greenhouse and Things to Look for

    Many avid gardeners have considered putting a greenhouse in their yards. There’s just something about having the ability to grow tropical and warm-weather loving plants year-round that really appeals to them. If you’re one of these people, then you need to read this primer about greenhouses. It contains just about everything that you need to know about them.

    What Is A Greenhouse?

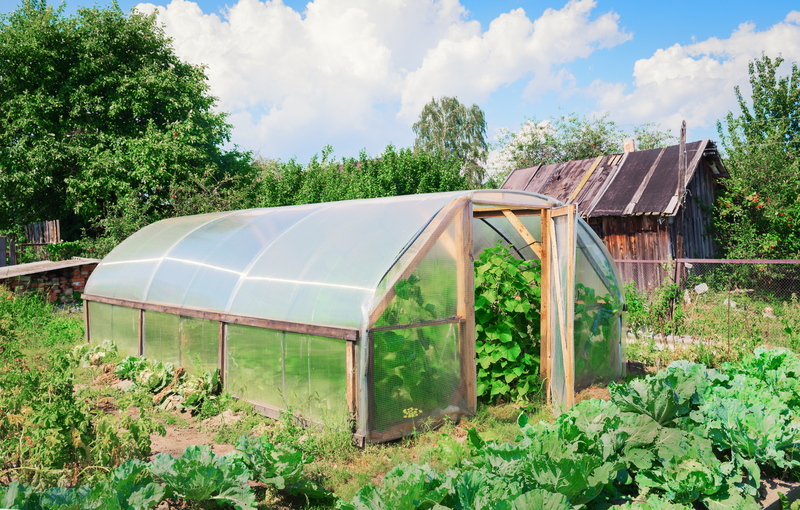
    Let’s start by defining exactly what a greenhouse is. These are structures of various sizes that have clear walls and roofs. Some of the fancier greenhouses have glass walls, although you can use clear, plastic polycarbonate sheeting as well. A greenhouse is designed to provide a respite from the outdoor weather. It’s warm year-round so that plants easily grow inside of them. The clear walls let in plenty of sunlight, although the greenhouse might be built with an electrical system and some grow lights as well. This really allows the owner to control the overall temperature indoors. Some have a hydration system built-in as well, but it really is easy to use a hose, if you want a simple do-it-yourself greenhouse that your custom made on your own.

    Greenhouse Sizes

    One of the best things about greenhouses is that they come in various sizes. This means that you really can have one that fits your yard perfectly. You aren’t limited to the large commercial sized ones. Some come as small as a basic coat closet and hold seedlings. They work well if all that you want to do is plant seeds and allow them to grow slightly before the soil warms up in the spring. If you want something that can handle multiple plants and allow them to grow year-round, then you’ll want one that’s larger than that. Again, it all depends on the plants your overall vision for your greenhouse.

    Click here for some other projects you can build TODAY>>>

    Pick a Good Location

    Location matters, even with greenhouses. Yours should be located in an area of your yard that receives plenty of sunlight. Otherwise, your plants won’t grow properly – even if you have a grow light installed inside. You never want to have your greenhouse placed in a shady area of your yard. In addition to this, you need to run electric lines to it and possibly even water lines. If you can, place your greenhouse within ten to twenty feet of your own house, in order to make these things easier to install.

    What about Amenities?

    You need to think about your greenhouse as if it’s actually a house. By this, we mean that you need to consider which amenities you want it to have. Your two main options include lighting that will give your plants a boost and promote growth, even when the weather isn’t very sunny outside and a filtration system that waters the plants. Yes, you could use a portable grow light and a hose, but you also have the option of running electric lines and setting up an irrigation system. It all depends on your budget and just what you want to use the greenhouse for. There’s nothing wrong with installing a simple one that lacks these amenities.

    Building Your Greenhouse

    Just like with the amenities, you have two options to choose from here. You can either build your greenhouse yourself, which includes developing plans and literally making it from scratch or purchasing a commercial greenhouse. This latter option might involve having the greenhouse trucked to your yard and installed, or having a kit arrive in the mail that you need to build yourself. Either way, you end up with the perfect greenhouse for your needs.

    Ted is offering over 16,000, step by step, woodworking plans…check them out here>>>

  • Protecting Your Plants from Frost and Freeze

    Protecting Your Plants from Frost and Freeze

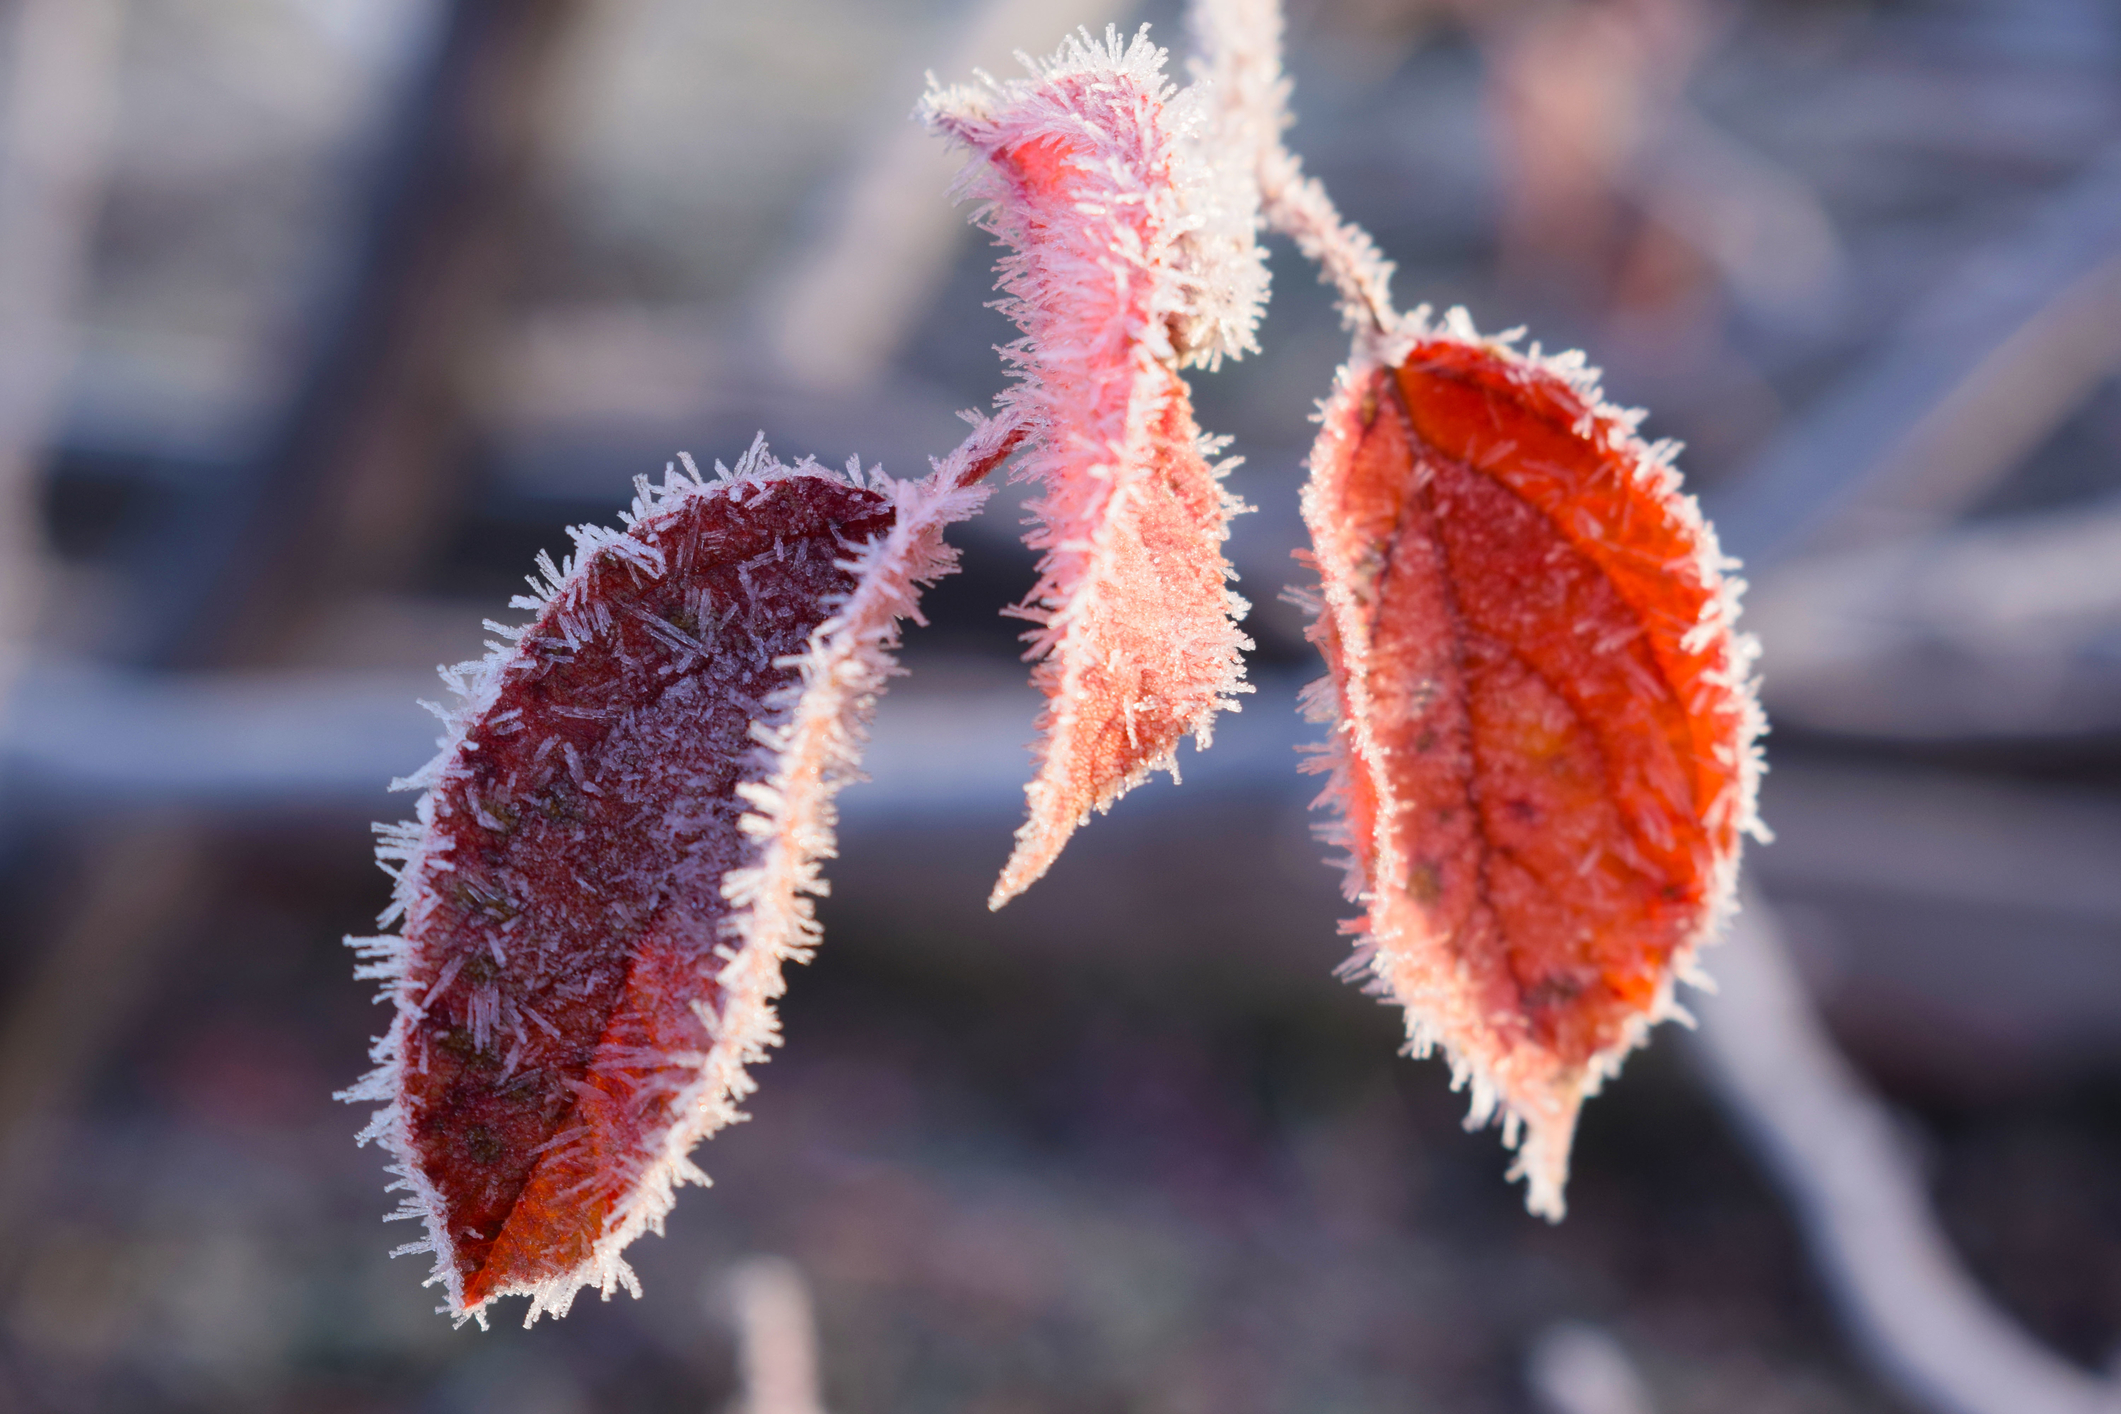
    Cold temperatures are not good for the plants in your garden. Many of them need air temperatures that are above 32 degrees Fahrenheit in order to survive unprotected. While others, such as pine trees and evergreen bushes, might be fine, you’ll have to take some steps to ensure that everything else in your garden (except for your annuals, of course) will survive the winter.

    Types of Plants

    The first step involves determining which types of plants that you have. This way, you’ll know whether you need to protect them or just let them go. For example, if you have annuals, then they won’t survive the winter. These plants will last for one growing season. Many of them will leave some seeds behind at the end of their life cycles, so they might reappear next year. It all depends on the plant. There are also tropical plants. While many of them will grow in a number of different climates as long as the weather is hot and humid, they won’t last through the first frost. The cold weather is more than they can bear, so they’ll die.

    In addition to this, there are perennials. There are two main types of them: root-hardy perennials and full hardy perennials. The first type of these plants has leaves and branches that seem to die in the winter, although their roots are still good. The roots will enter a dormant state and won’t come out of it until the temperatures improve. The other type of perennials – the full hardy ones – go dormant as well. Trees, various plants, and even some types of shrubs fall into this category. These plants will also stay dormant until the weather warms up, although they’ll spring back to life much more quickly.

    How to Stockpile for Free: By Growing Your Own Groceries>>>

    Protecting Your Plants

    Now that you understand the plants that are in your garden, the next step involves protecting them from the cold temperatures. It all starts with keeping an eye on the weather. As soon as fall hits and the mercury in your thermometer starts to slide downwards, you should move as many of your warm weather-loving and tropical plants indoors as you can. This means that plants like geraniums and petunias should be moved inside. It helps if you already have them housed in small pots in your yard. You’ll also need to dig up any bulbs that won’t survive the winter. For example, dahlia bulbs need to be kept warm and then replanted in the spring.

    Next, you need to take the necessary steps to protect the perennials that you can’t move into your home. The night before the first cold snap, give them plenty of water. You want to really soak the ground, as this gives their roots something to insulate them from the cold. Once this is done, get some old bedsheets and wrap them around the roots of the plants. Burlap works just as well. (Just make sure to never use plastic.) This will provide some additional insulation for the roots of the plants. You want to remove them as soon as the temperatures rise above freezing.

    Ideally, all of your plants will survive the freezing temperatures that are a major part of winter. However, you need to be prepared to replace some that won’t make it. Sometimes things are out of your control. In addition, if you purchase plants for your garden that are designed for your climate, then you’ll have fewer issues. These plants can either survive the frost and freezing weather, or their seeds will. Either way, you’ll have fewer headaches in the spring when you take a look at your garden.

    [Food Stockpile] Another “food system”? It’s better than a food system, it’s a complete food strategy>>>


  • 8 Powerful Uses for Limestone

    8 Powerful Uses for Limestone

    As one of the most versatile materials on the Earth, there are a plethora of uses and benefits of limestone. It can be utilized for a vast number of activities from fertilizing lawns to whitening teeth. Discover more on how limestone works to benefit your livelihood.

    Gardening and Farming

    Limestone has the capability of adjusting the acid levels in the soil to produce conditions that are ideal for growing crops on both the larger agricultural scale and in smaller home gardens. Plants, vegetables, and other crops are protected from nutrients in the ground that could potentially become toxic from nutrients being too prevalent like aluminum. It keeps the pH level at about 5.6 when applied properly. Anything over 5.5 is best for plant and food growth. It also adds minerals that are valuable for the soil like calcium and magnesium.

    Building Material

    The use of limestone in building goes back centuries. From the time the building of the Megalithic Temples that are the oldest free-standing structures through the construction of The Great Pyramid of Giza and beyond, people have been adding limestone to their creations. Train stations and banks from the Victorian era and after the 20th century have limestone in them. Today, exteriors and tiles are often made up of travertine, which is a form of limestone. The only problem with the material is that it is damaged when it comes in contact with acid solutions like acid rain.

    Golf Courses

    The pH balance in the soil on golf course greens is something that lawns keepers keep a close eye on to ensure they produce the best results. Not only does the proper pH look nicer, but it also makes it easier for players. When the turf gets out of the ideal range, limestone can be applied to the dirt to regulate the levels.

    Lawn Growth

    When lawns aren’t growing in as full and thick as you want them to, limestone in a pulverized form can be applied to change that. It improves the structure of the soil which makes for a better growing condition for the grass. You should apply the limestone before planting grass for an evener distribution and possibility for water penetration and absorption for a favorable soil structure.

    Cat Litter

    There are odor and moisture absorbing properties to limestone that make it useful in kitty litter. Cat urine contains ammonia that can cause respiratory problems when present in large amounts.  The lime counteracts the potentially damaging effects of your cat’s litter box making it safer and more pleasant to be around for you and your family.

    Healthy Horses

    During the colder winter months, farmers and other owners like to keep their horses inside a safe barn to protect them from the elements. The problem arises with the ammonia that comes from the animals urinating in the stalls that they stand in for extended periods of time. When limestone is placed under their bedding in a way that the horses will not have contact with it, it can absorb the ammonia making the barn a safer, better smelling place to be.

    Roads

    The base of many roads has a crushed limestone component included. Asphalt is made up of limestone in part as well. It continues to be used in the updates of existing highways and urban infrastructures today.

    Teeth Whitening and Other Brightening Uses

    Inside of your toothpaste, limestone is used as filler and a pigment that helps in cleaning your teeth and making them brighter. It is cheap and can lighten up a plethora of other materials as well, so it’s often put in plastic, paint, tile, and paper for a bigger and brighter finished product.

    ZERO Woodworking Experience Needed: 1,200 “Perfect” Shed Plans So Clear,  So Complete, So Easy To Use…The Shed Practically Builds Itself… Check them out here>>>

  • 7 Tips to Grow the Perfect Tomatoes

    7 Tips to Grow the Perfect Tomatoes


    Tomatoes are tricky fruits to grow. Some years you end up with the perfect amount of ripe, round, bright red tomatoes without having to tend to your plants. It’s as if they grew by magic. Other seasons you end up with finicky plants that need a lot of TLC, and you still end up with one or two fruits – not the dozens of seasons past. It’s easy to blame this on the environment or weather, or even on the efficacy of the plants themselves. After all, you just didn’t have good plants this year, right? It’s even easier to follow these useful tomato plant tips. They’ll ensure that you have a good harvest every year, no matter what.


    Water the Plants Deeply

    Tomato plants need to have their roots watered. This means that it’s not enough to just sprinkle some water on the whole plant and hope for the best. You need to avoid getting those leaves and stems wet and aim straight for the roots. If you can, get a soaker hose and use it. The deeper you can get the water, the better your plants will grow.


    Plant Them Deeply As Well

    With most plants, it’s enough that the root ball ends up getting covered in soil. For tomatoes, that’s just not enough. Place them deep into the ground to the point of covering the lower half of the stem and the first row of leaves. These sections of the plant will sprout roots, making the entire plant much stronger.


    Make Sure They Get Plenty of Sun

    Tomato plants love sunlight. They’ll soak up as much of it as they can. Unlike other plants that can tolerate shade or partial sun, tomatoes need full sun. Find a very bright space in your garden and plant them there. They’ll thank you by producing more fruit.

    Add Some Calcium to Your Soil

    Did you know that you can change the chemical composition of your soil by adding eggshells? Crushed up eggshells are great for adding calcium to the soil in your garden. This can prevent one of the more common tomato plant diseases – blossom end rot. You don’t need to add a lot of eggshells, just the remnants of a few eggs, but the results will be worth it. Dig a small hole near the plants and place the eggshells in it, then cover it up. (Feel free to add some compost in there at the same time.)


    Support Them As They Grow

    We’re referring to literal supports here. Your tomato plants will need to grow onto something, such as a tomato cage or trellis. You can also use livestock panels, make your own cage out of old piping, or come up with any other creative method. All that matters is that the plants are left to droop over.


    Prune Your Plants

    As your tomato plants grow, they’ll produce suckers. These suckers will (literally) suck the life out of your plant. Take the time to clip them off as they pop up. Your plant will grow stronger and healthier without them. You’ll also end up with more tomatoes.


    Place Mulch around Your Plants

    Mulch is pretty much a miracle substance. No matter which type you choose, this all-natural covering will keep your soil moist while preventing weeds from taking root. All of your plants will be much healthier. Mulch can even keep your ground temperature regulated. Certain types will soak up sunlight before the ground is heated or act as insulation should the temperatures cool off. It really does help everything in your garden grow.

    Discover How This “Magical” Towel Cleans With Only Water, Replaces Expensive Paper Towels and Toxic Cleaners, and Can Help You Save Hundreds Of Dollars Per Year While Saving Our Environment>>>

  • Plastic Sheeting Gardening Hack

    Plastic Sheeting Gardening Hack


    Many gardeners count down the days until the winter ends because they’re just dying (not literally, of course) to get their crops in the ground. Rather than wait until the earth warms up and the last frost is far from over, start your season early by using plastic sheeting in to create a greenhouse-like effect. Plus, if you leave the sheeting up once the weather than changed for the better, you’ll have fewer weeds to deal with. Your garden will be magnificent thanks to this quick and easy garden hack.


    It All Starts in the Autumn

    Once you harvest your crops in the fall, you can start getting things in place for your plastic sheet garden. Clear out your garden, removing the remnants of your crops. Only the soil should be left. Turn it over very well in order to remove any lingering roots or bits of plants. Get out your tiller if you need to. Then, set up your soil for next spring. This involves making seedbeds, also known as soil ridges. These ridges should be one foot wide by around six inches high. They need to run to the east and west in your yard, parallel to each other. You can arrange them so that they’re as close together or as far apart as necessary. This is up to you.


    After The Last Frost (Ideally)

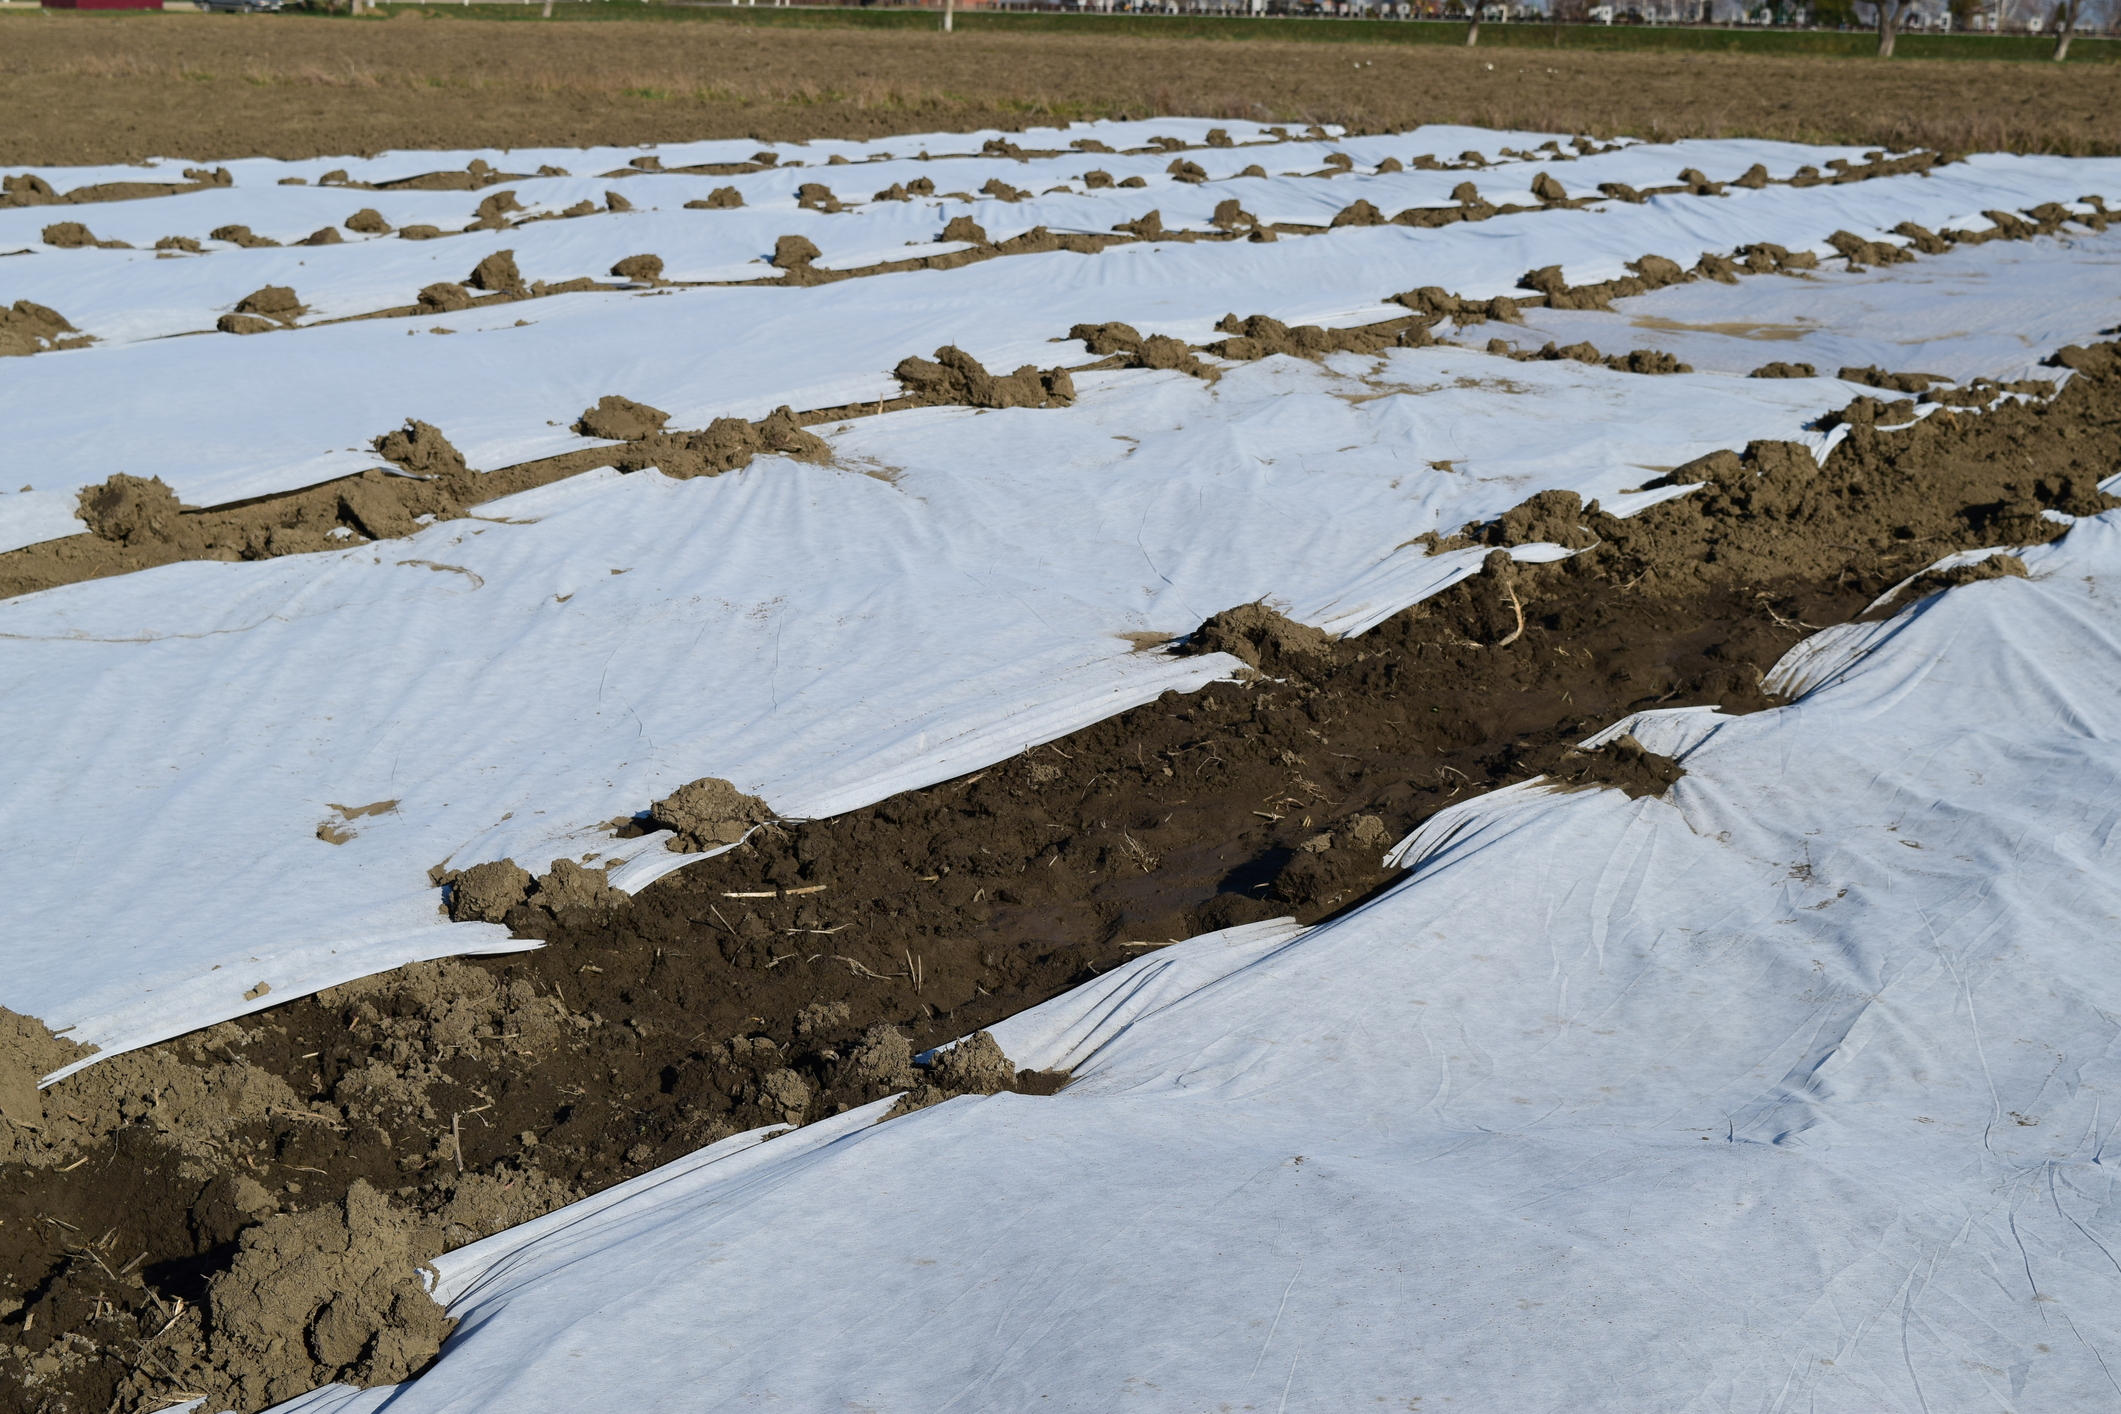
    Depending on where you live in the country, these next steps should be completed after the last frost or after what you perceive to be the last frost. (Sometimes the weather can be weird.) Purchase a roll of transparent plastic sheeting. Find one that’s 4-mil, and large enough to cover your desired area. You need it to be able to cover your entire planting area. Lay it directly on top of those soil ridges that you made in the fall. Don’t forget to anchor it down on the edges with wooden boards, stakes, or bricks. You don’t want it to fly away in a windstorm.


    Wait Until the Soil Is Warm

    Rather than waiting for the soil to warm up naturally (that is, without plastic sheeting) to plant your crops, you just have to wait until the plastic has done its job. It shouldn’t take more than a few days for the earth to warm up under the plastic. Once it has, you can start planting your crops in between the ridges. Peel back the sheet and place your seeds in the ground, following the usual planting instructions as far as how deep and how far apart to plant them. Then, place the plastic back on top of them. At this point, you may want to use wooden stakes instead of boards and bricks, as they’ll allow the plastic to move slightly as the plants grow.


    Why the Ridges Are Important

    The soil ridges are designed to hold up the plastic, giving the plants some space to grow. They also control the moisture content of the soil and trap sunlight, making the area under the plastic quite warm. It creates a greenhouse effect. This is why you can start planting much earlier than usual.


    The Rest of the Process

    As your plants begin to grow, you’ll need to check on the moisture content of the soil. If it seems like things are too damp under there, peel back the plastic for a while and let everything dry out a little. Replace the plastic once the moisture levels have gone down. Once the traditional spring-like weather has officially returned to your area, or the plants have grown too big to remain contained under the plastic, roll up the sheet and let mother nature do the rest.

    How and Why would you bury a shipping container in your backyard?  Find out the secret here>>>

  • 5 Tips for Using Manures in Your Garden

    5 Tips for Using Manures in Your Garden


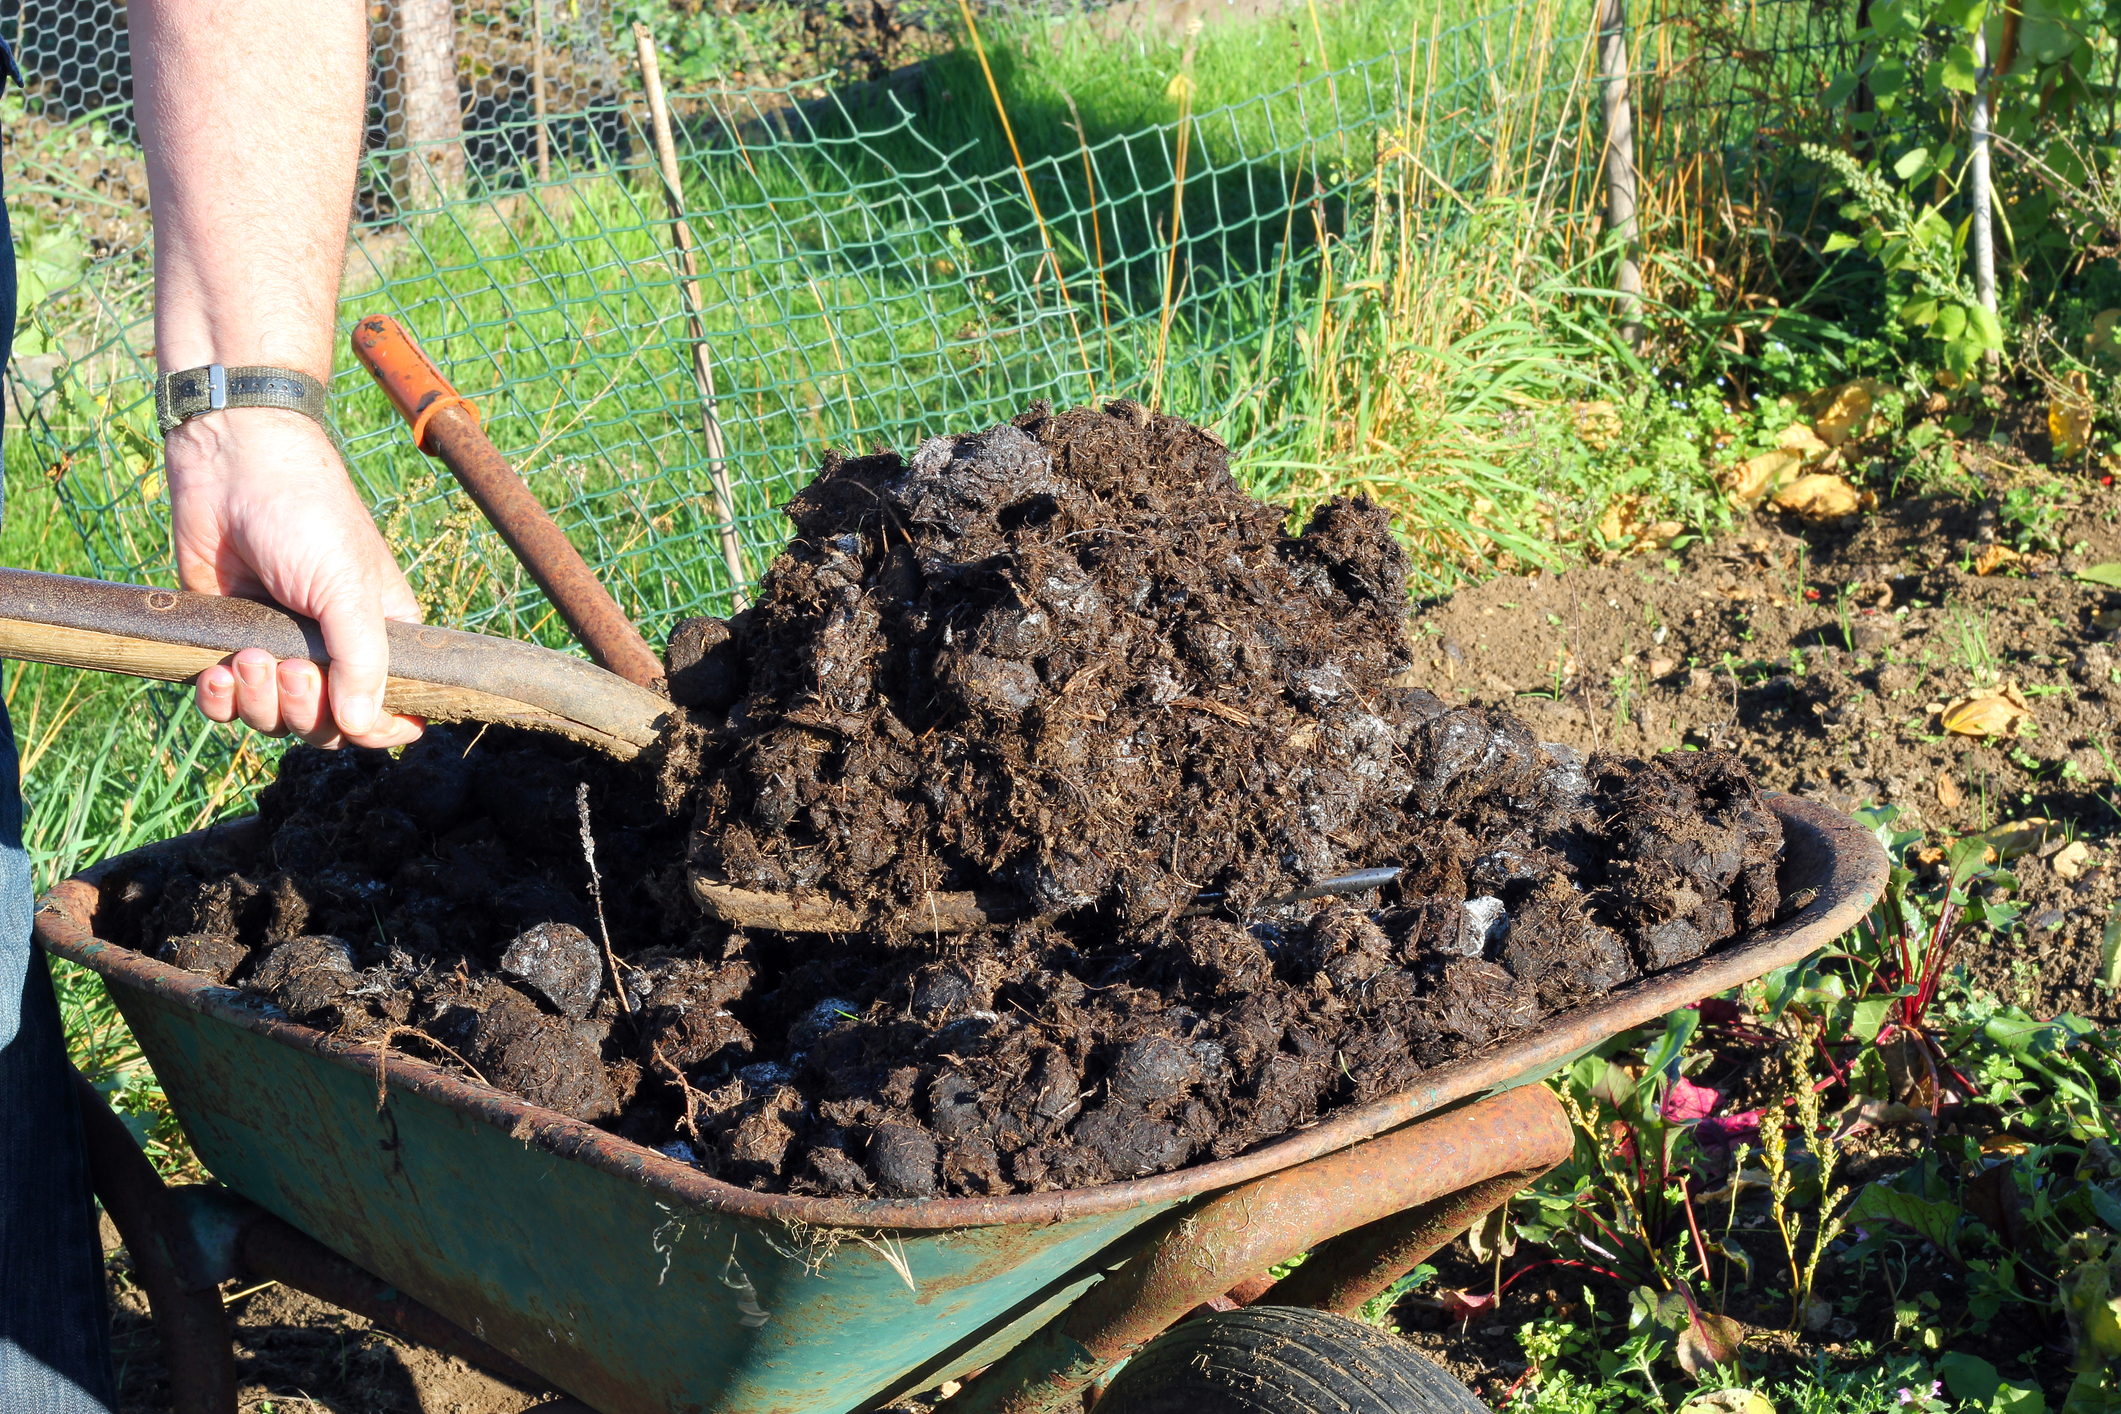
    Manure is one the best, all-natural fertilizers around. Yes, it does smell, since it consists of animal feces. However, its many benefits far outweigh the stench. You’ll be glad that you put up with it when your plants are growing strong and tall. Before you begin spreading manure around your garden willy-nilly, take the time to review these five useful tips.


    1) Don’t Place Manure around Your Edible Vegetables

    You might be tempted to use manure to fertilize every single plant in your garden, after all, it’s good for all of them, right? Wrong. You never want to use it around any edible vegetable or fruit plants, or even on your herbs. It can dehydrate and burn your plants, as it’s very strong. On top of this, manure is full of bacteria. This means that you might end up transferring salmonella and E. coli to your edible crops. All of the washing in the world may not be enough to keep them contaminant free.  Note: this is based on fresh manure directly applied to your soil.  There are steps you can take to apply composted manure as fertilizer.


    2) Research Your Manure before Using It

    Yes, manure is usually all-natural, as in it comes from animals. This doesn’t mean that your batch won’t contain trace amounts of various medications, antibiotics, and pesticides. These things can leach into your soil where they’ll negatively affect your plants. The chemicals in them can also kill off the beneficial microbes that make manure such a useful fertilizer. You need to be careful when using random batches of it. Always ask the provider (as in the farmer or store employee, not the animals) before buying your next supply.  Note: if you are supplying the manure from your own livestock, you will know what they have been fed and ingesting in their bodies.


    3) Age Your Manure

    Aged manure is what’s best for your garden. The fresh stuff can stink and even burn your plants.  Aged manure doesn’t smell as bad (although you might find that it has some lingering odors) and contains all of the proper nutrients. The aging process entails drying the manure at around 160 degrees Fahrenheit for several hours or days. Then, it’s left to sit for several months, ideally six months to a year. The end results are powdery and less moist. Many of the harmful pathogens will have been killed off as well.

    4) Place Some in Your Compost Pile

    If you already have a compost pile and need something to do with your fresh manure, then we have a solution for you. Place the manure in that pile and let it cure. Over the course of the next two to four months, your manure will break down along with the rest of the “ingredients” in your compost pile. With that said, this only works well if you add a small amount of manure to an already well-blended compost pile. You need an outdoor pile, as well, not one of those tumbler bins. They won’t work well, and the manure won’t break down properly. Since composting is quite different from aging your manure, you can test out both methods, provided that you have space, to see which one you like the best.

    Related Article: The Best All Natural Fertilizers For Your Garden


    5) Make Manure Tea

    This sounds completely unpalatable to the human ear. And yes, you don’t want to drink the manure tea yourself. Your plants will love it though. This liquid mixture of manure dissolved in water is just what your plants need. Your rosebushes, in particular, will love it. Once you have your “manure tea” ready, just pour it around the roots of your non-edible plants. They’ll soak up the liquid as if it were just water. The only difference is that this is a more powerful form of water, one with plenty of vitamins and nutrients.


    Conclusion

    While there are many steps and precautions to take when implementing manure, it is one of the most beneficial, natural fertilizers you can use.  Your plants will thank you!

    [Bonus] This strange method will make your food last for 2 years without refrigeration Learn More>>>


  • 5 Great Benefits of Having Succulents in Your Home

    5 Great Benefits of Having Succulents in Your Home

    Plants help clean the air, add oxygen and any number of other benefits.  The problem?  Not everyone has a green enough thumb to keep their plants alive, let alone flourishing.

    Fortunately, you don’t have to have a degree in botany to enjoy having plants indoors; you have to pick the right ones.

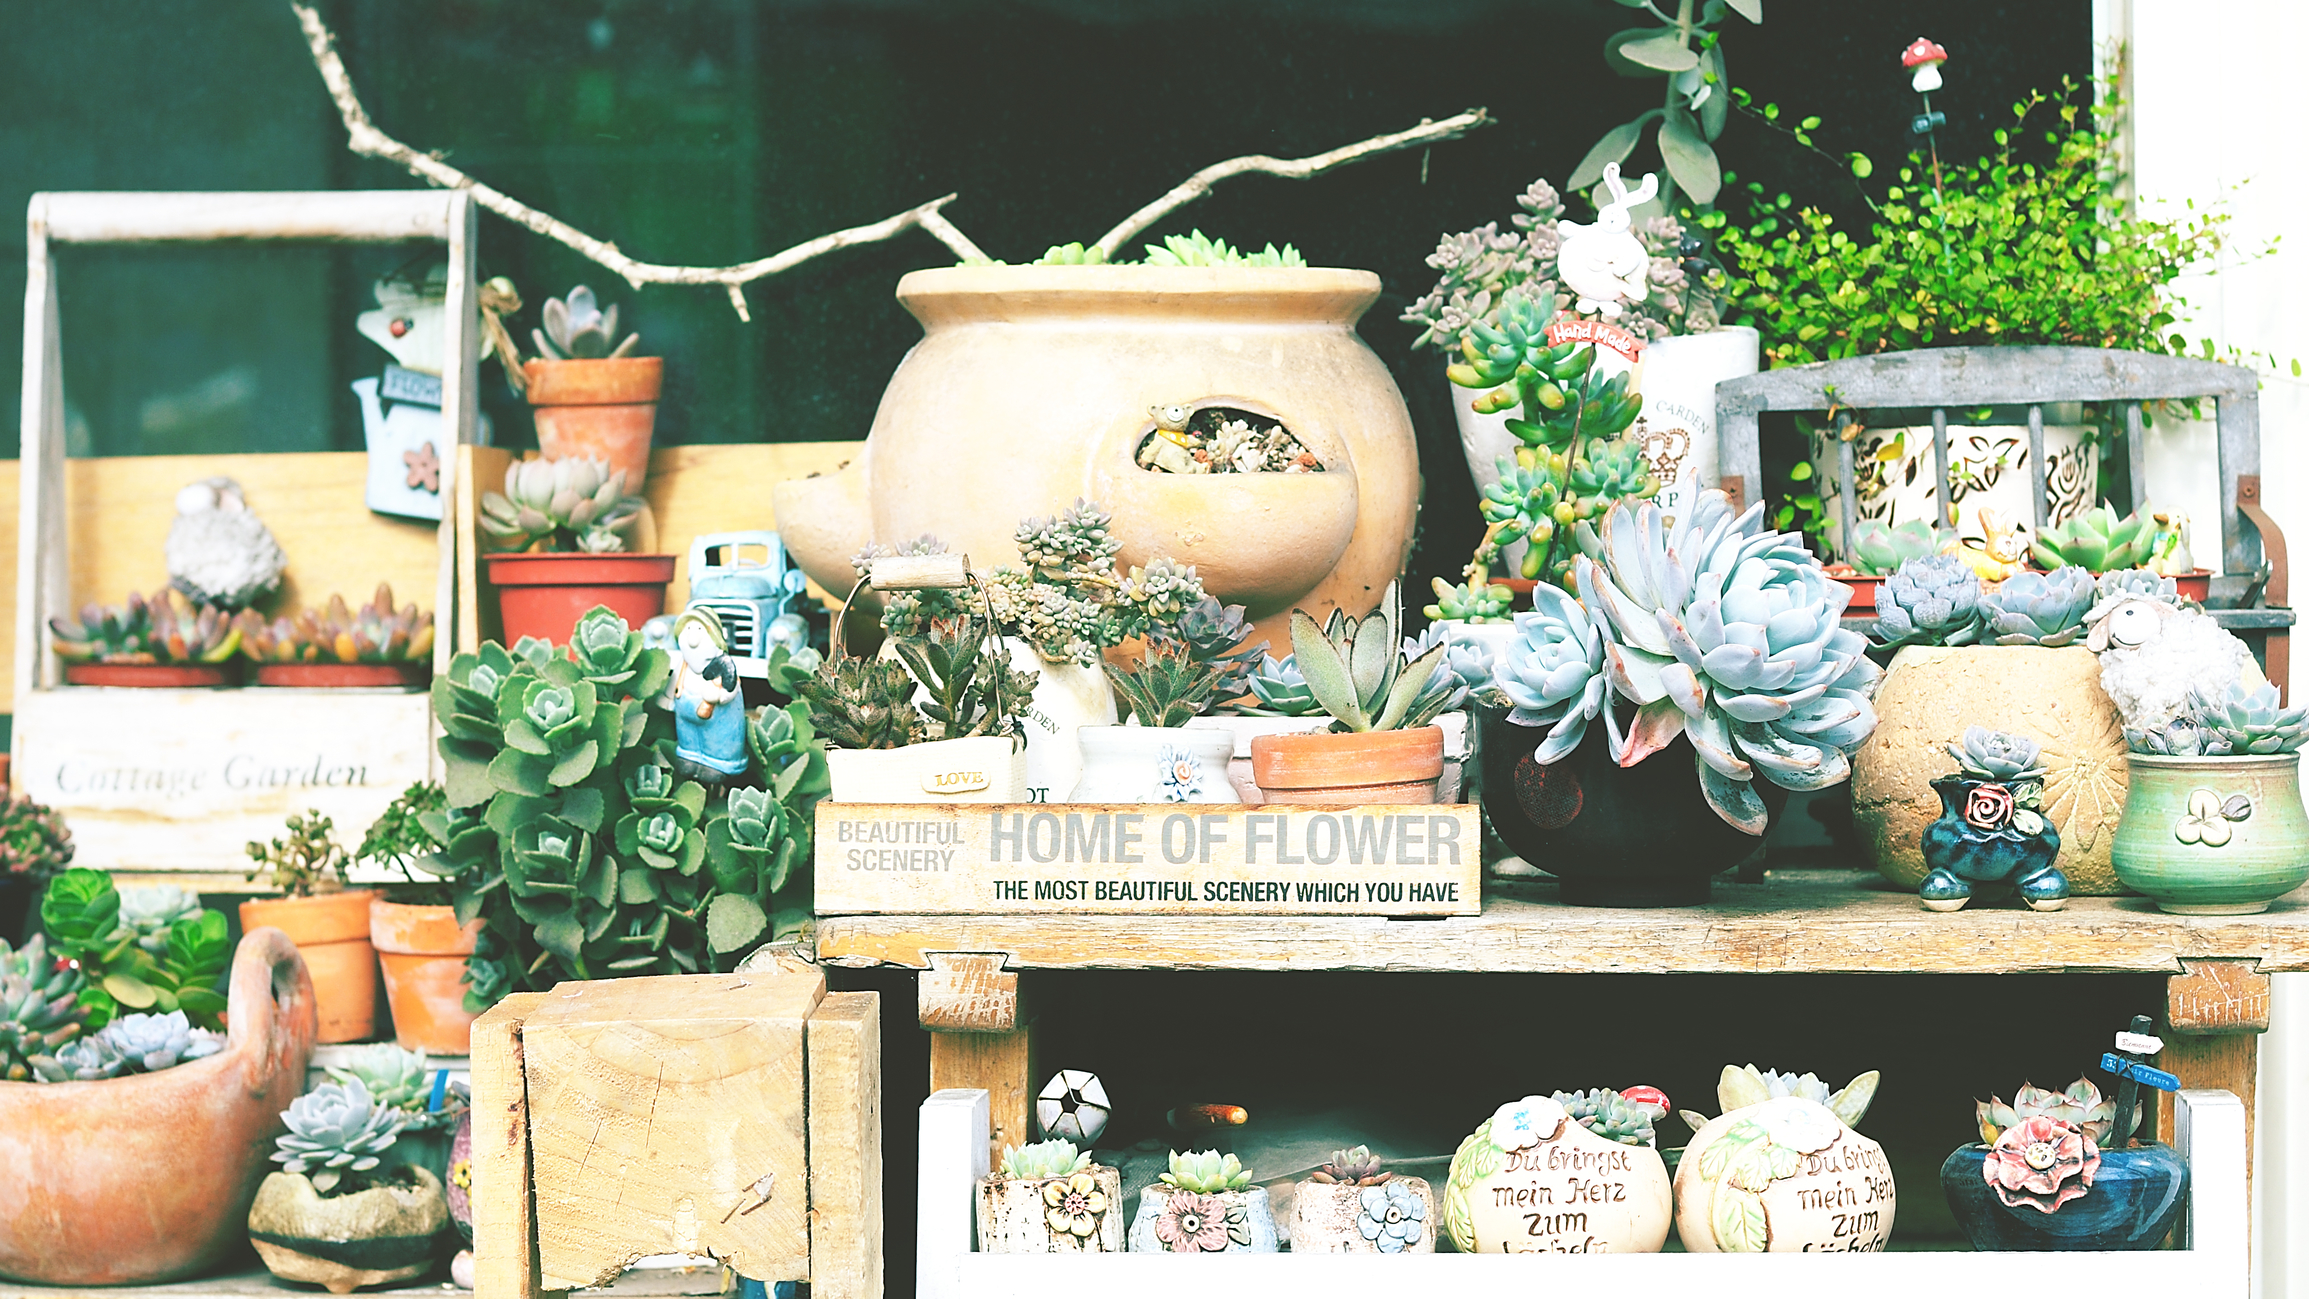
    Enter the succulent.  Succulent plants, or succulents, are a type of plant that displays parts that are especially thick and fleshy.  This characteristic lets the plant retain water in drying climates and soil types in a similar manner to cactus plants.

    These wonderful little plants have become even more popular recently and for good reason, besides the typical benefits of adding oxygen and purifying the air. Let’s look at some of the other great reasons to add succulents to your home.


    They Bring a Zen Quality to Your Environment

    Houseplants have been shown to aid in concentration as well as improve your overall mood.  The geometrical patterns of succulents have the effects of focusing your thoughts, helping you feel more relaxed and able to process information better.

    Additionally, the process of taking care of a plant and watching it develop and grow can help rid yourself of feelings like loneliness and even depression.


    They Provide Natural Medicinal Properties

    Some succulents are good for more than just decorating a space.  Plants like agave and aloe vera also have medicinal properties. Keep agave on hand as a natural antiseptic to treat scratches and cuts.

    Aloe vera is not only great for burns and sunburn but can be taken internally to help alleviate fevers, bowel issues and more.

    They Are Not Picky About Their Living Quarters

    It doesn’t take much to make a succulent happy.  Their shallow root systems make them ideal for planting in bowls, jars, teacups, or anything else you can conjure up.  Let them take up as much or as little room as you can spare.


    They Rank High on the Hardiness Scale

    What does this mean for you?  They don’t require as much water and attention as other houseplants, making them easy to care for.  Have you ever left for a week and forgot to get someone to take care of the plants?

    No problem, more than likely your succulents will be no more the worse for wear when you get back. They may be a little thirsty though.

    Also, they don’t need very much light to get by.  This means you can keep them in your bedroom, and as long as there is a little light peeking through the blinds during the day, they’ll be happy and waiting for your at bedtime to commune with and clear your head before lights out.


    Where to Find Succulents

    Thanks to there increasing popularity, you won’t have to hunt down a specialized garden store to get started.  Any local DIY center with a garden section will probably have a large variety to choose from.  From there you can pick out a great planter to add to the aesthetic or take them home and put them in your favorite coffee mug.

    New Powerful Laundry Magnets — Never buy detergent again>>>

  • How to Prune your Roses the Proper Way

    How to Prune your Roses the Proper Way


    Roses come in a plethora of species. Over a hundred of them are available to be exact. They can be climbing, bushes, or trailing with long stems. You can grow just about any color that you can imagine at this point as a result of cross-breeding different ones to achieve the desired shades. They are gorgeous, they have a pleasant aroma, and they brighten up the exterior of any homestead or home. That’s why they are one of the most popular flowers found in gardens all over the world.

    Even though roses are pretty easy to grow and to maintain, there is still some work required in order to keep them looking their best. With proper pruning done regularly, the flowers will bloom beautifully and reach their fullest potential. The best part of that is, it can be done in just a few simple and easy to understand steps.


    1. Eliminate the Foliage

    You first need to get a good visual of what your rose plant or bush looks like. The best time to do this is in the spring before any leaves start sprouting up on it. If there are already leaves on the stems, just get rid of them by pulling them off with your hand. Be sure to wear thick gloves and watch for the thorns if there are any to prevent cutting yourself.


    1. Check for Horizontal Canes

    Look over your rose plant for branches or canes that are growing horizontally. Make sure you check for anything that is growing in towards the center of the bush. The ones that are crossing over other branches should be trimmed away as well. It will ensure that the remaining branches will have the ability to stretch as they should without anything disrupting their growth patterns.


    A Revolutionary, Double Patented-Technology That Allows You To Wash Your Clothes Without Using A SINGLE DROP Of Toxic Chemical Detergent


    1. Remove Dead or Diseased Sections

    For beginning growers, you may not be sure how to check and see if your plant is in good health. First, break open one of the canes. If the inside is brown or black, the branch is dead. A lovely green color means that the plant is in excellent condition. The dead areas cut off the air flow to the rest of the plant. By getting rid of them, that circulation is improved, and the overall health and appearance of the plant are going to increase.


    1. Tend to the Vertical Canes

    Now that you’ve reached this point in the process, you should have around six to eight nice, healthy, strong branches left of your rose bush. The objective from here is to get the biggest and most beautiful continuing blooms possible.

    The branches that are remaining should be cut down to 18 to 24 inches in length. Before cutting through, check the cane for an outward facing bud. Prune just above that one that is both outward facing and closest to the length you are trying to achieve.


    1. Cutting at the Proper Angle

    You have to make careful note that you cannot just cut the canes in whatever direction you want to. The trim should happen at a 45-degree angle. There is a reason this is done, and that’s so that the water can drain away from the buds. Too much water in the budding area will cause rotting or disease.

    The cut should be straight and smooth with no jagged areas. Get yourself a good pair of sharp pruners to make sure you can achieve the proper cut. It may be somewhat of an investment in the start, but it’ll make your job a lot easier. Not to mention the fact that you will probably have some of the best-looking roses around.