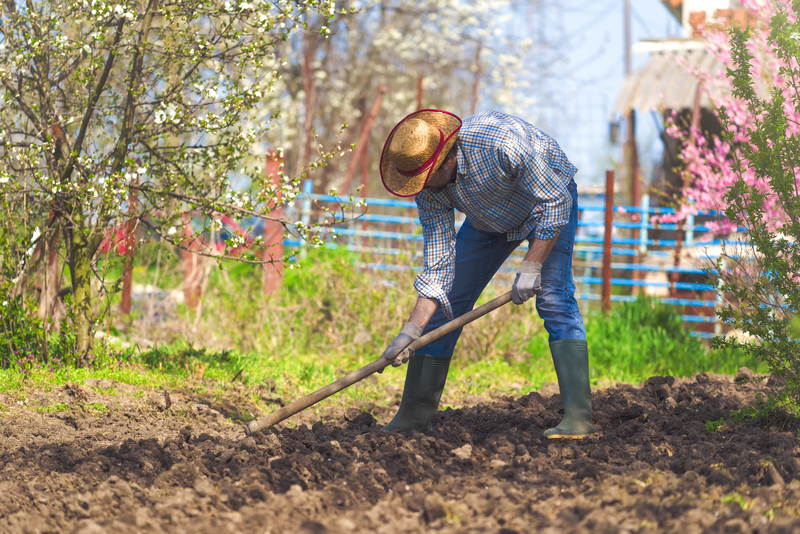
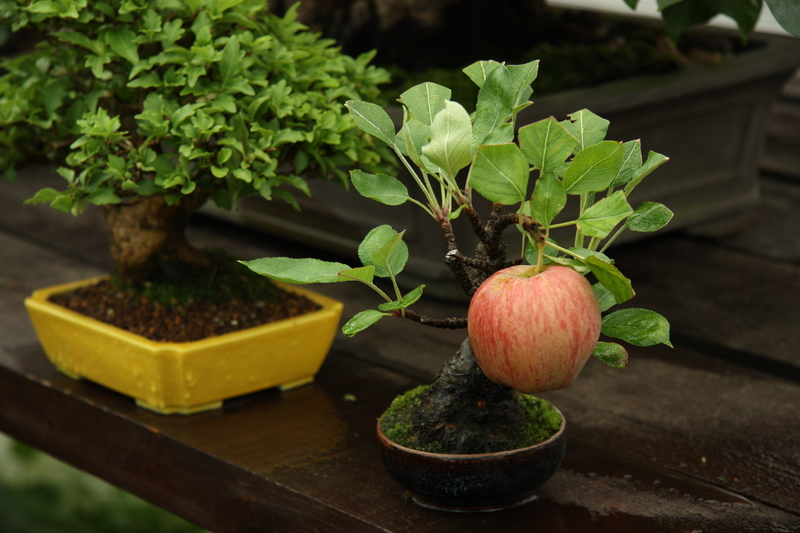
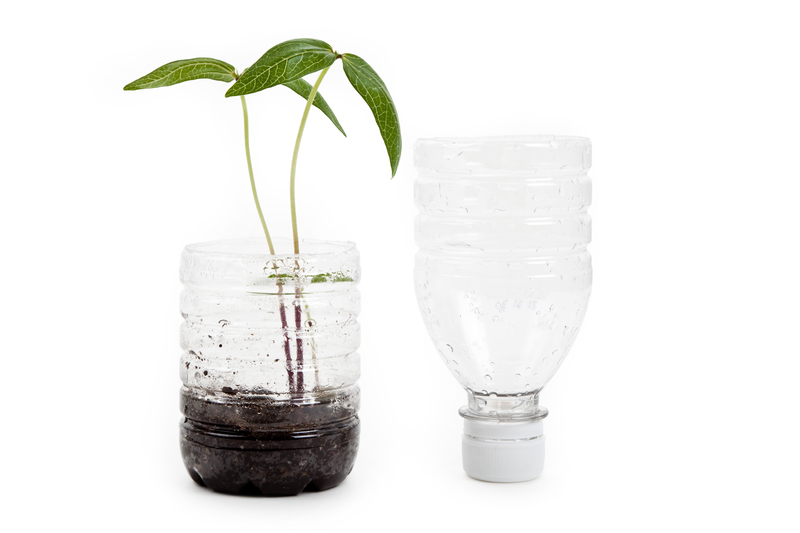
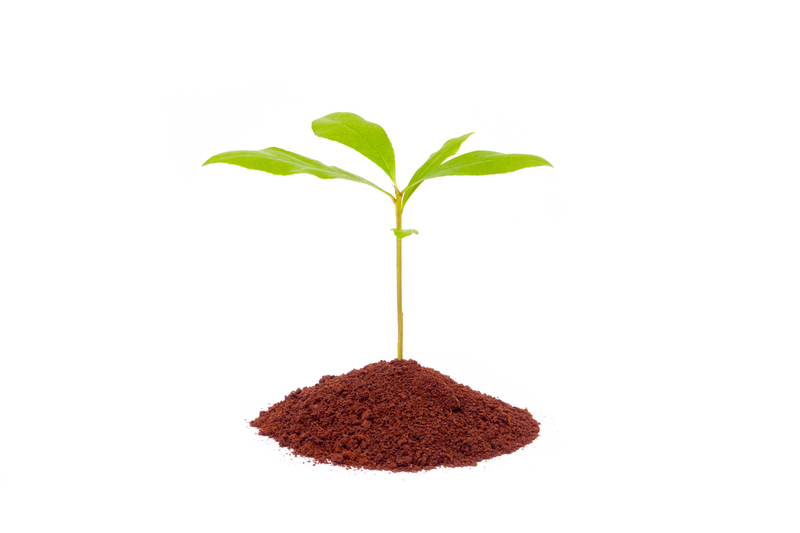
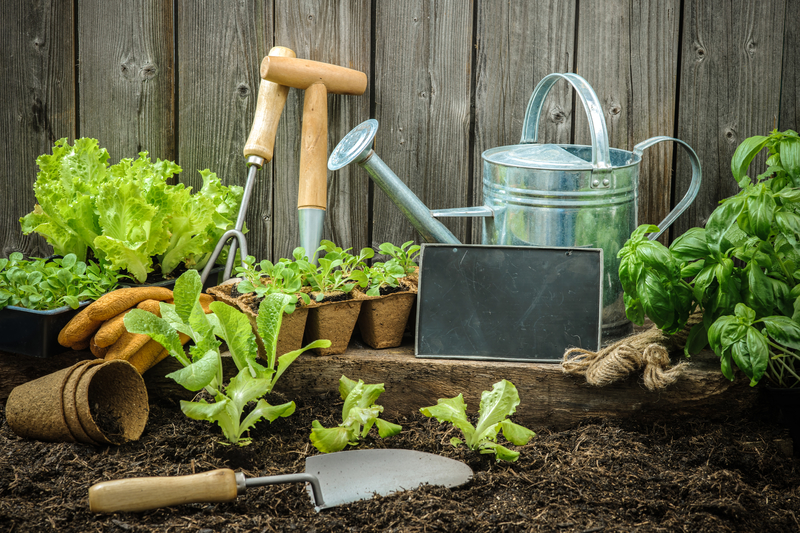
The Best All Natural Fertilizers For Your Garden
Store-bought fertilizers can get expensive. On top of that, they don’t always produce the results you are looking for. They aren’t natural, so there’s no guarantee that they are going to work the way they’re supposed to. Instead of heading into town to pick up an overpriced bag for your garden, go to your … Read more