Solar Energy Options for Homesteaders
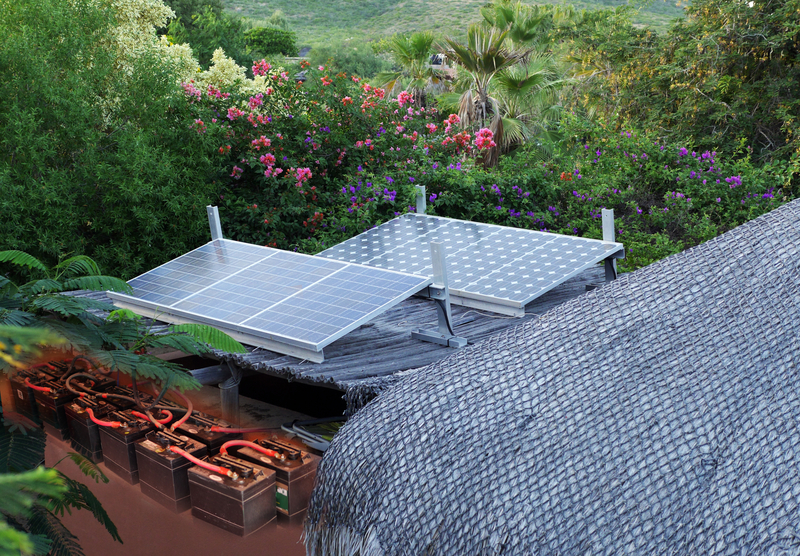
You want to live off the grid, but that doesn’t mean you don’t need electrical power to operate your lights and appliances. You can use a generator, but generators require gasoline. A generator is a good backup solution for people who are on the grid when they lose power. However, if you want to be … Read more