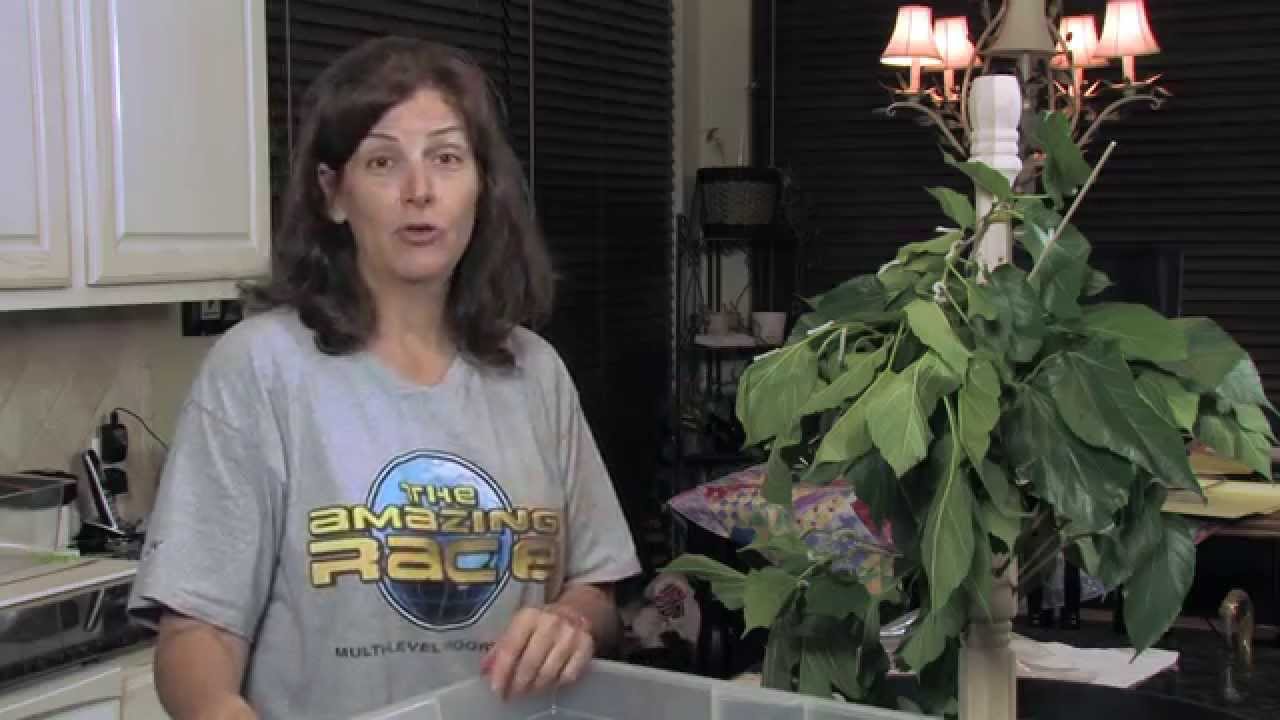
Survivalist or Homesteader? (Video)
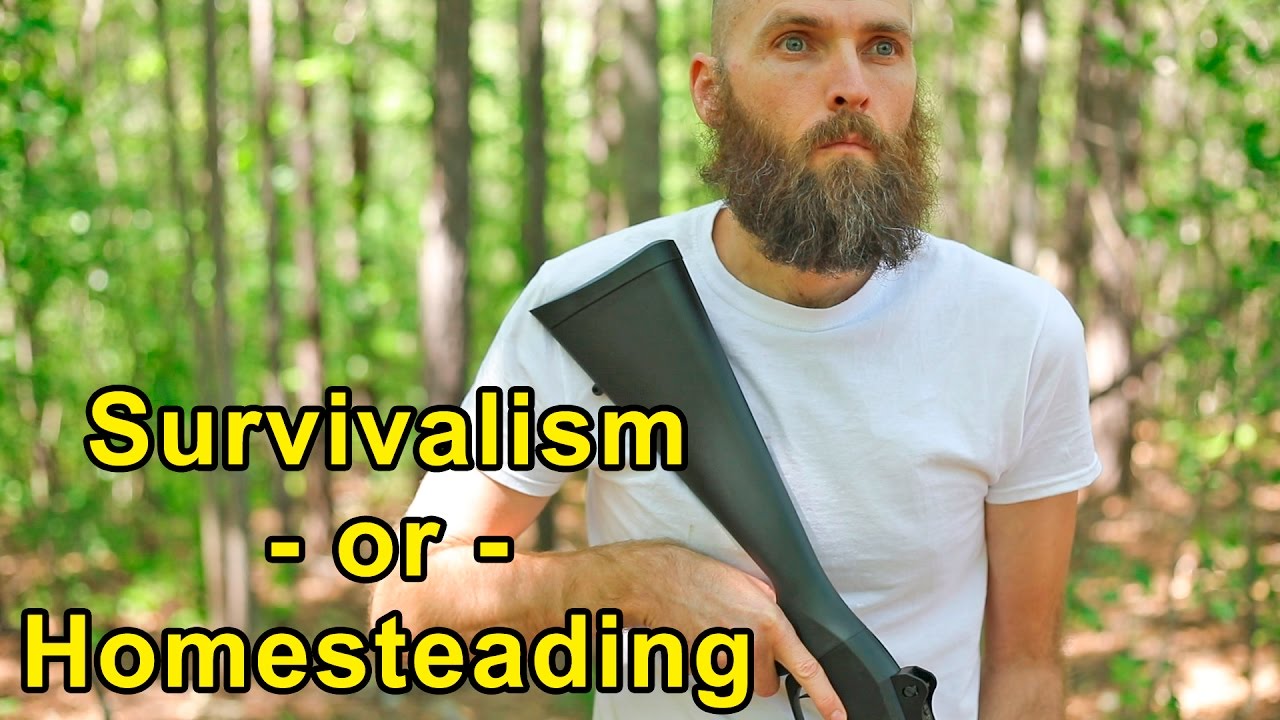
This is a great video from a popular homesteading and survivalism vlogger I really enjoy. He poses the questions: which will survive longer, a homesteader or a survivalist? Are they the same thing? Does one come before the other? I think this is a really great topic since, while homesteading and survivalism are not necessarily … Read more