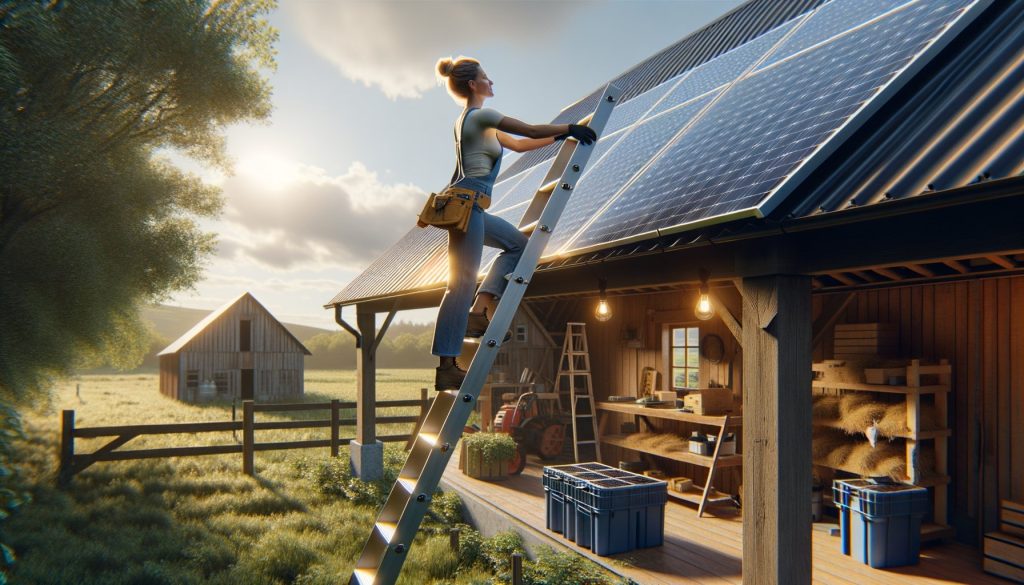
DIY Solar Panel Installation: Complete Step-by-Step Guide
Opening Hook: The Rising Energy Costs Have you ever opened your energy bill and been shocked by the amount you owe? You’re not alone. With energy costs on an upward…
Read more →
Opening Hook: The Rising Energy Costs Have you ever opened your energy bill and been shocked by the amount you owe? You’re not alone. With energy costs on an upward…
Read more →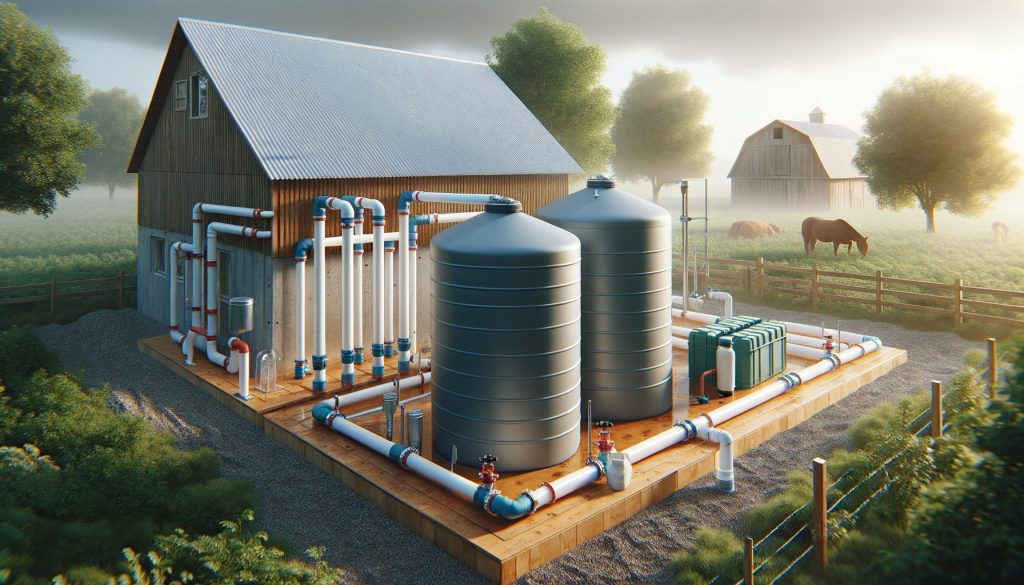
Looking to cut down on your water bill, or simply want to live more sustainably? If so, then you might want to consider creating your own rainwater harvesting system. Rainwater…
Read more →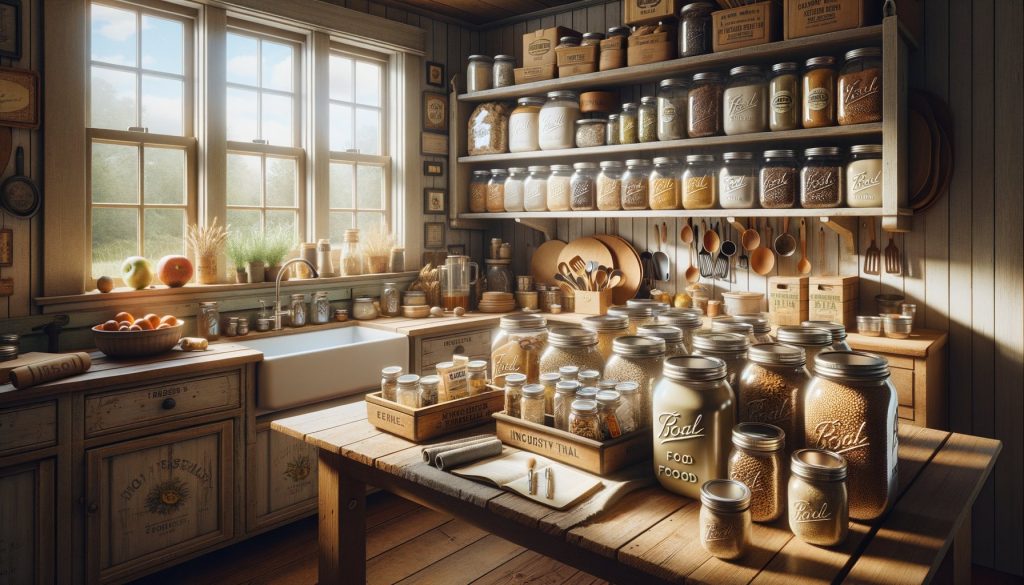
Picture this: It’s mid-January, a blizzard has hit and you’re snowed in. The roads are impassable and store shelves, already emptied in the pre-storm rush, will remain barren for days….
Read more →Homestead Security: Protecting Your Property Naturally Introduction: Why Natural Homestead Security Matters Homesteading is about self-sufficiency and connection to the land. Security is a vital component of this lifestyle. Protecting…
Read more →Building a Chicken Coop: Complete Plans and Materials List Introduction: Your Chicken Coop Journey Begins Building your own chicken coop is a rewarding project. Fresh eggs, natural pest control, and…
Read more →DIY Rainbarrel System: Collect and Store Rainwater Introduction: Why Collect Rainwater? Collecting rainwater is an excellent way for homesteaders to increase self-sufficiency. It reduces reliance on municipal water sources. Plus,…
Read more →Homestead Cheese Making: From Cow to Cream Cheese Introduction to Homestead Cheese Making Imagine the satisfaction of creating delicious, homemade cheese using milk from your own cow or goat. Homestead…
Read more →Natural Pest Control: Companion Planting and Beneficial Insects Introduction to Natural Pest Control Natural pest control is vital for homesteaders aiming for self-sufficiency. It allows you to grow healthy food…
Read more →Seed Saving 101: How to Save Seeds from Your Garden Introduction: Why Save Seeds? Saving seeds is a cornerstone of self-sufficiency. It empowers you to become less reliant on commercial…
Read more →DIY Solar Food Dehydrator: Build Your Own for Under $50 Introduction: Harnessing the Sun’s Power for Food Preservation Preserving food is a cornerstone of self-sufficiency. One of the oldest and…
Read more →