How to Make Almond Milk (and Almond Flour!)
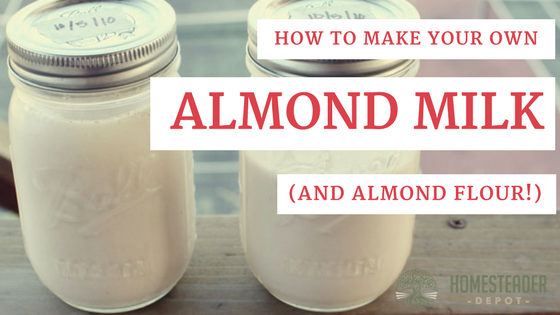
I love recipes that kill two birds with one stone (come to think of it, if you know a recipe that does this literally, let me know!), and making almond flour out of the leftovers from almond milk couldn’t be easier, or healthier! It’s very simple, and all you need is almonds and clean drinking … Read more