Page 15 of 15
1 13 14 15
diy – Page 15 – Homesteader Depot

Tag: diy

  • 4 Crafty Ways to Reuse Mason Jars

    4 Crafty Ways to Reuse Mason Jars

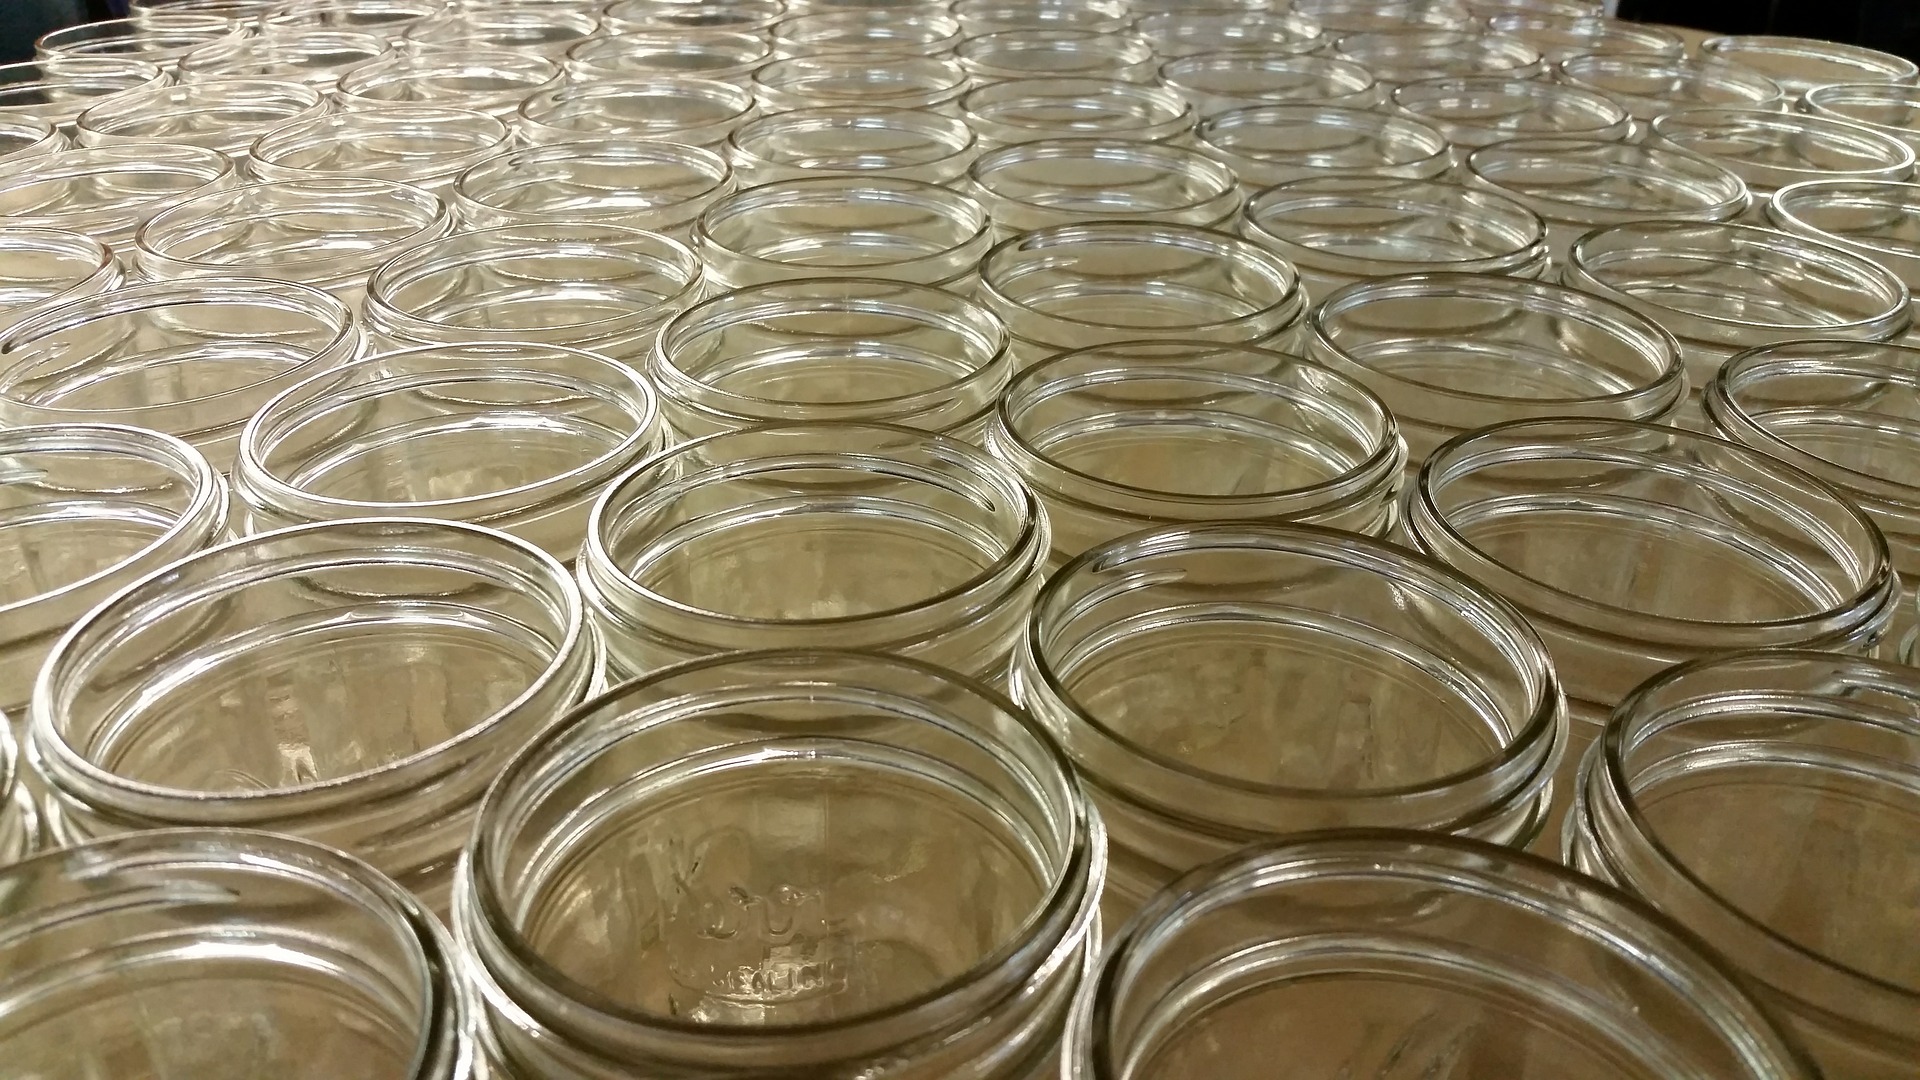
    Mason jars. Are they not one of the best inventions of all time? Originally designed for canning, mason jars (or Bell, or Kerr, or other canning jars…wide-mouth canning jars are just all-around awesome) have so many uses. They’re sturdy, difficult to break, have a big capacity-well, a quart!

    Lately, the annals of Pinterest have shown us that there are dozens of ways to use mason jars, so we picked a few particularly clever uses.

    Mason Jar Herb Garden

    Probably the most homestead-applicable, a simple mason jar herb garden is pretty much exactly what it sounds like! In lieu of drainage, you simply place rocks or marbles at the bottom of the jar, then fill with potting soil, and finally your direct-sow seeds or plant your herb starts. This would make a great project for early fall, so you can enjoy fresh herbs inside throughout the winter.

    Suggested Article:  Five Ways to Preserve Herbs

    Fragrant Mason Jar Oil Lamps

    This requires a bit of craftiness, but it would make an awesome holiday gift and is also so pretty and rustic looking it’d be a great addition to any homestead decor. There are a couple of different methods – here’s one that’s perfect for the holidays. The cool thing about this one is you can add herbs, fragrant leaves, cinnamon sticks, or citrus peels that make a wonderful smell with the lamp is burned, and also make for a beautiful display.

    Weather-proof Matchbox

    A very un-glamorous but fantastic way to use a mason jar. A great option for a bug-out bag or camping. You simply fill the mason jar with matches, then cut the strike-anywhere surface off the box and affix to the lid of the mason jar. You have your matches protected from moisture and can strike them right on the lid of the jar. Perfect!

    Solar Lights 

    Ever try out those cheap solar lights to illuminate your paths only to find they get knocked over and broken in a stiff breeze? Well, you can simply remove the tops of these and place in-you guessed it-mason jars! You’ll have to pick some that fit a mason jar, of course, but these will illuminate the solar light beautifully and look way more stylish and rustic than those cheap plastic lamps. The glass will, of course, be breakable too, but being sturdier and heavier than the plastic lamps simply speared in the ground, they’re likely to hold up better. You can even bury them in the ground a few inches to ensure they don’t get knocked over easily.

    Related Article:  Solar Energy Options for Homesteaders

    These are just a few ideas for ever-versatile mason jars-I’m sure if you think outside the box you can think of cool ways to use them too! Ever tried a mason jar DIY craft?


    [Bonus] Never Buy New Batteries Again – Try this trick to recondition and reuse old batteries>>>


  • How to Get Started Knitting

    How to Get Started Knitting

    It’s only the middle of August, but apparently snow is already accumulating above some US states-can you believe it? It’s already time to start thinking about getting out that winter gear. Or, if you want to learn a new skill-making it!

    Knitting is a wonderful skill to have, and it’s never too late to learn. It’s actually has some surprisingly health benefits, like improving cognitive function, memory, coordination and relieving stress. Not to mention you get scarves, hats, and or any of the many other things you can knit right at home! It’s a great way to give an original gift for the holidays that’s functional too, and wonderful alternative to cheap made-in-China goods.

    To get started knitting, you only need two things: yarn and knitting needles. That’s it! Nothing else fancy required.

    For needles, there are three kinds: plastic, metal and bamboo. Plastic and metal are usually very affordable, so you might want to start with a pair of those to see if you take to knitting before investing in the nicer bamboo needles. There are many different sizes of knitting needles, for different sized yarn and also desired tightness of the stitch, but size 8 is the most standard size. Packages of yarn will typically have recommendations for the size knitting needle to use with them, so check before buying.

    Yarn is what you’ll want to pick out next, and with all the beautiful colors available, this is definitely the fun part! To start out, you’ll probably want to buy two or three different colors, so you have a few options and, once you’ve got the hang of the stitch, you can practice changing the yarn. All yarn is either natural fiber or synthetic. Synthetic is very affordable, but also won’t breathe very well when worn. But this is a good choice to start out with, just to get the hang of knitting, and for many projects it can be ideal.

    Next, you’ll need to learn the basic stitch. knit-637092_1920

    And if you have an internet connection, well, then the wide wonderful world of free knitting tutorials, patters and guides is at your fingertips. This is a great beginner video on the basic stitch.

    This step can be the hardest-once you get the hang of it it’s very fun-and even addictive!

    A simple scarf is a very easy and fun first project, and useful too! Make one for each member of your family for the coming winter months, and maybe even some for extended family for gifts! You’ll find you can knit in your sleep in no time this way, with lots of practice of the basic stitch, and then you can move on to more complicated projects like hats, booties for babies, etc.

    Happy knitting!

    If you like this, you might also like:

    Advanced Gardening Course To Accelerate Your Food Production…

    Survival Medicine & Wilderness Survival…

    Survival Techniques From Long Ago, Re-purposed For The Modern Era…

  • Crock Pot Sourdough Recipe

    Crock Pot Sourdough Recipe

    Sourdough bread is delicious, and nutritious! When made with a real sourdough culture, it breaks down the anti-nutrients in the wheat that are commonly attributed to gluten intolerance and allergy. There’s also no better-tasting sourdough than when it is made fresh at home.

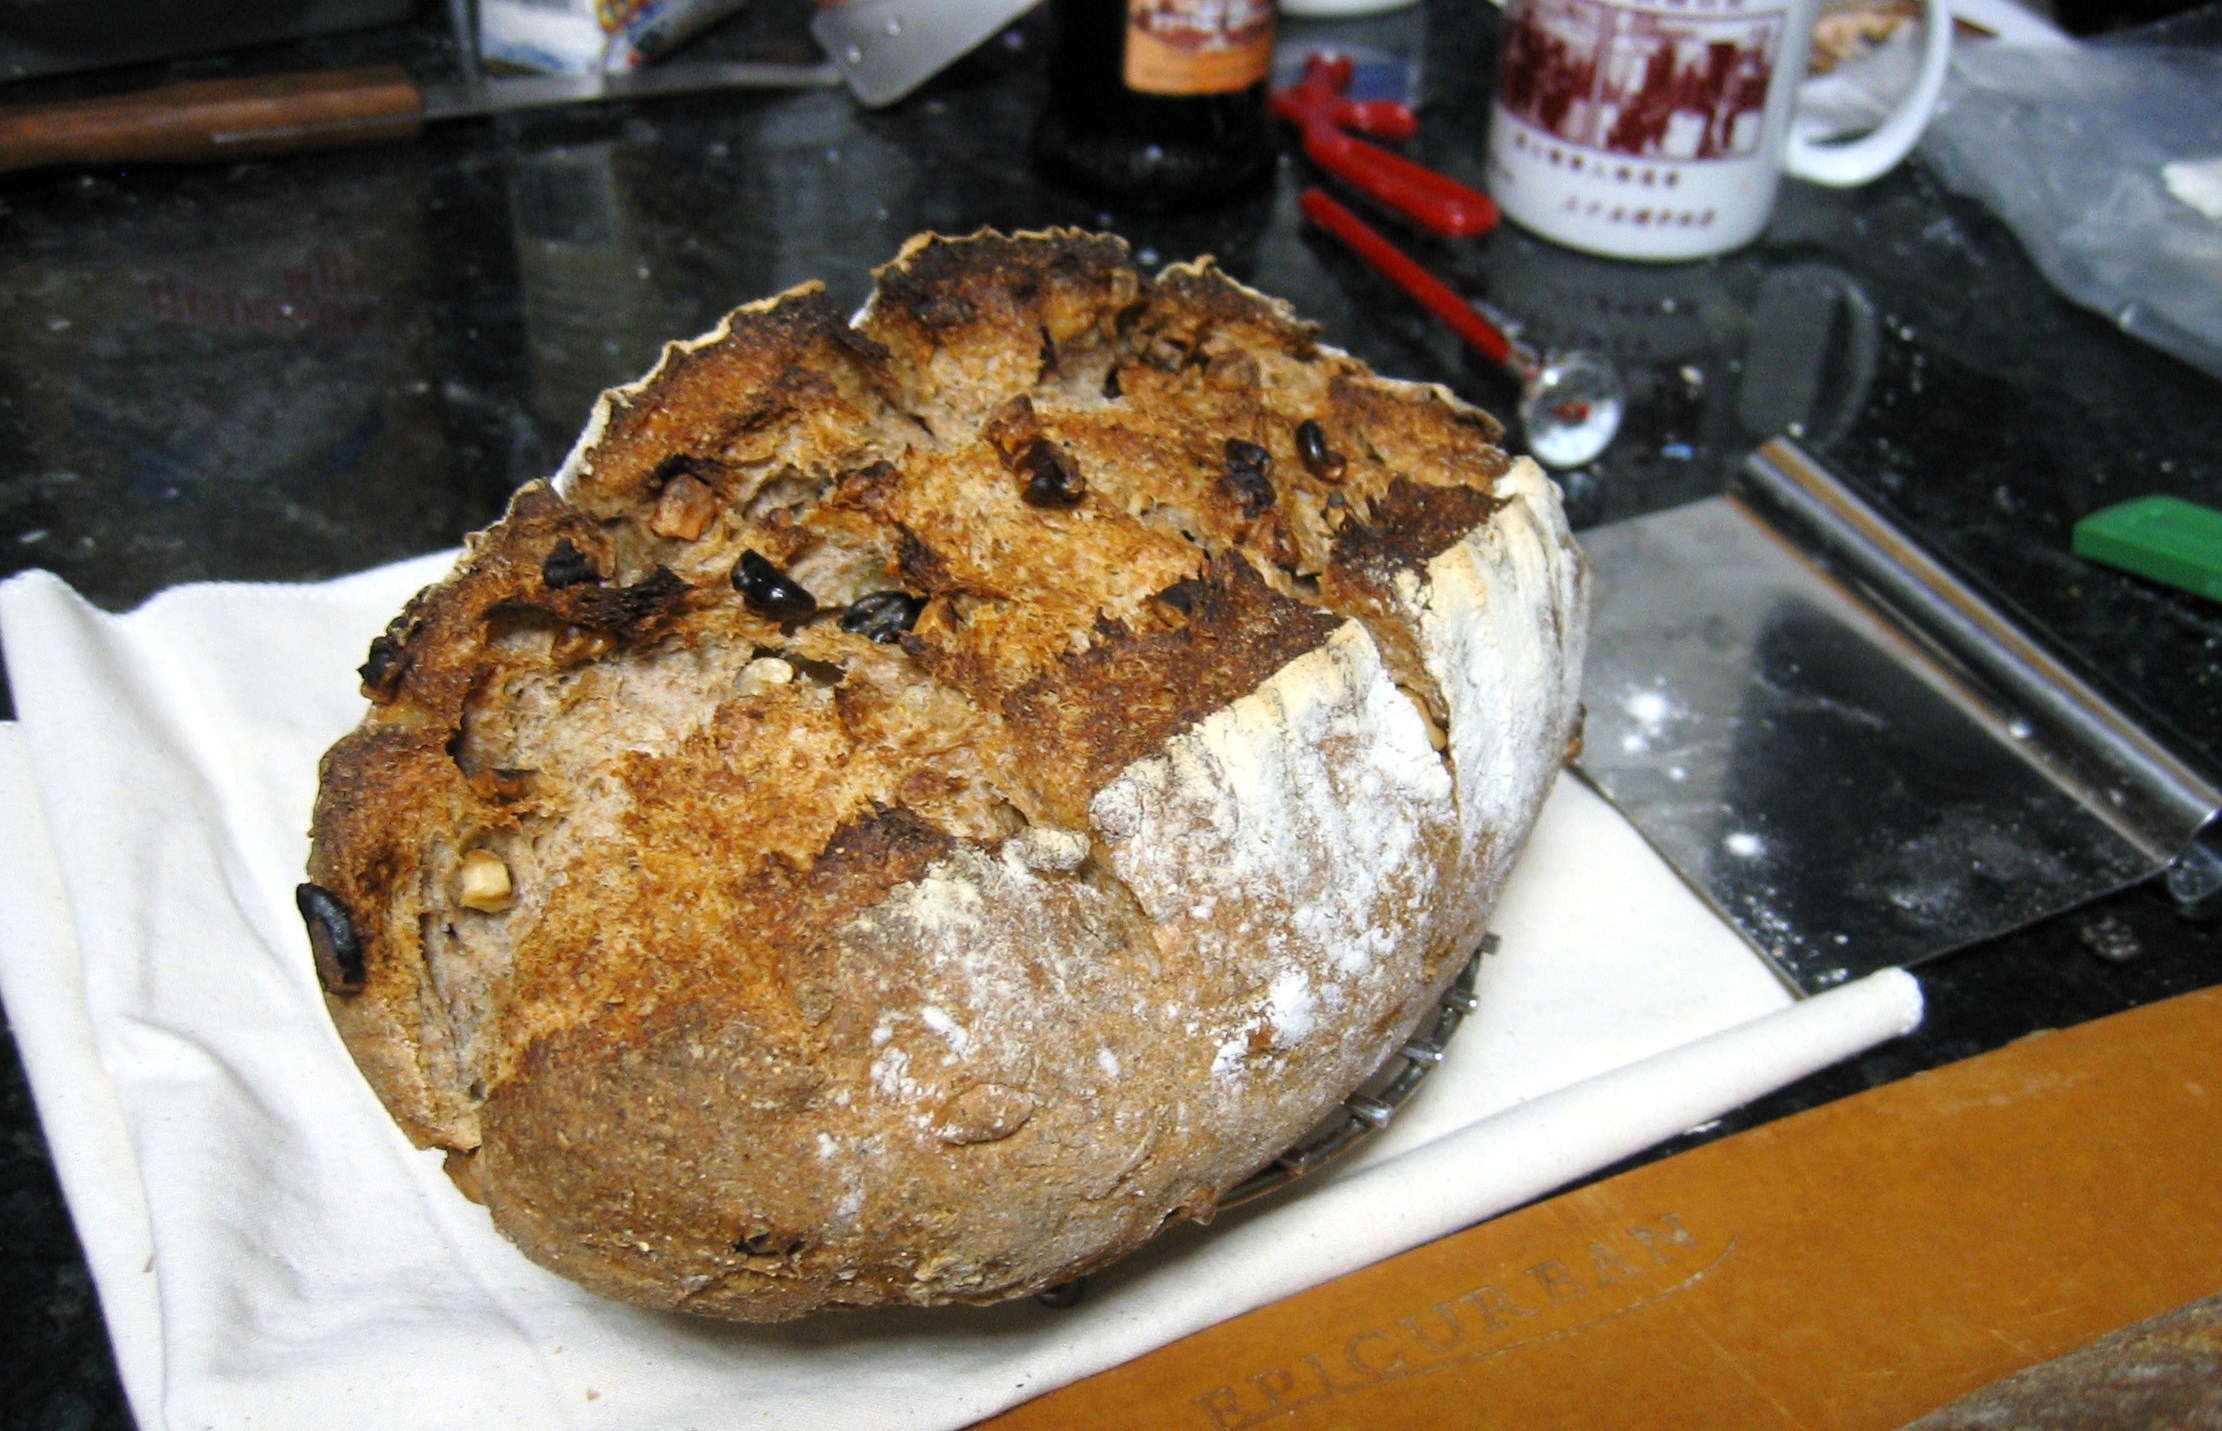
    A very easy way to make sourdough is right in your crock pot! If you don’t have a bread maker or don’t want to heat up your kitchen in the hot summer months, crock pot sourdough is a wonderful option. It also makes for a very easy way to rise the sourdough.

    First, you’ll need your culture. This is the most time consuming, but once you have one going, it’s a lot simpler to make loaf after loaf. This blogger seems to have originated crock pot sourdough, and also has a recipe on her website for the culture.

    Once you have a bubbly, active sourdough culture, you can follow this recipe here for delicious crock pot sourdough:

    Crock Pot Sourdough Recipe

    1 cup active culture

    3 cups flour (you can use some combination of white, white whole wheat or whole wheat if you like)

    salt

    warm water

    olive oil for greasing

    1. In a large bowl or food processor, quickly stir or pulse the salt throughout the flour. Then add the culture and mix or pulse until blended.

    2. Next add 1 cup of warm water, and stir or blend until you have a uniform dough that can be formed into a ball. You might need to add either more flour or water as needed. Should be sticky, but not too wet.

    3. Let rise overnight, either in the bowl or food processor, lightly covered, or, for a really nice, steamy rise, you can heat up your crock pot for a few minutes, then grease, and put the dough in to rise.

    4. Once the dough has at least doubled in size, it’s ready to cook. If it’s been rising outside the crock pot, dump it out onto a floured surface and reshape slightly into a loaf if needed. Then place in the greased crock. If it has been in the crock already, simply move on to the next step:

    5. Cover the crock with a dish towel or paper towel to absorb the moisture as the bread cooks. Then, cover with the crock pot’s lid. Set to low for about 1.5 hour, then check. when it’s done, it will be browned around the edges and no longer sticky and doughy on the top. It might need an extra .5 hours to achieve this.

    6. It’s hard to get a really crispy top in the crock pot, so you might want to finish it off for 2-3 minutes in the broiler-just watch it carefully so it doesn’t burn! This step is totally optional.

    7. Set on a cooling rack and once the loaf is cool enough to touch, enjoy! It’s best served fresh with warm butter and honey.

    If you liked that, you might also like:

    Advanced Gardening Course To Accelerate Your Food Production…

    Survival Medicine & Wilderness Survival…

    Survival Techniques From Long Ago, Re-purposed For The Modern Era…

  • 2 DIY Skincare Recipes for Any Homesteader

    2 DIY Skincare Recipes for Any Homesteader

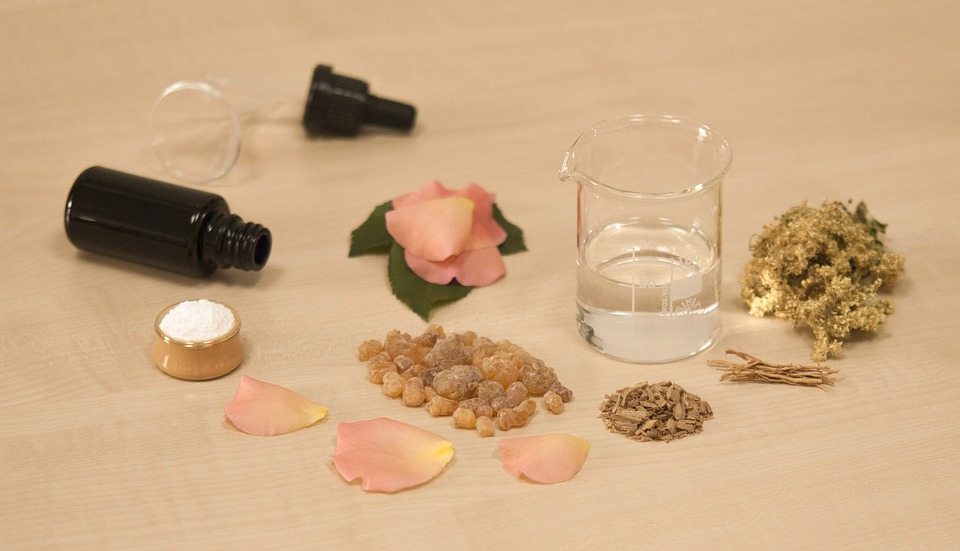
    Did you know that you don’t need a ton of chemical-heavy, processed skincare products to look and feel younger and more vibrant? In fact, your homestead and garden could provide all you need to make more effective and healthier skincare products than any of the store-bought products you’ve used in the past.

    Lavender Body Lotion

    For firm, hydrated skin that feels soft and smooth, try this recipe for a calming lavender body lotion. You’ll need:

    • 1/3 cup coconut oil
    • 2 tablespoons beeswax
    • 3-6 drops lavender oil

    Mix the ingredients well and store them in a cool, dark place when not in use.

    Lip Exfoliant

    Throughout the year, thanks to changes in temperature and humidity, the skin on your lips really takes a beating. Regularly exfoliating can prevent chapping and help keep your lips looking gorgeous, even without the use of lip balm (which can be addictive and can cause your lips to dry out whenever you don’t use it).

    First, gather these ingredients:

    • 1 vitamin E capsule
    • 1 teaspoon olive oil
    • 2 teaspoons honey
    • 2 teaspoons brown sugar
    • 4 uncoated aspirin tablets

    Mix all ingredients together, being sure to crush the tablets and capsule so that everything is equally mixed. Apply a layer of the exfoliant to your lips and lightly scrub with your fingers or a soft toothbrush. If you have leftover exfoliant, you can store it in a clean container in a cool, dark place and it should keep for several weeks or months.

    These are just two of the ways you can use ingredients you’ll find around your home and in your garden to keep your skin fresh and beautiful. Remember, along with these, if you eat a diet of whole, organic foods from your garden, and you regularly wash your face with non-detergent soap, you’ll look gorgeous for years to come.

    If you liked that, you might also like:

    Advanced Gardening Course To Accelerate Your Food Production…

    Survival Medicine & Wilderness Survival…

    Survival Techniques From Long Ago, Re-purposed For The Modern Era…


  • 4 Healthy DIY Alternatives to Soda

    4 Healthy DIY Alternatives to Soda

    Soda is delicious, refreshing and, unfortunately, really, really bad for you. A single can of soda contains roughly ten tablespoons of sugar, not to mention extra high fructose corn syrup, or, if you’re opting for diet soda, harmful aspartame, which has been linked to cancer in rats and is even commonly recommended that pregnant women avoid for its increased risk of birth defects or miscarriage. Soda also contains phosphoric acid, sodium, and is normally made with the lowest-quality tap water available. All these nasty ingredients greatly increase your risk of diabetes, cancer, chronic dehydration and high blood pressure, as well as tooth decay, osteoporosis and bone softening.

    Unfortunately, soda, especially diet soda, can be terribly addictive. The good news is that there’s a few great alternatives to help you kick the habit-all with wonderful health benefits, that are affordable and easy to make at home! Here they are:

    1. Ice tea: probably the simplest on this list, ice tea is a breeze to make at home and can satisfy your desire for a cool, refreshing and tasty beverage. All you need to do is brew your tea of choice like you would normally, but with about 1/3 the hot water you would normally use. If you want to make a pitcher, throw three or four tea bags in there and brew. Then fill with cold water and ice and you’re done! Choosing a simple green or herbal tea, without added ingredients like soy lecithin or natural flavor, is the best option for a delicious and healthy alternative to soda
    2. Infused water: it’s very simple to make delicious and super healthy infused water at home. You can buy a infused-waterspecial bottle or pitcher just for infusing, but you don’t have to. Infused water is essentially soaking fruits or herbs in water for a boosted nutritional content and delicious flavor. Popular options are lemon, lime, cucumber, mint, and berries. Even just a few slices of lemon in a pitcher of cold water is guaranteed to have you forgetting about soda in no time.
    3. Sparkling water: sparkling water, which is very popular in Europe and Latin America, is a great alternative to soda and, if it’s the carbonation you really like, will satisfy the craving very well. Just make sure to opt for brands that don’t have added artificial flavors or sweeteners-a great option is to buy plane sparking water and infuse as mentioned above
    4. Kombucha and water kefir: these require a bit more to get started than the other options on this list, but they’re by far the most nutritious. Naturally fermented probiotics, you can brew kombucha or water kefir right on your counter top by purchasing either a kombucha “scoby” or water kefir “grains”, which you feed a diet of black tea and/or sugar. In the cases of both these beverages, as they kombucha-1074594_960_720are brewed the kombucha or kefir organisms consume the caffeine and sugar and convert them to a healthy, fizzy, delicious probiotic drink. This is also a great option if you’d like to scale back on beer or wine as well, as they have a similar strong flavor as beer and wine but without the high alcohol content.


    If you liked that, you might also like:

    Learn How To SUPER-CHARGE your garden or farm…

    Click Here To Get The Best Survival Medical Course…

    Check Out These Mind Blowing Survival Skills…

  • DIY Apple Cider Vinegar

    DIY Apple Cider Vinegar

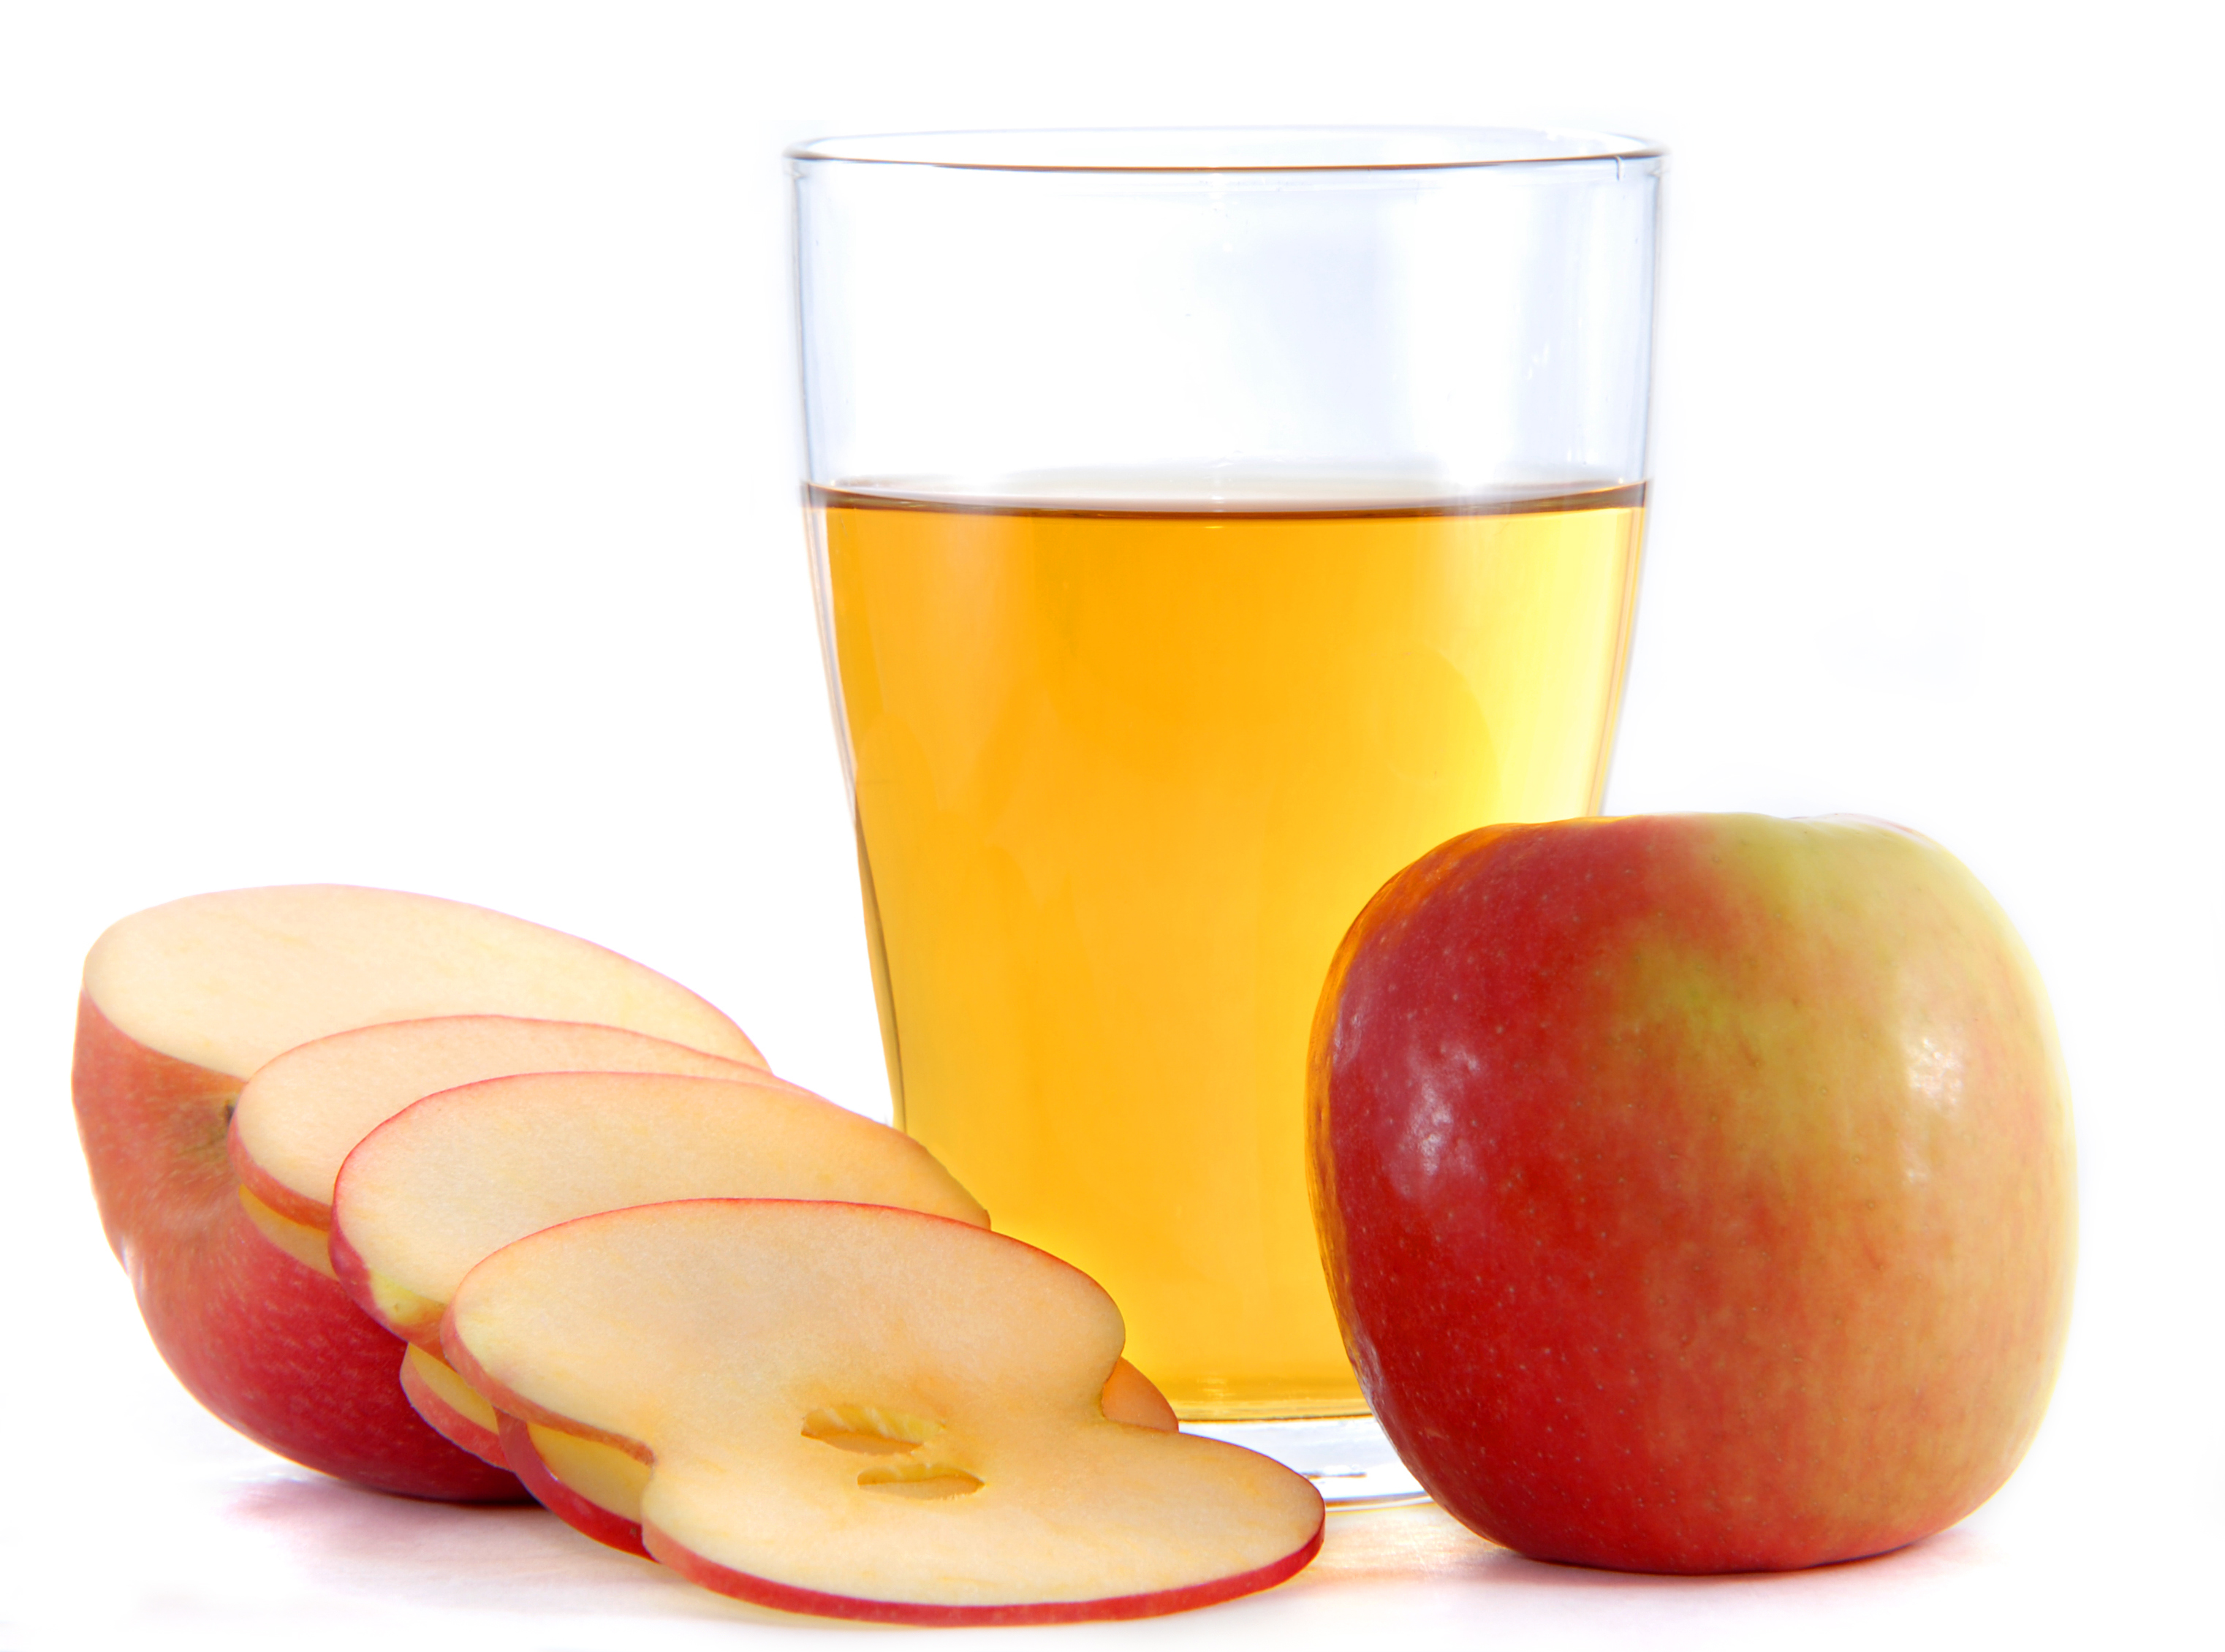
    Apple cider vinegar is one of the most popular and useful natural health food items you can find. It’s incredibly versatile, and can be used internally for a plethora of maladies, as a cosmetic and topical remedy and also to preserve food and sanitize the home.

    But did you know you can make your own right on your countertop? Homemade apple cider vinegar is not only incredibly economical, it is delicious and requires nothing special to make. Odds are if you’re already an experienced homesteader or canner, you have what you need to make delicious apple cider vinegar right at home. A great staple for any homestead.

    Needed Items and Ingredients:

    • 1 sterilized large-mouth quart jar
    • Cheesecloth or paper towel to cover
    • Rubber band
    • 2-3 medium apples, peeled, chopped and cored
    • 3 tbs raw sugar
    • Filtered water

    Instructions:

    1. Take the apples and stuff them into the sterilized jar.
    2. Mix the sugar with about 1 cup filtered water, then pour the mixture over the apples
    3. Pour more water into the jar until the apples are completely covered. You might need a sterile rock or fermenting weight to keep the apples submerged in the liquid
    4. Cover the top of the jar with the cheesecloth, paper towel, or other breathable fabric, and secure tightly with the rubber band
    5. Let sit in a warm, dark place for 2-3 weeks. Often a cupboard or top shelf of a pantry will do just fine
    6. After 2-3 weeks, strain out the apple pieces and return the liquid to the jar. Secure with fresh cheesecloth and a rubber band and return to your dark place
    7. Let sit for another 3-4 weeks, stirring every few days
    8. Once the apple cider vinegar reaches the acidity you like, it’s ready to use! Simply cover with the jar’s original lid or transfer to any container you can seal and enjoy!

    [Free Recipe Book]  You don’t have to choke down your amazing homemade Apple Cider Vinegar…Try these delicious recipes HERE>>>

  • Turn Your Garden Into A DIY Spa

    Turn Your Garden Into A DIY Spa

    Besides creating a surplus of food, and being used for medicinal and cleaning purposes, your garden has many other uses. One of those is allowing you to pamper yourself once in a while! After you’ve put in all that hard work, you can harvest a few ingredients out of your garden and use them to create your veryspa own DIY spa day.

    Citrus fruits are perfect for giving oily skin a detoxifying facial. Mix the juice of a lemon, orange, or other citrus fruit, with honey and yogurt for a creamy cleanser that can also help lighten sun spots and exfoliate the skin.

    If you grow roses, you have the perfect ingredient for a relaxing soak in the tub, and for a purifying facial. Allowing the steam from a hot bath filled with rose petals to surround your face will unclog pores, and get rid of blackhead and whiteheads. Rose water is also a classic perfume that smells lovely without being overpowering.

    Rose water is also a great moisturizer. For those of you who keep bees, use a bit of grated beeswax with an equal amount of rose water, and a double portion of almond oil. Heat until the beeswax melts, and then cool and mix for a light cream that will pamper the skin without clogging pores.

    It may seem cliché, but those cucumbers on the eyes while you let a cleanser, mask, or steam treatment work actually have a purpose! Raw cucumber slices can help reduce redness and puffiness around the eyes. A face mask of marigold petals along with honey and whole milk will also help get rid of redness and thin skin.

    Include a few of these fruits, flowers, and other plants in your garden next year and don’t forget to schedule a spa day to reward yourself for all your hard work.

    If you liked that, you might also like:

    Learn How To SUPERCHARGE your garden or farm…

    Click Here To Get The Best Survival Medical Course…

    Check Out These Mind Blowing Survival Skills…