Page 6 of 15
1 4 5 6 7 8 15
diy – Page 6 – Homesteader Depot

Tag: diy

  • DIY Dry Shampoo

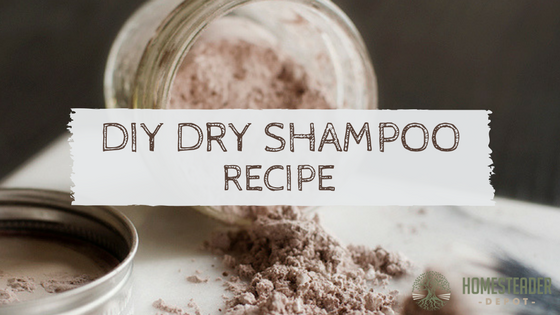
    DIY Dry Shampoo

    Last week I wrote an extensive post about how to wash your hair using the “no-poo” method, and one method I mentioned was using homemade dry shampoo.

    This is a method of freshening up your hair that can go in conjunction with regular washing, or the no-poo method. You probably won’t want to use it as your only mode of washing, but just as a way to absorb oil and grease in between washing, and adding texture to hair to help with styling.

    Dry shampoo is essentially what it sounds like; a dry rub you can use to clean your hair. There are many popular brands on the market, both that you can spray and dry powders that you can sprinkle in your hair. But, you can also easily make it at home! Here are two very simple recipes, one for light hair, one for dark hair.

    Dry Shampoo for Light Hair

    1/4 Cup cornstarch or arrowroot powder

    5 drops essential oil of choice


    Dry Shampoo for Dark Hair

    2 tbs cocoa powder

    2 tbs cornstarch or arrowroot powder

    5 drops essential oil of choice (bear in mind it will already smell like chocolate

    Directions

    Blend all your dry ingredients together in a bowl. If you’re using essential oil, drop in your desired amount, and make sure to blend throughly throughout the starch and cocoa powder. It might take a bit of pressing the droplets with a fork and gently whisking around. Make sure to wash that for well!

    Once well-blended, store in an airtight jar and keep in your medicine cabinet or wherever else you store your hair products.

    To use, take a makeup brush and lightly dip in your jar. Brush the dry shampoo throughout your hair, on your scalp, then “scrunch” your fingers all around to try to disperse it throughout your hair. Wait about five minutes, or leave in overnight for more oil absorption. Finish by combing or brushing it out, and style as usual.

    If you enjoyed this, you might also like….

    Do You Have What You Need to Hold Down the Fort?

    Natural Healing Secrets You Need to Know…

    Effective Primal Diet Hacks…


  • Soaking and Sprouting Times for Seeds (Infographic)

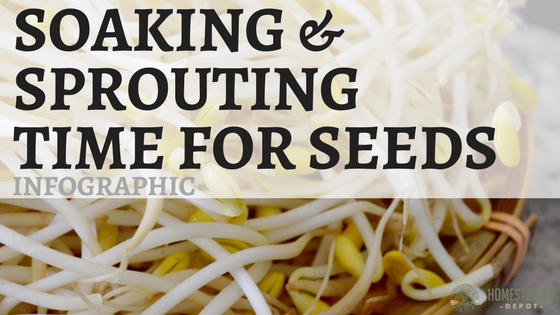
    Soaking and Sprouting Times for Seeds (Infographic)

    I shared an article last week on sprouting alfalfa, and I did mention that you can use many other kinds of seeds and beans as well, using this method.

    It is definitely true that the basic principle of soaking, draining, and sprouting applies to many seeds and beans, they vary, sometimes quite drastically, in ideal soaking time and the amount of days it takes for them to sprout.

    Here is a great resource from nourishsystem.com for any aspiring sprouters out there. This is a chart that lists many of the popular sprouting seeds, grains, nuts, and beans, and all the information you’ll need to sprout them.

    What is particularly helpful about this chart, that I haven’t seen in other similar infographics, is that it includes the dry amount of seeds you’ll need, and what that will yield in sprouted greens. This is a great resource, so you can measure out exactly what you’d like to use and anticipate how long it will last you once sprouted. I’m definitely keeping this up on my fridge for future sprouting.

    If you enjoyed this, you might also like….

    Can You Defend Your Family When SHTF?

    Natural Healing Secrets You Need to Know…

    Effective Primal Diet Hacks…

  • The Simplest Way to Peel Garlic. Period. (Video)

    The Simplest Way to Peel Garlic. Period. (Video)

    Garlic is a homestead kitchen staple, but let’s face it; it’s more than a little tedious to fidget with the papery skin of each individual clove.

    Sure, you could smash your garlic with a knife or a mallet and make a big mess. If you have half an hour or more to spare, you could soften the skins in hot water. If you need to peel enough garlic to season food for an army, or make a hefty portion of a natural remedy like honey-infused garlic, you can shake them into oblivion between two bowls, but that’s more trouble than you really need to go through. And let’s not even get started with the weird, artificial flavor of pre-processed garlic available in the store.

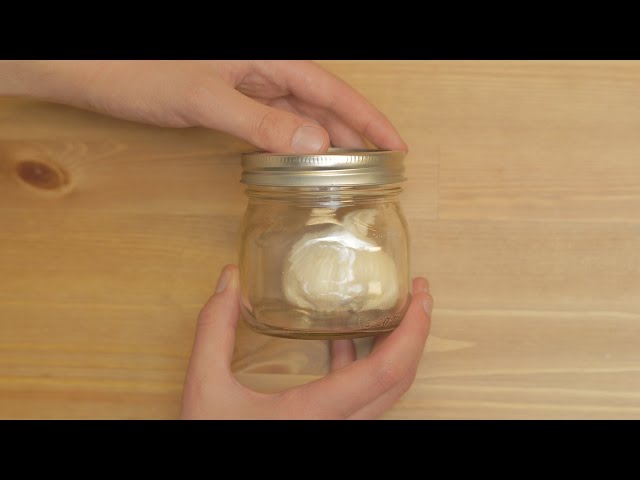
    So what’s the homestead cook to do? I shared a video about the bowl method last year, but this video shows an even easier, ridiculously simple kitchen hack for the home chef in a hurry who won’t settle for less than fresh, pungent garlic. It’s as easy as tossing the head of garlic into a jar, closing it, and shaking the living daylights out of it for less than half a minute. After 20 seconds, tip the jar to pour out your fresh peeled garlic cloves.

    Wasn’t that easy?


    If you enjoyed this, you might also like….

    Are We In The End Times?

    Complete Health Transformation Without Drugs or Surgery…

    Having Trouble Sticking With Paleo?

  • How to Grow Alfalfa Sprouts

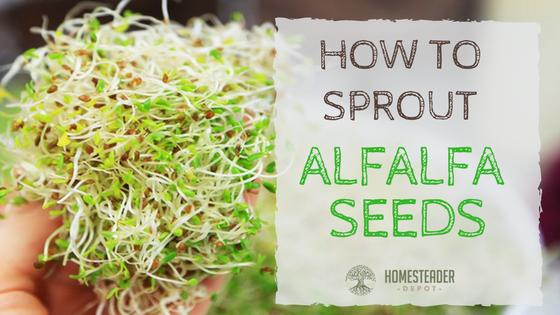
    How to Grow Alfalfa Sprouts

    Spring will soon be upon us, and you might be eager to get your garden started. If you’re impatient to have fresh greens again, you might want to try sprouting as you wait for the seeds in your garden to germinate.

    Sprouting seeds is a great way to get quick, delicious nutrients you can throw in sandwiches and salads, and they only take a few days to grow right on your countertop. This is also a great option for folks who don’t have room to garden!

    Fresh sprouts are not only delicious and easy, they’re actually really good for you too. They contain a bunch of wonderful nutrients, vitamins, and minerals, including:

    protein and dietary fiber, as well as vitamin K, folate, pantothenic acid, niacin, thiamin, vitamin C, vitamin A, and riboflavin. In terms of minerals, sprouts contain manganese, copper, zinc, magnesium, iron, and calcium.

    • protein
    • dietary fiber
    • vitamin K, C, and A
    • folate
    • pantothenic acid
    • niacin
    • thiamin
    • riboflavin
    • manganese
    • copper
    • zinc
    • magnesium
    • iron
    • calcium

    These are a great way to get fresh, live, essential nutrients that’s both affordable, fresh, and fun to do. Here’s how:

    What you need: 

    1. Organic alfalfa seeds, meant for sprouting
    2. Mason jar
    3. Clean, plastic or wire mesh
    4. Mason jar lid
    5. Sturdy bowl

    Directions: 

    1. First, rinse 2 tbs of your seeds thoroughly under clean, cold water. (Save the rest of them for the next time you want to sprout seeds!)
    2. Put the seeds in your mason jar, and cover with a few cups of water.
    3. Leave overnight.
    4. Drain the seeds in the morning, cover with the mesh and lid, shake the jar thoroughly, and tip over into your bowl, so that excess moisture can drain out.
    5. Do this daily until you have sprouts that are your desired size. This will typically be a few days. There’s no exact size that is perfect, although if they get too big they will start to mold or rot, but you can “harvest” and eat them pretty much from when they sprout little green shoots on.
    6. Once they are sprouted to your liking, cover with the mason jar lid, and keep in the refrigerator.

    Pictured above is seeds that have been sprouted three days; this is a pretty good example of a desirable “length” of the sprouts.

    Once they’re in the fridge, eat them within 3-5 days, and enjoy!

    If you enjoyed this, you might also like….

    Do You Have What You Need to Hold Down the Fort?

    Natural Healing Secrets You Need to Know…

    Effective Primal Diet Hacks…

  • How to Make Probiotic Cream Soda

    How to Make Probiotic Cream Soda

    I don’t know about you, but I absolutely love a good, old-fashioned cream soda. It’s such a great treat, and hard to find a really well-brewed one these days.

    Earlier this week we wrote about a ginger bug which is the base for many kinds of probiotic sodas, and cream soda is one of the delicious, healthy, probiotic sodas you can make using ginger bug as a result!

    The really great thing about probiotic cream soda is that since you are fermenting it with a culture, the little bacteria in the culture actually eat the sugar, changing its metabolic structure, so it’s actually nothing like store-bought sodas that are full of sugar or high-fructose corn syrup. While it does still contain sugar, it’s a much healthier form.

    So, here is how you make it!

    Ingredients: 

    • 2 quarts filtered water
    • 3 cups white sugar
    • 3 tbs vanilla extract
    • 1 cup active ginger bug

    Directions: 

    1. When you are sure your ginger bug is active, meaning bubbly and fizzy, make this recipe right away.
    2. First boil your water, then remove from heat and stir in 2 cups of sugar. Once it is cooled a bit, so that it’s still warm to the touch but not at all hot, stir in the other cup of sugar until it dissolves.
    3. Then, pour the water into a half-gallon jar and stir in the vanilla, and finally, the ginger bug.
    4. Cover with the lid, and let sit on your counter for several days. Check daily for signs of fermenting, and stir.
    5. When it is bubbly and smells slightly sour and sweet, it’s time for the secondary ferment, which will make it bubbily. You can either keep in the same container and simply tighten the lid, and check every day until the lid no longer indents when you press it, or you can pour into specialized flip-top bottles for fermenting.
    6. Be very careful at this point, because the jar or bottle could explode if fermented too long! You might want to keep in a bucket, if you can, just to be safe. But all you need to do is to crack the lid or bottle top slightly to hear for a “hiss”, then you’re probably good.
    7. Put in the refrigerator to keep and to stop the carbonation process, and enjoy!

    If you enjoyed this, you might also like….

    Are We In The End Times?

    Complete Health Transformation Without Drugs or Surgery…

    Having Trouble Sticking With Paleo?

  • How to Make Raw Cat Food (Video)

    How to Make Raw Cat Food (Video)

    Wait! I know this sounds pretty gross, but it’s actually really cool. If you’re a cat person, you probably understand the desire to feed your feline friends something nutritious and delicious. Cats are notoriously picky eaters, and part of the reason this may be is that the majority of the time, they’re being fed cooked, grain-based foods they’re simply not meant to eat!

    Some of my favorite health-focused homesteaders on YouTube shared this video recently of how they make their raw, super affordable cat food.

    They start the video by explaining why they don’t enjoy making it, so if you think it’s gross, you’re not alone! But they also describe precisely why they continue to make this food, and how great it is for their cats.

    Cars are amazing homestead animals to have, and you want to keep them happy and healthy! Raw, homemade food is not only great for them, it’s cheap for you to make as well. Healthy and frugal is always a great alternative to store-bought, especially when it comes to keeping our furry homestead helpers satisfied. Enjoy!

    If you enjoyed this, you might also like….

    Can You Defend Your Family When SHTF?

    Natural Healing Secrets You Need to Know…

    Effective Primal Diet Hacks…

  • Frugal DIY Nesting Box Ideas

    Frugal DIY Nesting Box Ideas

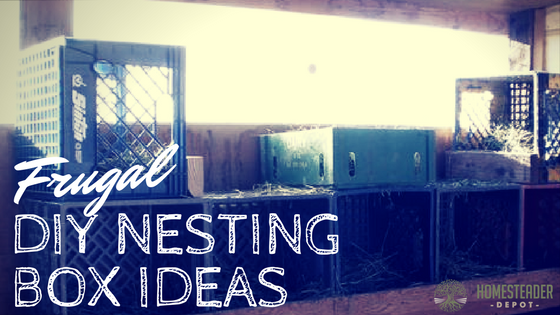
    If you want your chickens to provide you with lots of wonderful, nutritious, farm-fresh eggs, they’re going to need some cozy nests to get the job done!

    You don’t need to spend an arm and a leg to trick your coop out with some nice, comfortable nesting boxes for your lovely egg-laying ladies.

    Here are some frugal nesting box ideas for you that can all be purchased cheaply, recycled, or even scavenged for, if you’re lucky!

    Dishpans

    Dishpans, the kind you can grab at Walmart or the Dollar Tree for very cheap, are great for nesting boxes, if you cut a shallow entry point for the chickens on one end, and stack them where they can easily access them. Simply fill with bedding, find a quiet, private place for them to go, and let your hens enjoy.

    Related Article: 5 Mistakes First-Time Chicken Farmers Make

    Bookshelves

    If you have any old bookshelves lying around, the little nooks would be perfect for some comfortable chicken privacy. Also, if you feel more confident that you could easily make a bookshelf than some fancy laying boxes, just use the same idea! Chickens like to “roost”, fly up into trees, so they’ll like something they can perch on and fly up and down from to lay their eggs.

    Milk crates

    Milk crates are one of the best kind of containers there are, especially for homesteaders! And you can probably find them for free, from friendly restaurants or businesses who discard them after deliveries. These are also great because they have holes all around, so they’re breathable and will dispose of some of the chicken droppings for you, without putting the eggs at risk. Fill with bedding and tuck away (maybe on your bookshelf?).

    Litter boxes

    If you’ve only got a few hens and some old litter boxes lying around or can find them cheaply or for free, they’re perfect for nesting boxes. They enclose the hen and are already designed for easy cleaning and bedding changes.

    NEVER Buy Laundry Detergent AgainLearn How>>>

  • How to Make Almond Milk (and Almond Flour!)

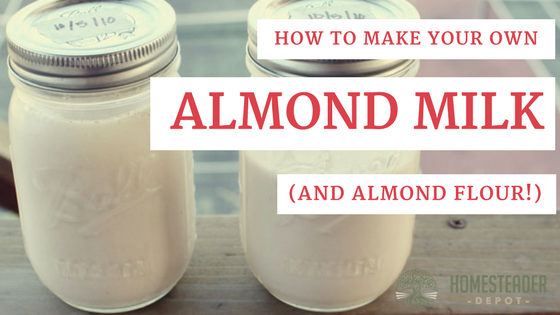
    How to Make Almond Milk (and Almond Flour!)

    I love recipes that kill two birds with one stone (come to think of it, if you know a recipe that does this literally, let me know!), and making almond flour out of the leftovers from almond milk couldn’t be easier, or healthier!

    It’s very simple, and all you need is almonds and clean drinking water.

    Almond milk is a great alternative to dairy whether you are on the paleo or whole 30 diets, are lactose intolerant, or just enjoy a delicious and wholesome nut milk!

    Homemade almond milk is not only cheaper than store bought kinds, it’s actually way healthier. Even the most seemingly healthy almond milk that is organic and non-GMO, still have gross preservatives in them that pretty much cancel out any other health benefit of delicious almond milk, not to mention half the time they’re also packed with flavoring and unnecessary sugar.

    Almonds are sweet enough on their own, so homemade almond milk is both delicious and require very little to make. Here’s how, and how to make almond flour with the discards!

    Ingredients:

    • almonds (2 cups is a good starting point)
    • filtered water
    • salt (optional)
    • vanilla extract (optional)

    Directions: 

    1. Fill a glass container with your almonds and cover with clean filtered water. A 3:5 ratio of almonds to water is fine, but you mostly just need to make sure the almonds are fully submerged.
    2. Let soak overnight.
    3. In the morning, drain off the water and rinse your almonds thoroughly under clean water, until the water runs clear.
    4. Place in a blender with the salt and vanilla extract, if you’re using them, and fill the rest of the blender with clean filtered water.
    5. Blend on high for a minute or two.
    6. Strain the almonds out with cheesecloth or a fine mesh strainer. I do this over a large pitcher so I can pour the fresh almond milk into a bottle easily.
    7. That’s it! Bottle your almond milk and store in the fridge; it will keep for 4-6 days.

    How to make almond flour

    So, you may ask, what do I do with all this crushed up almond I just strained out of my milk? That’s right: this is how we make the flour!

    1. First, try to squeeze out as much moisture as you can from the discarded almonds. Then, spread out on a baking pan or dehydrator tray in a thin layer.
    2. Set your oven to the lowest setting, place your pan in the oven, and crack the door. If you’re using an oven, leave it this way for about 4-6 hours. OR if you’re using a dehydrator, set it on the nut setting, if it has one, or around 115. Leave for 12 hours.
    3. Once your almond meal is crispy and completely dry, take out of the oven or dehydrator.
    4. Run the almond meal through the blender again, until it is like a fine meal. This will vary based on your blender’s strength if you have a grain mill, even better! You can also use a coffee grinder, but this will take awhile if it has a small capacity.
    5. And there’s your super frugal almond flour! Store in an airtight container in a cool, dry place, and use in any recipe that calls for almond flour.

    There you are, two awesome, healthy food products with one batch of almonds. Cool huh?

    If you enjoyed this, you might also like….

    Effective Primal Diet Hacks…