Page 21 of 23
1 19 20 21 22 23
gardening – Page 21 – Homesteader Depot

Tag: gardening

  • The Simplest, Safest Pesticide On Earth

    The Simplest, Safest Pesticide On Earth

    Long before war profiteering corporations began flooding the civilian market with their chemical products, people had been killing insects without blanketing their homes and gardens with carcinogenic and costly poisons.  You don’t have to be a chemist to prepare the age-old insecticide either, and you most likely already have what you need in
    your home.  It’s so simple that if you haven’t tried it already you probably won’t believe it until you do.

    It’s soap and water.

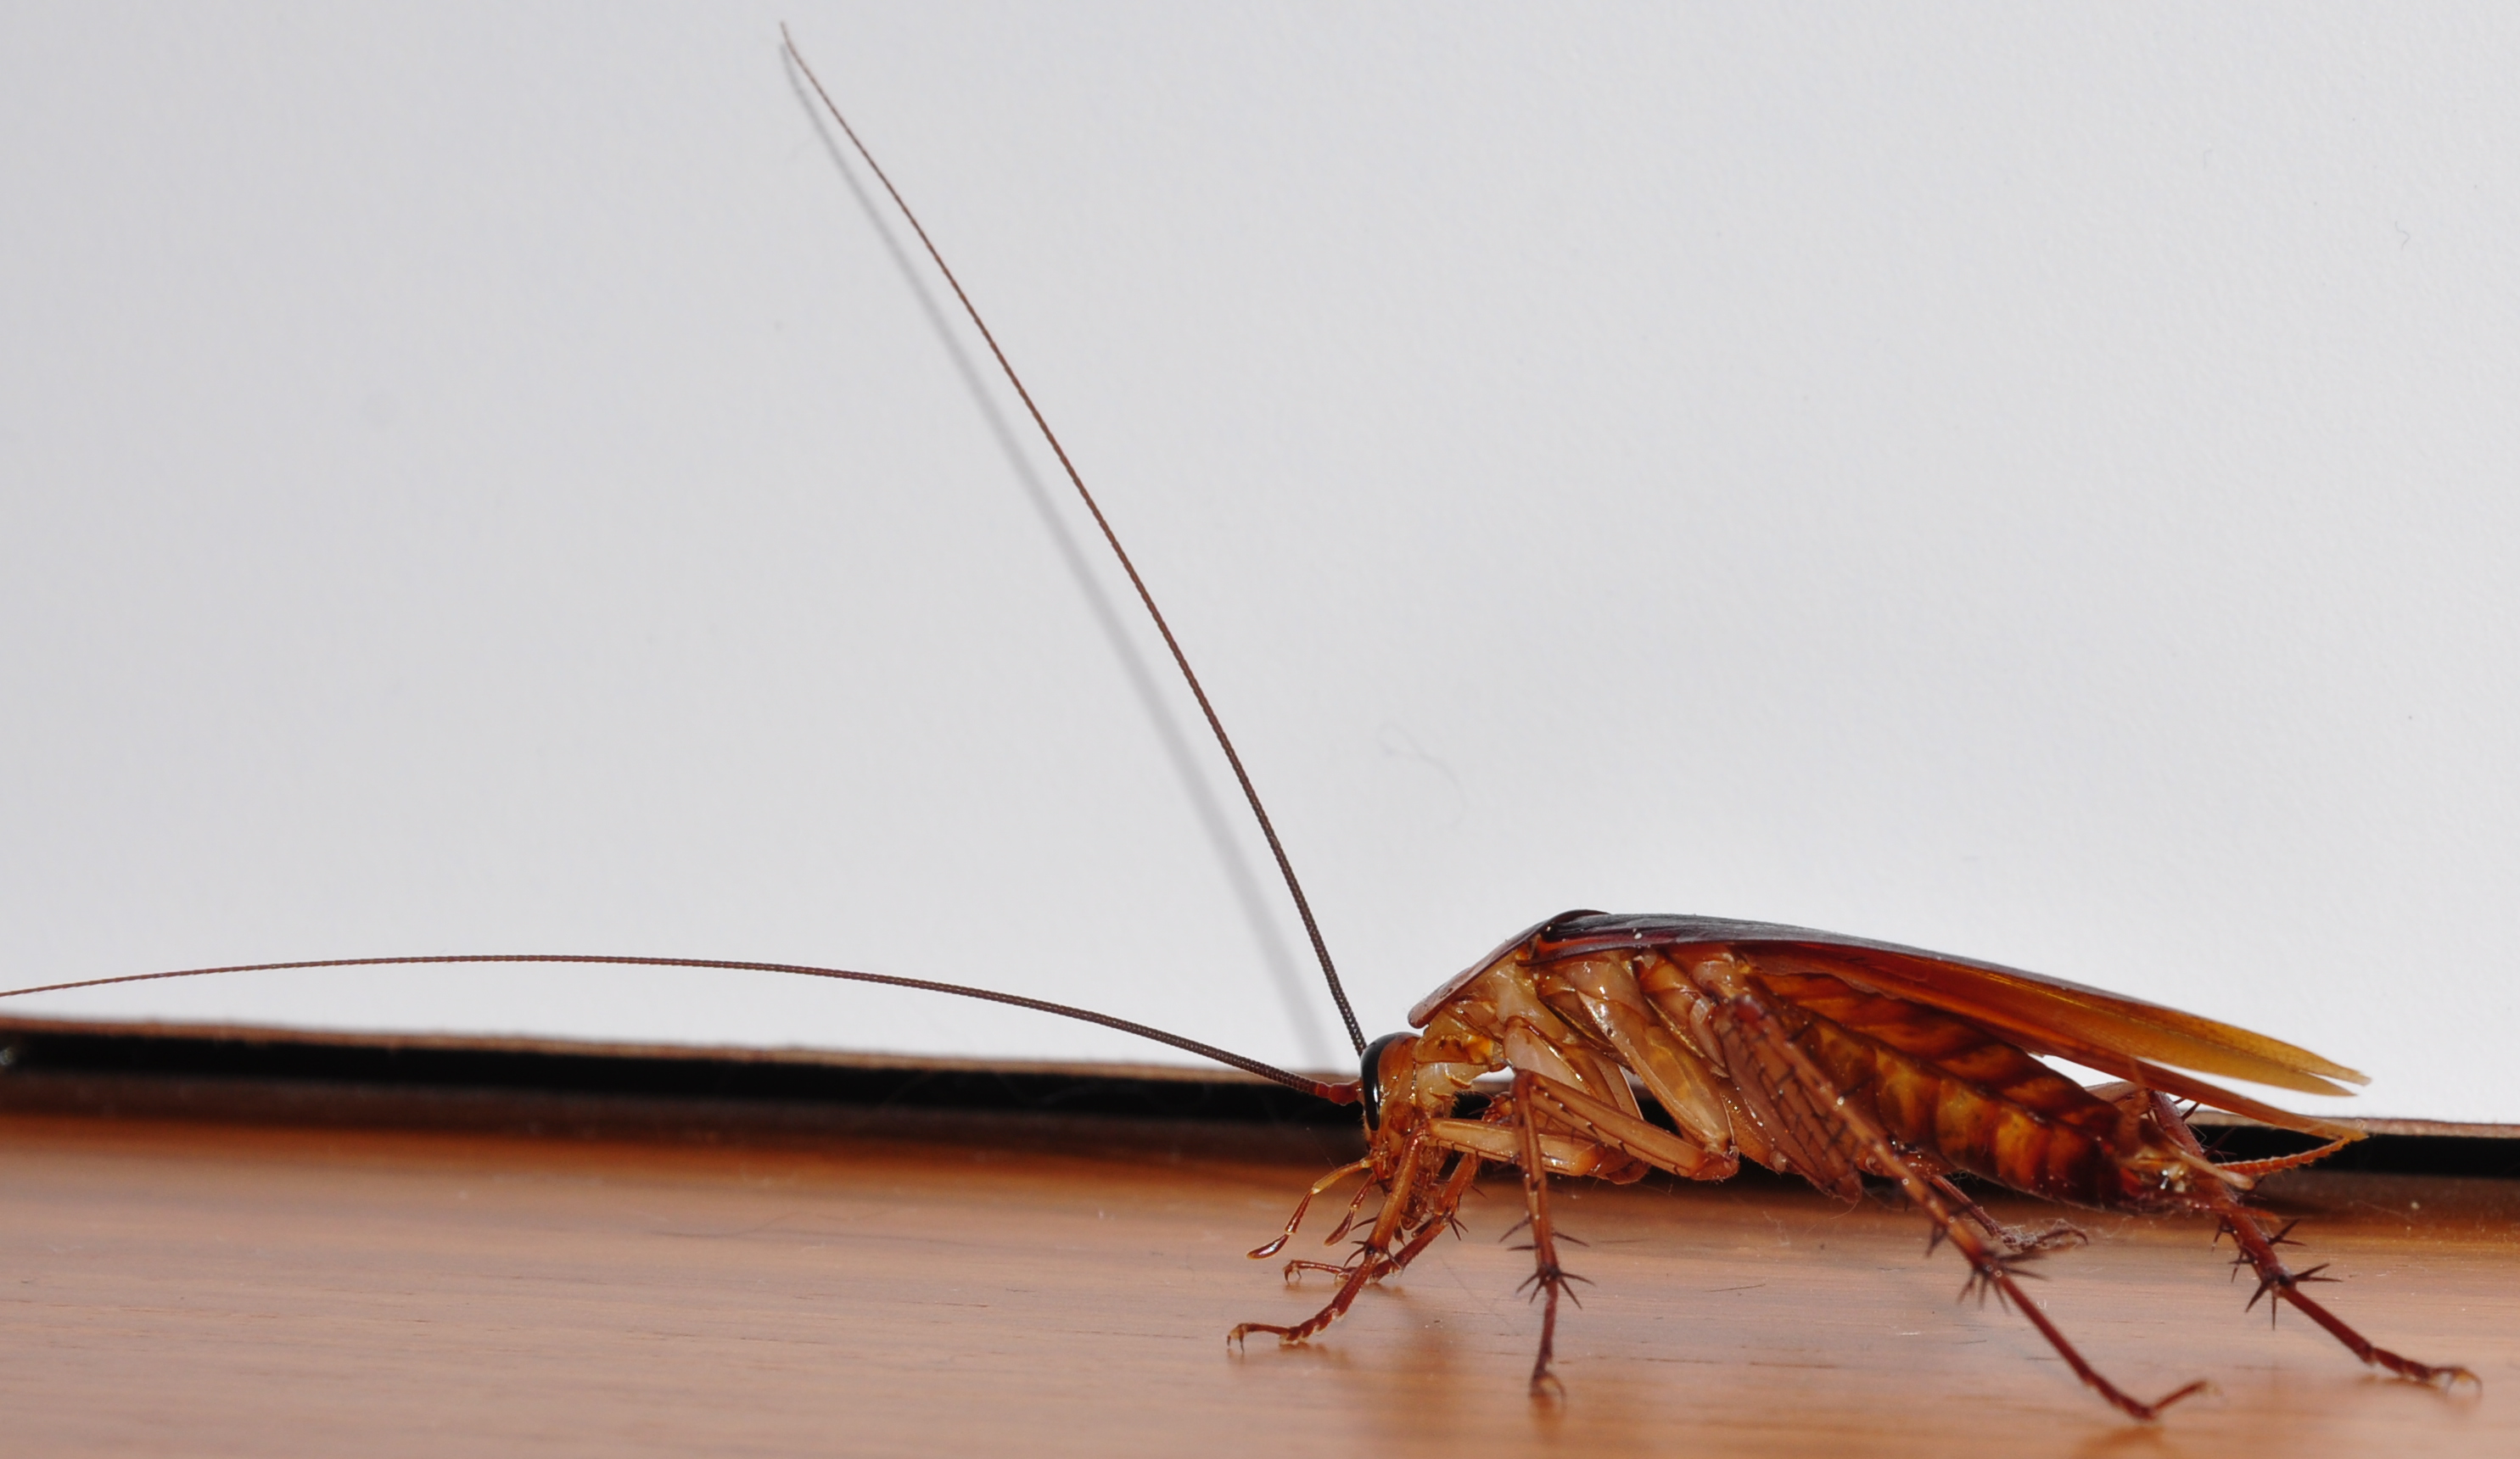
    That’s it, soap and water.  It kills nearly every insect, and even spiders and centipedes.  Some take a little more than others, but even some of the toughest, like the dreaded palmetto or the German cockroach will go down to this perfectly safe and cheap insecticide.

    How does it work?  Whether it’s Dawn dish-soap (still pretty toxic in its own right), organic dish soap, or agricultural insecticide soap, it all works by clogging the spiracles that bugs breath through.

    To use this miracle pesticide, just fill a squirt bottle with water and add a few ounces of the soap of your choice, shake it up a little to mix it, and spray the filthy little critters.  If you are using it in the garden you will probably want to use a mist in order to cover the leaf surface or the fruit that your pests are attacking.  This will also work well for use inside the home for smaller pests like ants on the kitchen counter.  But if you are trying to take down big game like Palmettos or German roaches, then you will want to hit them with a solid jet of soapy water.  It will be most effective on large and fast-moving pests like roaches if it hits them in a way that makes it hard for them to run, if they run away and the soapy water dries before they choke to death, then it will not be effective.  You might even want to have a paper towel ready to smash the really tough ones with after you hit them with the soapy water.

    You don’t need to put your life or the life of your loved ones on the line in order to kill pests, it can be done with safe, clean, household items.

    If you enjoyed this you might also like:

    How to get started with Aquaponics.

    Grow your own food, better, faster, stronger….

    DIY Home Energy System…

  • Coffee Grounds For Your Garden

    Coffee Grounds For Your Garden

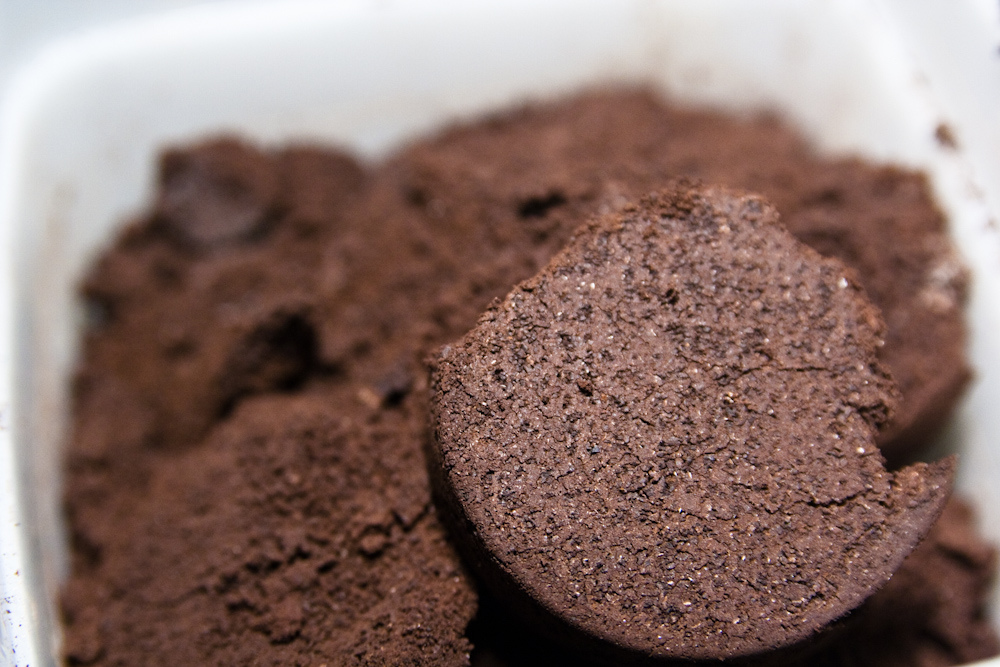
    Coffee grounds are a common cheap and easy form of organic material to add to your compost pile or garden. Here are a few tips for how, and why, to use them in your garden.

    Coffee and pH

    Despite what you might have heard, coffee grounds in your garden will have little to no effect of your soil pH and will not harm plants even when applied directly as a top dressing in generous amounts.  The acid that is in the coffee you drink is there because it is water-soluble, meaning that is has been removed from the coffee grounds by the water that was used to brew your coffee.  The spent grounds themselves will have a near-neutral pH of 6.5 to 6.8.

    This Backyard Miracle Farm Will Change Our World Forever>>>

    Nutrients in Coffee

    That being said, there is quite a bit in coffee grounds that will have an effect on the soil in your garden.  Coffee grounds have an average NPK of 2.1, 0.3, 0.3.  And the Phosphorus and Potassium are plants available right away, while the Nitrogen will not be available until broken down by micro-organisms and worms that will be attracted to the garden by the grounds.  There is also Magnesium, Copper, Calcium, Manganese, Iron, and Zinc in coffee grounds.  All of which provide food for your plants and for soil life that contributes to the health of your garden. For those that still can’t get over the fear of applying coffee grounds directly to your garden soil, there is always the compost pile.

    Compost

    Coffee grounds will heat up a compost pile quickly which can help keep the necessary organisms alive as we head into the fall and winter months.  And worms love coffee grounds.  Like chickens, worms have gizzards and have no teeth to break down their food.  The coarse texture of the grounds and their small size are great for this.

    Availability

    But perhaps the best thing about coffee grounds is that they are available in most places, and in bulk, for free.  Coffee shops are just going to throw them away, and often times they have separate trash cans that only contain coffee grounds and coffee filters (which are also great in the garden or compost pile).  So even if you don’t drink coffee yourself, stop by a coffee shop today and get your garden a boost.

    Advanced Gardening Course To Accelerate Your Food Production…


  • Is it too late to start my garden?

    Is it too late to start my garden?

    Summer isn’t going to last forever, so should you just wait until next year to start your garden?  No.

    While your potential for late planting will depending on the zone you are living in, there is still time to get plants in the ground for almost everyone even without season extension tools like a green house or low tunnel.  Leafy greens and root crops like carrots and radishes easily tolerate the declining amount of sunlight and cooling temperatures this time of year in most places.

    Late-Season Start

    Find out what the first frost date is for your zone, and check out the packages of what seeds you have available for crops that can be harvested prior to your first frost date, if planted soon.  If that’s a little too much math for you, or if you don’t have seeds currently and are unsure what seeds you should purchase for late summer early fall here is a link to a free online planting calculator…

    Planning Ahead 
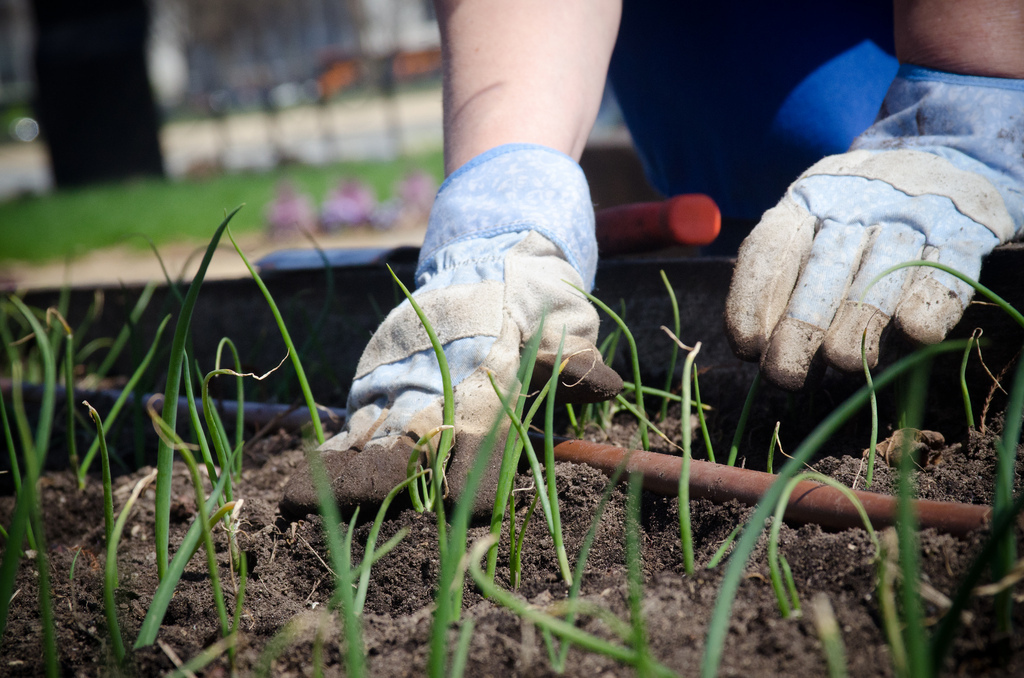
    Don’t be discouraged if your favorite crops didn’t make the list for late planting.  There will always be next year, but that’s no reason to wait.  A functional and productive garden takes more than seeds in the ground, and there is plenty that can be done any time of year to get you ready to grow what you are more excited about.

    You could starting building raised bed frames.  This doesn’t require spending tons of money at your local big box home improvement store on lumber.  Untreated wood (you will always want to use untreated wood in constructing raised beds so as not to contaminate your soil and food with harmful chemicals) can be easily be obtained in most areas in the form of used pallets.  Make sure you ask first so you don’t get the cops called on you for stealing, and make sure you are taking the unpainted pallets, the blue or red pallets the ones that the business is going to want to keep most of the time and the ones that you want to avoid because of contaminates in the wood.

    Winter Compost

    And every garden needs compost.  You can always start a compost pile. Things don’t break down as fast in the winter, but you can keep things reasonable warm in your pile by doing simple things like placing it in an area that receives sunlight and covering it with black plastic. If you don’t have a garden already, don’t wait, break the inertia and get started today so that next spring you can have a much more productive growing season.

    If you like this, you might also like:

    Advanced Gardening Course To Accelerate Your Food Production…

    Survival Medicine & Wilderness Survival…

    Survival Techniques From Long Ago, Re-purposed For The Modern Era…

  • Mistakes to Avoid When Starting a Garden

    Mistakes to Avoid When Starting a Garden

    Most gardeners don’t live in the tropics or have acres of land to spare, so choosing the right crops and materials to start a garden with is something you aren’t going to want to take lightly.  It could be a third of the way through your growing season before you realize that you wasted all of that time, energy, money, and space in your garden just to grow crops that you aren’t going to benefit from.

    Over-enthusiastic seed purchases

    One thing to avoid is getting your ideas of what crops you are going to grow from a seed catalog.  Seed sellers don’t make most of their money off serious gardeners that have mature gardens already in place. Gardeners with a garden that is several years, or even decades old, are going to be able to get the bulk of their seeds for the following year from the crops they are already growing.  Beginner gardeners who don’t have a seed stock of their own and in many cases don’t know what crops to grow are most likely seed catalog’s biggest customers.

    If you are, as most beginning gardeners are, working with limited space and resources, then you don’t need to grow 15 different types of basil and kohlrabi (which you probably didn’t know existed anyway until you saw it in the seed catalog).  Try to grow crops that represent the nutrients you need and are already eating.

    Extravagant soil 

    Another thing to avoid is buying good soil to start your garden and then buying an expensive rotating compost bin as well.  If you are starting out in poor soil and adding amendments like potting soil or bagged compost to your existing ground, then you are probably going to need to add more long before you are going to be able to harvest any from your rotating compost bin and your money would be better spent little by little on bags of compost.  If you are buying soil to start raised beds, then you are going to have enough nutrients in the soil already and be spending plenty of money to start out with.

    Your money will go further if you simply buy compost to start your garden and at the same time make a compost bin out of chicken wire and two stakes which will cost you less than $15 compared to over $100 for a rotating bin with much less capacity.

    Gardens should be, among other things, a means to save money, not an added expense.  And there is no reason for them to be.

    If you like this, you might also like:

    Advanced Gardening Course To Accelerate Your Food Production…

    Survival Medicine & Wilderness Survival…

    Survival Techniques From Long Ago, Re-purposed For The Modern Era…

  • 2 Ways to Preserve Spinach

    2 Ways to Preserve Spinach

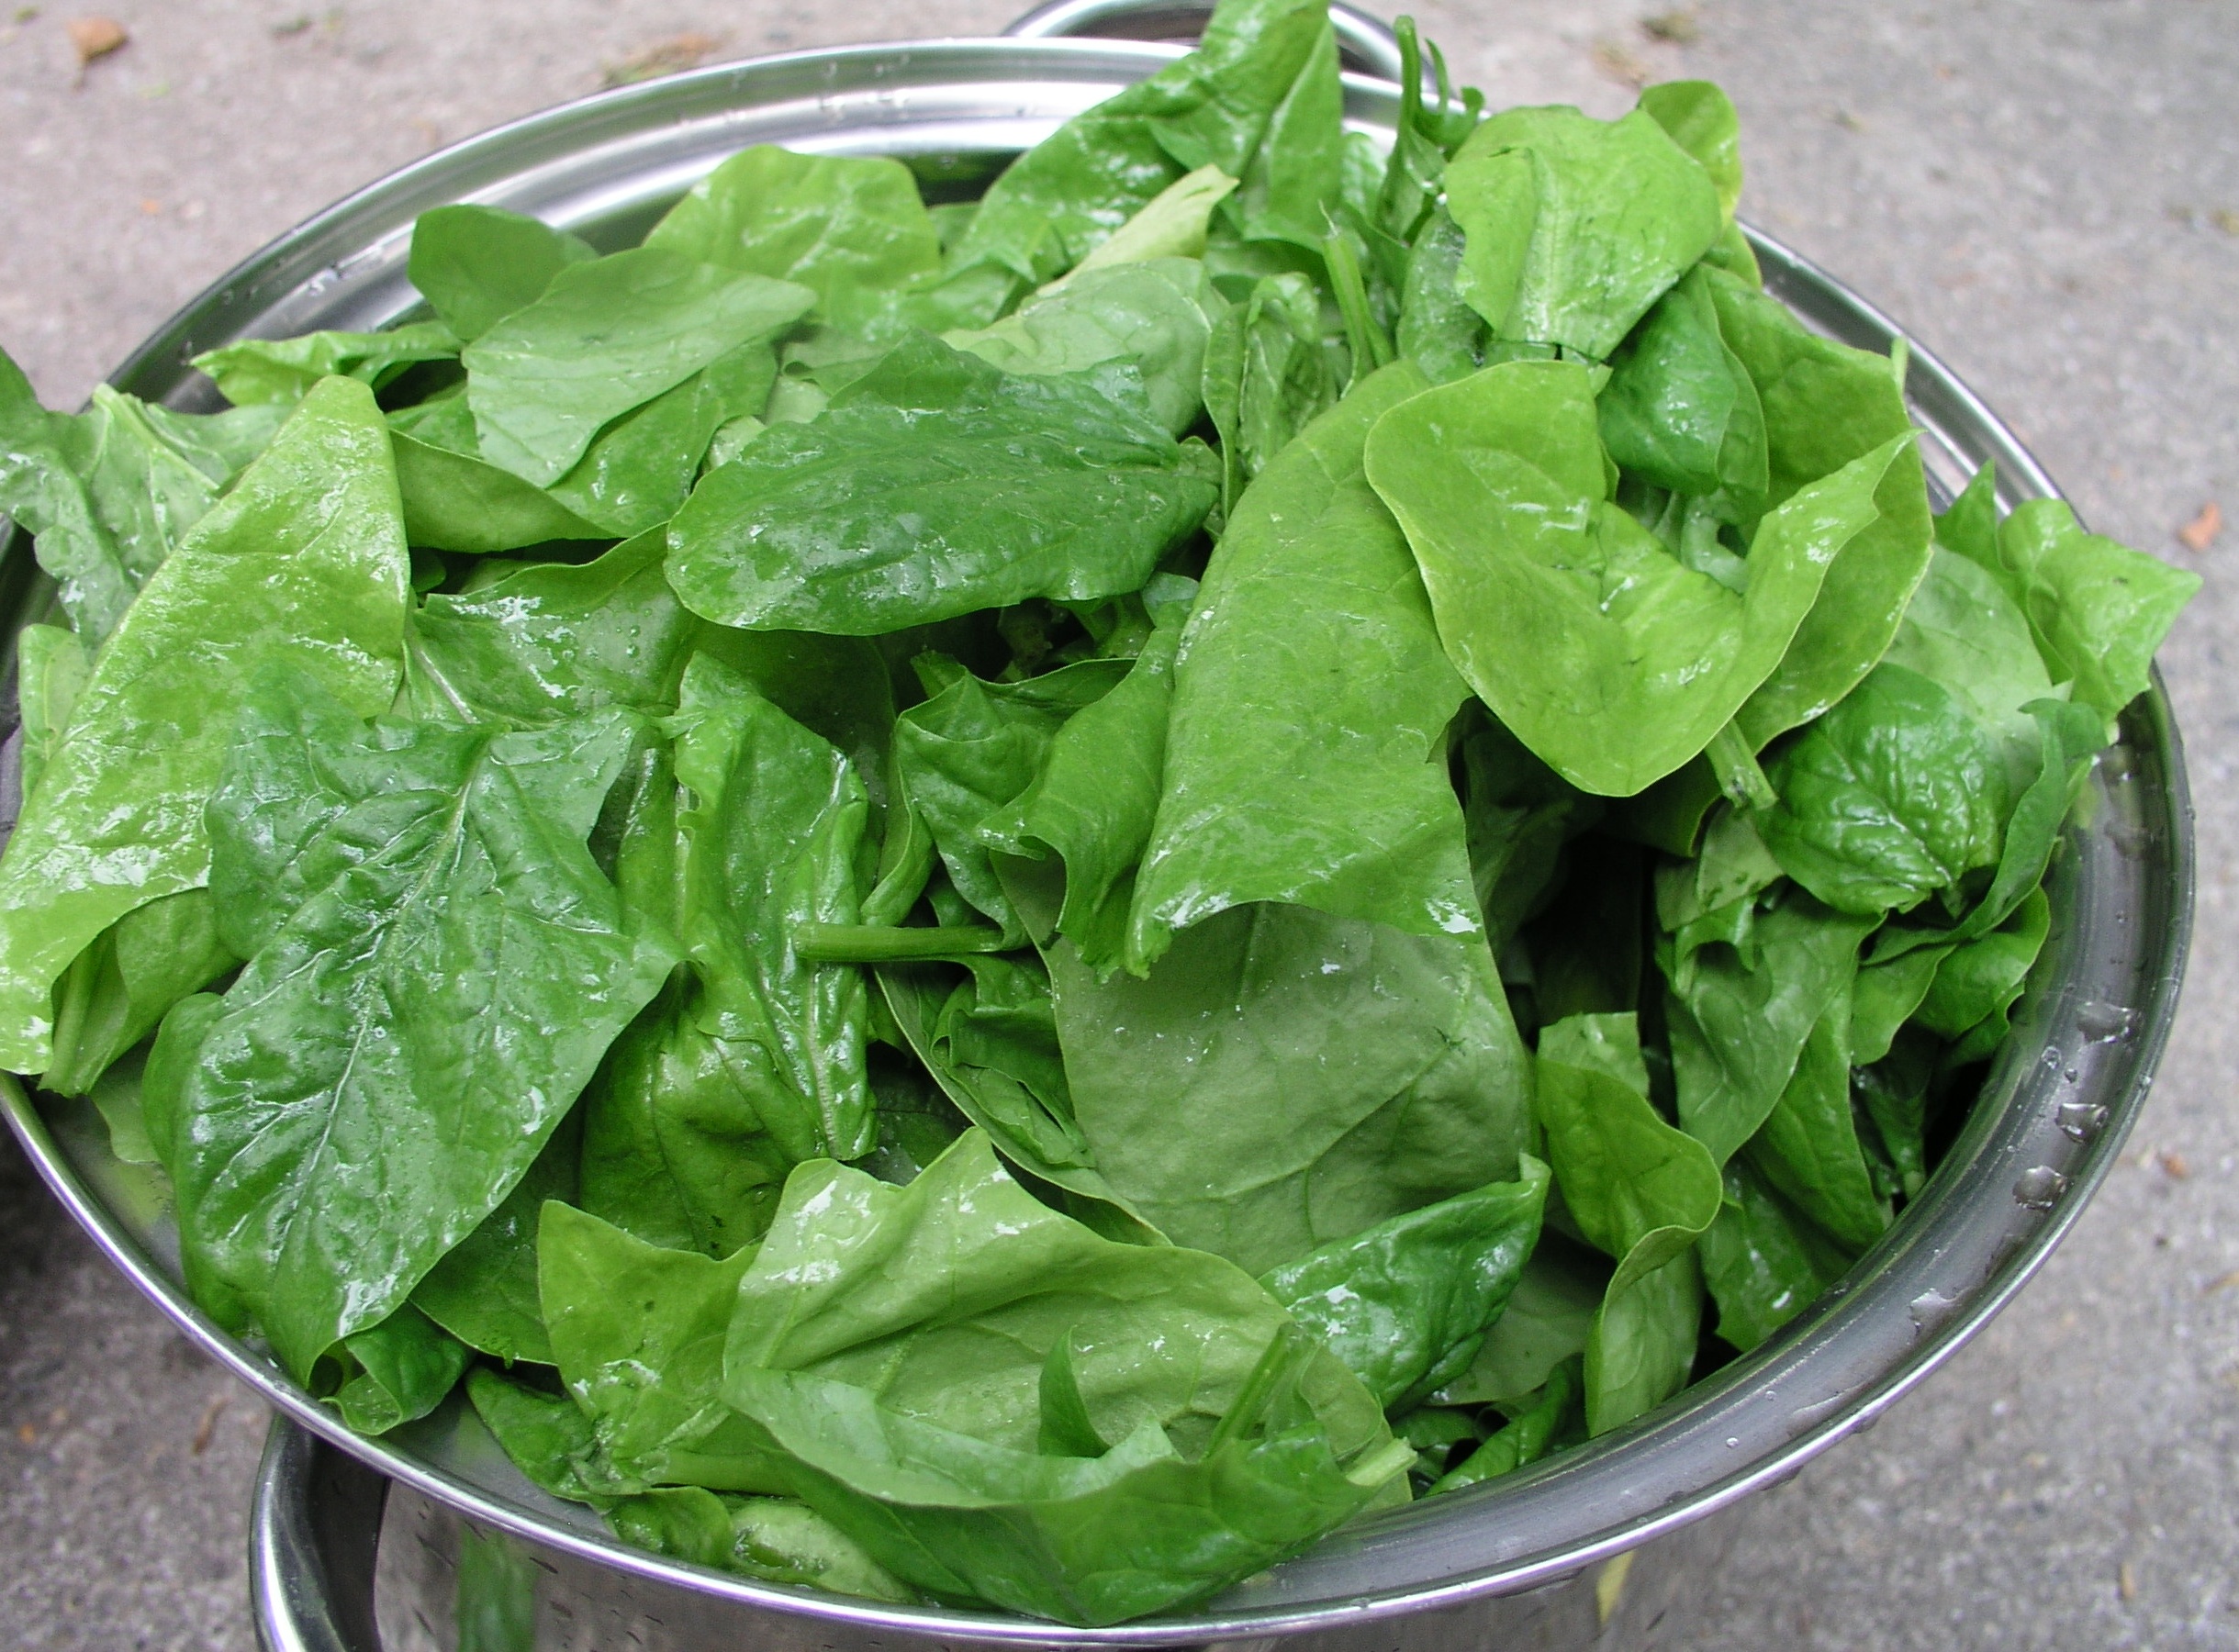
    Spinach is a very easy vegetable to grow, and it offers a ton of nutrients. Plus, it’s tasty, and you can use it for numerous recipes. Of course, if you want to use your spinach after the growing season is done, you’re going to have to know how to properly preserve it. Here are a couple of simple preservation techniques that will keep your family eating spinach all year long.

    Dehydrated Spinach

    Rinse your spinach, remove any brown or unappetizing spots, and cut off or tear out thick stems. Once your leaves are prepared, lay them out evenly on a tray and place them in your dehydrator (or oven) and dehydrate your leaves for between three and four hours at 125 degrees. Basically, you want them to crumble when you touch them but not to be burnt.

    Now you can use your dried leaves to make a powder for sauces and smoothies, or you can crush them and add them to other dishes, as well.

    Homemade Frozen Spinach

    Do the same prep you’d do for dehydrated spinach, but you don’t have to worry about removing large stems. Once you’re done with this, chop your spinach leaves and stems up, and then put them in a pot of boiling water for 60 seconds. Take them off the heat, strain them, and immediately throw them in a bowl of ice-cold water.

    Once they’re chilled, spread your leaves and stems on a towel and let them dry. Once dry, pack them into freezer-proof bags and throw them in the freezer. Now your family will have ready-to-cook frozen spinach from your garden all year long.

    What do you think? Would you use either or both of these methods to preserve your spinach and enjoy its delicious nutrients for the rest of the year?

    Sources:
    http://montanahomesteader.com/preserving-spinach/
    http://dorisandjillycook.com/2010/06/11/three-ways-to-preserve-greens/
    http://www.thekitchn.com/we-tried-3-ways-to-store-salad-greens-and-heres-our-winner-tips-from-the-kitchn-211770

    If you like this, you might also like:

    Advanced Gardening Course To Accelerate Your Food Production…

    Survival Medicine & Wilderness Survival…

    Survival Techniques From Long Ago, Re-purposed For The Modern Era…

  • Benefits of Compost Tea

    Benefits of Compost Tea

    When it comes to a thriving, healthy garden, one of the quintessential components is a good fertilizer, and homemade compost is one the best things you can make. Using kitchen scraps, garden cuttings and locally sourced organic waste like grass clippings, manure, coffee grounds, egg shells, etc., you can-and should-make your own compost pile for a consistent supply of amazing plant superfood.

    There are many different options for how to build a compost pile and what to build it with, so if you’re not already composting, you’ll want to start there.

    But if you do already have a successful compost pile, compost tea is a fantastic way to use it to give your plants optimum nutrition, minerals, and beneficial microbes.

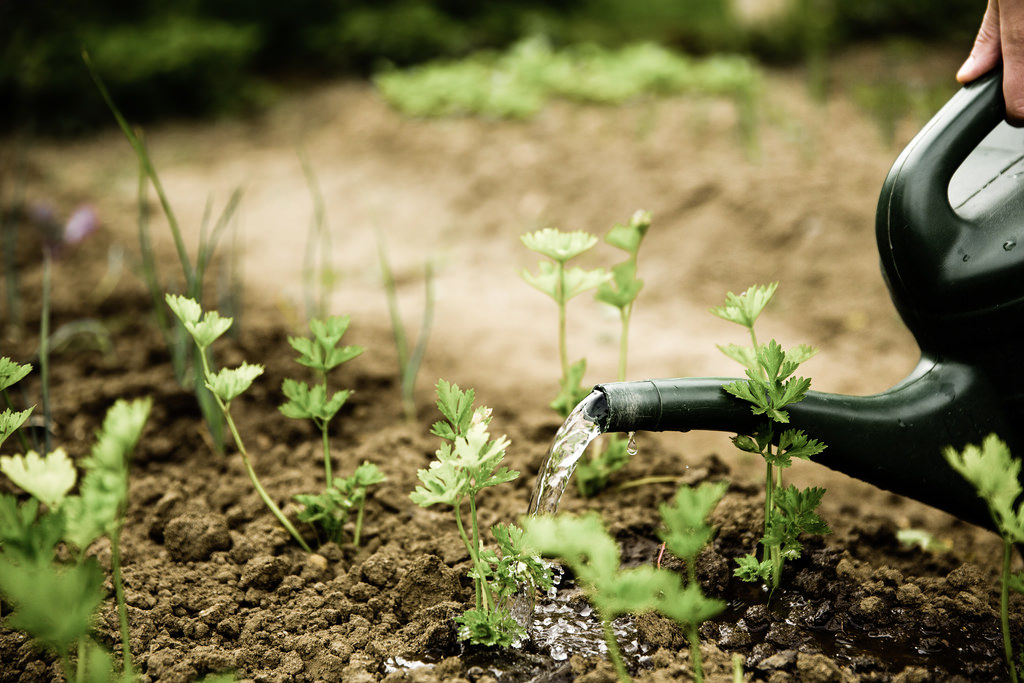
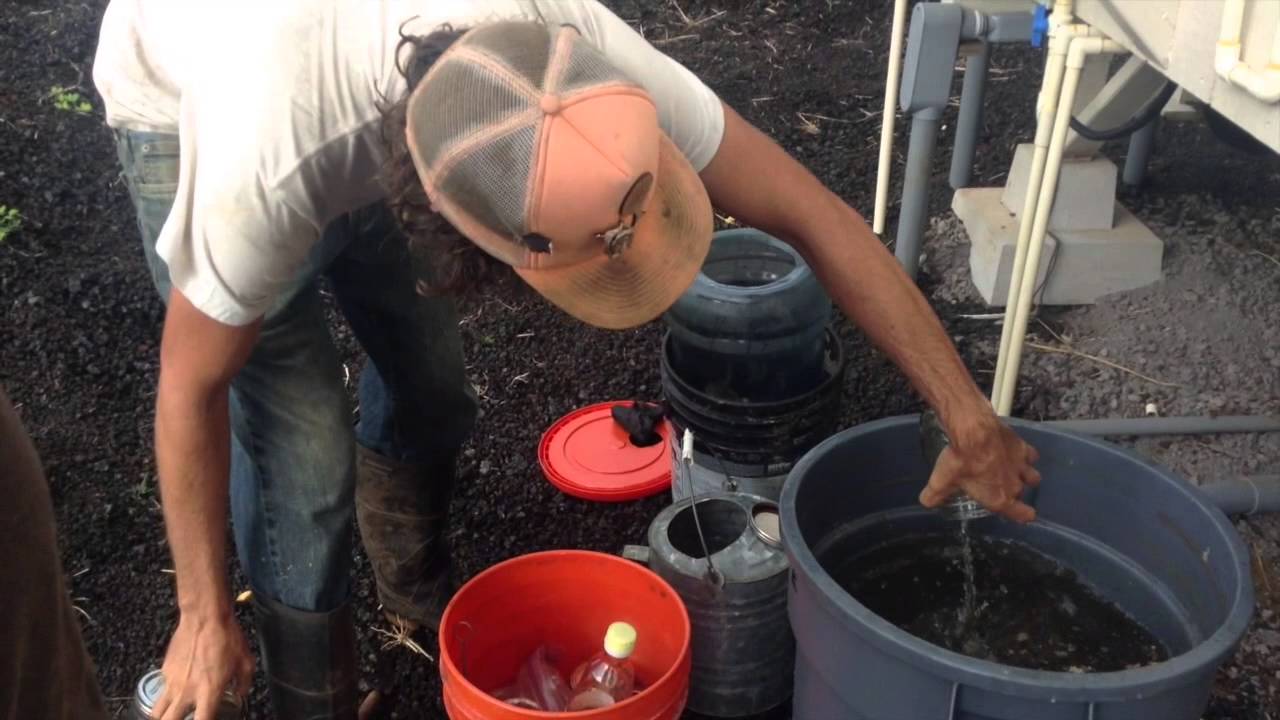
    Compost tea is exactly what it sounds like-except it’s for plants to drink up, not humans! There are many different methods of brewing it, but it is essentially soaking some finished compost in water for a period of time, and then using the mixture to water your plants.

    Advanced Gardening Course To Accelerate Your Food Production…

    Obviously, you can just dig your compost into the soil, so why go to the extra effort of brewing a tea? Well, the way plants drink in nutrients is through water, the nutrients bond to water molecules and are absorbed into the roots of the plants, so it just makes it more readily available to them. Also, for certain issues like fungus or blight on the leaves of the plant, there might be benefit in certain cases to being able to spray the compost mixture right onto the plant directly (although you’ll only want to do this if you know it is specifically recommended, compost tea can burn the foliage of some plants).

    To make compost tea, there are a lot of different options. Some people prefer to aerate it, with a water tank like the kind used in fish tanks, and others choose to simply let the tea mixture sit and stir once a day. But the basic principle is the same: you take a bucket or large drum, depending on your needs, and place some ready compost in it. You can make a sort-of tea bag, with something like a pillowcase, or just put it in there loose. After about a week or whenever you’d like to use it, you can either strain out the loose compost or simply pour over your plants.

    Compost tea is an excellent way to get amazing nutrients and minerals to your plants, and way cheaper than Miracle Gro! Believe me, your plants will thank you-try some today!

    [More]  Organic Gardening Secrets – Grows Up To 10 Times The Plants. Learn More Here

    Enjoy a quick video from Steve about Compost Teas and their amazing benefits for your garden…

  • 3 Tips for Growing Potatoes

    3 Tips for Growing Potatoes

    Potatoes are one of the best staple foods for almost any diet. They’re full of fiber, complex carbohydrates, and nutrients that can enhance anyone’s health. Better yet, potatoes are actually pretty easy to grow in your garden, making them even more attractive to homesteaders everywhere. Here are a few tips and tricks to help you grow better potatoes in your garden.

    Pick a Sunny Spot

    No matter what kind of potatoes you’re growing, always pick a spot that gets full sun. You should also ensure that the soil is light, loose, and slightly acidic (ideally with a PH of 5.0-7.0), but you really can grow potatoes in almost any kind of soil, so you don’t have to worry about this too much.

    Rotate Your Potato Crops

    Potatoes can be fairly hard on soil, so don’t grow them in the same place in your garden every year. Instead, rotate them each year and make sure that you don’t repeat the same area more than once every three to four years.

    Start Sprouting Before You Plant

    You should plant your potatoes early in the spring, as soon as the soil is workable, and then you can harvest them once the ground temperature reaches about 45 degrees Fahrenheit. Before you plant them, though, go ahead and cut your seed potatoes and place them inside the house in a place where they can get some sun. Do this about two to three weeks before you plant them, and they’ll start to sprout. This will help them grow stronger and larger when you plant them.

    Potatoes are a hearty crop, but you do want to make sure that they don’t experience a hard freeze without protection. And you should keep their soil weeded and protected from insects and pests. Follow these tips, and you’ll be on your way to a great crop of potatoes this year.

    Sources:
    http://blog.seedsavers.org/blog/tips-for-growing-potatoes
    http://www.rodalesorganiclife.com/garden/7-ways-grow-potatoes
    http://www.unwins.co.uk/potato-growing-guide-ggid9.html


    If you like this, you might also like:

    Advanced Gardening Course To Accelerate Your Food Production…

    Survival Medicine & Wilderness Survival…

    Survival Techniques From Long Ago, Re-purposed For The Modern Era…

  • Tips for Saving Seeds

    Seed storage seems like it should be simple, but it’s actually more involved than you might think. After all, you don’t want your seeds to germinate while they’re in storage. With proper storage, though, a good collection of heirloom seeds could help you grow a full garden, complete with all of the fruits and vegetables for your cooking needs.

    Put Them in the Fridge and Leave Them There

    First of all, seeds do best when they’re stored in cooler temperatures. 40 degrees – the temperature of most refrigerators – is perfect for keeping seeds fresh and avoiding early germination, mold, and other problems. After you put your seeds in the fridge, though, don’t take them out and move them around a lot. Fluctuating temperatures are bad for seeds, as are freezing temperatures, so keep them away from the freezer.

    Keep Them in the Dark

    Whether or not you choose to keep your seeds in the refrigerator, you should never store them in a fully lit room. Seeds respond to light, so keep them in opaque bags or containers, and store them in a cool, dark place.

    Keep Them Dry

    Moisture can lead to mold and/or germination, so you want to make sure that they stay dry. Keeping them in a mason jar is a good idea, and Mylar bags work really well for this, as well. You can then place these in a paper bag or other opaque container to keep light out. You may even want to store them with some kind of desiccant or oxygen absorber to further dry them out.

    And, if you’re using your seeds in your garden each year, go ahead and rotate them, using the oldest ones first. This is a good way to ensure that you get better crops and that none of your seeds spoil while you’re storing them.

    Sources:
    http://www.backdoorsurvival.com/8-tips-for-storing-seeds-for-the-long-term/
    http://www.rodalesorganiclife.com/garden/10-tips-storing-your-saved-seeds

    If you like this, you might also like:

    Advanced Gardening Course To Accelerate Your Food Production…

    Survival Medicine & Wilderness Survival…

    Survival Techniques From Long Ago, Re-purposed For The Modern Era…