Composting Chicken House (Video)
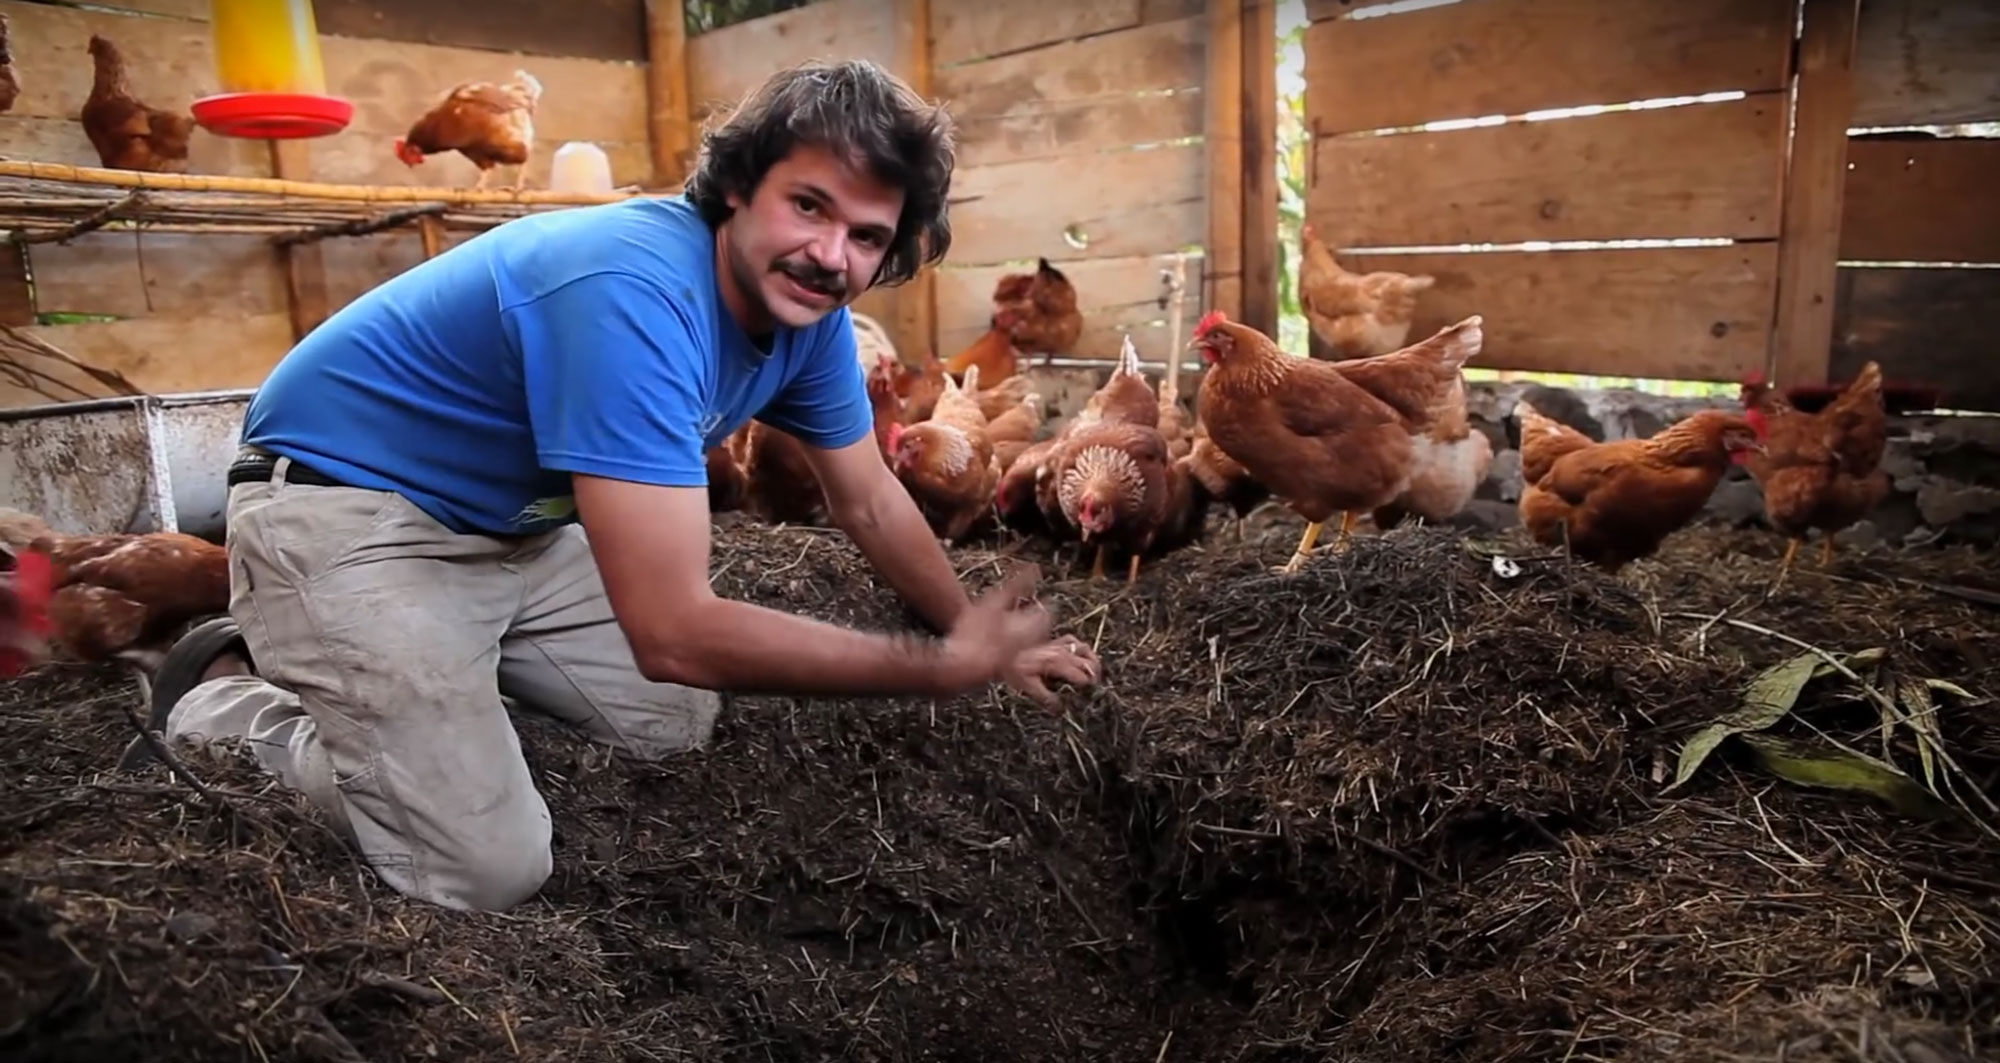
When it comes to homesteading, I think the more (proverbial) birds you can kill with one stone, the better. After all, that’s a huge part of what homesteading is all about: creating your own little self-sufficient system. This plan for a composting chicken house is awesome. It’s well-known that chickens can be easily put to … Read more